BoredomBusted — Find Your Next Favorite Thing To Do
Discover hobbies, activities, places, and ideas that spark joy. Whether you're looking for something creative, active, social, or relaxing, BoredomBusted helps you find your next favorite thing to do.
Browse our hobby guides, things-to-do collections, and place ideas to never be bored again.
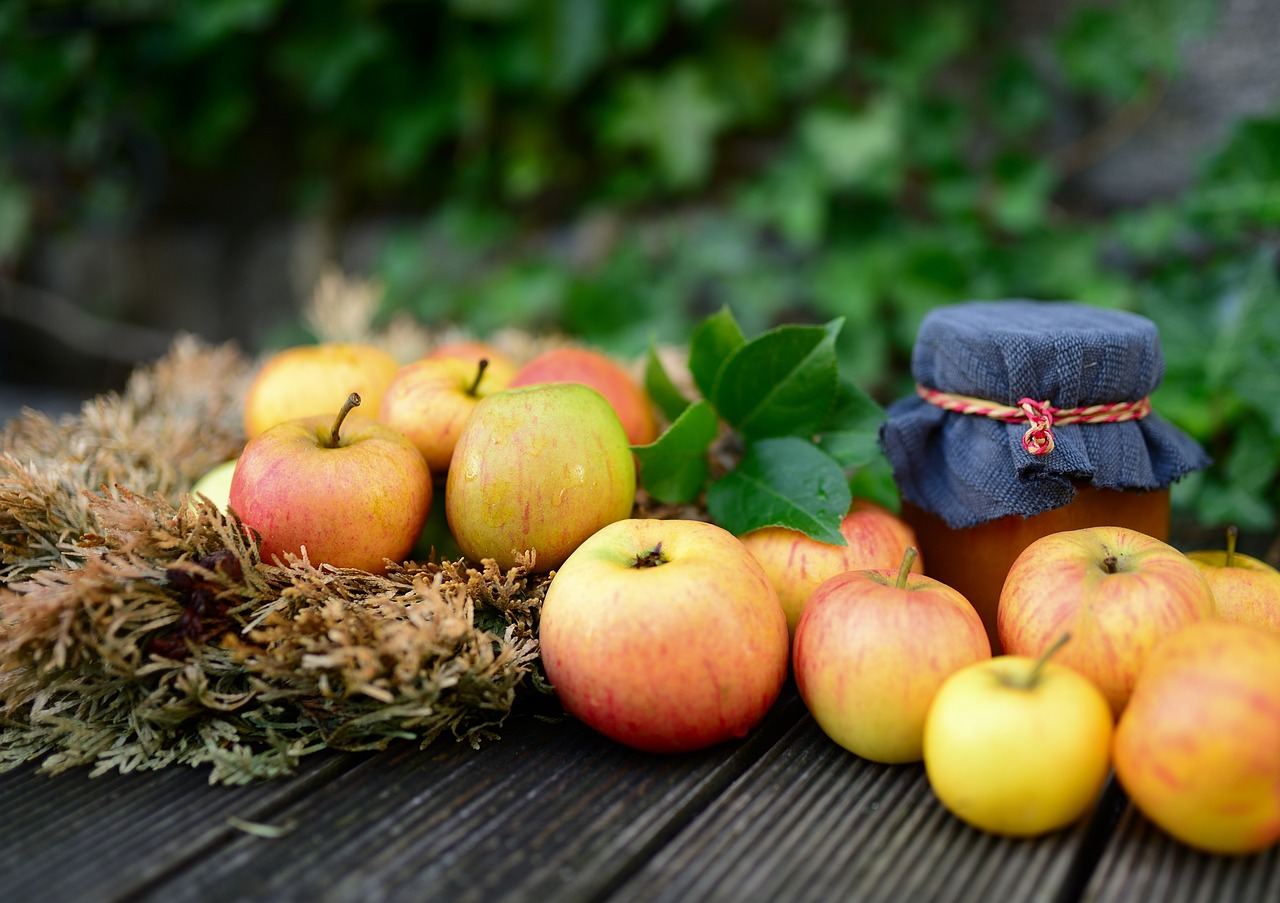
Canning isn't a lost art confined to grandmas—it's a chemistry skill you can master in under an hour with just a pot and some patience.
Getting started with canning as a beginner opens up a rewarding way to preserve food by sealing it in airtight jars and using heat to destroy bacteria that cause spoilage.
Unlike dehydrating or fermenting, it creates shelf-stable food that lasts years without refrigeration.
Canning involves hands-on food preservation where you wash, chop, and cook fresh produce or meats, then fill sterilized glass jars, seal them, and process them by boiling or pressure cooking to create shelf-stable food items.
Canning promotes a flow state through its immersive, multi-step rituals and offers incremental skill feedback as you refine techniques, leading to a satisfying sense of accomplishment when you see your completed jars.
You think canning is for grandmothers with root cellars and too much time. A lost art. Something you'd need a whole weekend, a pressure gauge, and a canning club membership to even attempt.
That assumption is costing you a genuinely useful skill.
The magic is in the science. Canning relies on pH and heat to prevent bacteria. Once you grasp this, making preserves becomes simple, not an old-fashioned ritual.
Most beginners start with water-bath canning: one pot, probably already in your kitchen, and 45 minutes.
The "danger" myth? It's about under-processing low-acid foods. Easily avoidable once you know food categories.
Picture this scene: a dozen jars of tomato sauce, made from a flat of tomatoes you scored at the farmers market. Shelf-stable for a year. Done by early afternoon on Saturday.
No root cellar. No club. Just a pot of boiling water and some patience.
Ready to discover what gear really matters? Surprisingly, it's less than you'd guess.
At first, canning feels chaotic. There's steam everywhere. A jar looks wrong, but you can't tell if it's sealed. You forgot to set the timer, and there's a smell you can't identify.
Your first session won't look polished, but that's part of the journey.
Patience guides week one, as reading recipes outweighs actual canning. By week two, not every jar seals. Instead of stressing, enjoy those now.
Come week three, there's less hesitation. Measuring headspace no longer slows you down, and speed comes naturally.
By week four, reaching for the right tool feels instinctual.
The process seems full of strict rules. All for some fruit in a pot. In reality, those rules make shelf-stable food possible, and understanding that transforms everything: it's logic, not restriction.
Beware of thermal shock. Cold jars crack in boiling water. Warm them in the canner as the water heats.
When to start: Morning
Duration: 1.5 hours
Cost to try: $25
Success criteria: if you finished without breaking any jars, do session 2.
Beginners often assume the gap between food and lid is trivial. It's not. That gap determines if your seal holds or if your jar explodes.
Use the headspace tool from your canning kit or a clean ruler every single time.
Boiling water baths work for tomatoes but fall short for meat, beans, and most vegetables. Low-acid foods need a pressure canner at 240°F.
That pasta sauce jar lid might feel sturdy, but it's not reusable. Single-use means the sealing compound compresses just once.
Remembering last summer's peach canning isn't enough. Jar size, altitude, and pack style all change processing time.
Pull the USDA Complete Guide or the Ball Blue Book every time — even for recipes you've done before.
Cranking the lid down feels safer, but it's not. Over-tightening traps air that needs to escape, causing false seals.
Fingertip-tight only — if you need your palm, you've already gone too far.
Canning typically starts in your kitchen. You might find it cramped if you lack counter space or a powerful stove.
Some community centers offer hourly rentals of commercial kitchens. This option can help if you're looking at a larger scale.
Telling someone you're new to canning can open doors. It often secures you supervised equipment and expert advice on ratios and jar seals.
Submerge jars in boiling water to safely preserve jams, pickles, and tomatoes. This is the easiest way to begin canning. A basic enamel canner costs $30–$50 and covers most beginner recipes.
This method is necessary for foods like meats and beans. Pressure canning reaches temperatures that make these foods safe. Expect to spend $80–$200. Try water bath canning first before investing in this equipment.
Uses steam instead of a full boil for high-acid foods. It's quicker and conserves water but isn't ideal for beginners. The error margin is smaller and fewer recipes are tested.
No heat or special tools are needed. Just salt and time do the work. Great for those who prefer preserved foods without heating. Shares the same jar selection considerations as traditional canning.
Freeze-drying equipment costs over $3,000 with long processing times. Foods last decades and retain more nutrition, but it's a serious commitment. Not where you start if you're new to preserving.
A close neighbor worth considering: Pasta Making.
Dessert Making lives in the same world — different mechanics, similar appeal.
Beginners focus on recipes — the right fruit-to-sugar ratio, precise headspace, the ideal jar brand.
The true game-changer is mastering the seal. It's all about reading beyond just the 'ping' to understand the whole seal process.
This includes the visual dome and flex test, which indicate long-term reliability even if the jar initially seals right.
Many new canners think the ping is the end of the process. It's not. It's the beginning of a crucial 24-hour period. During this time, every check reveals more about the jar's actual state.
Building this skill ends the guessing game. It reduces food waste and eliminates the risk of spoilage.
Without mastering this, you risk assuming success after the water bath, leaving jars on shelves that might be setting you up for failure.
Plan for four canning sessions over 30 days. Aim for one per week: two water bath, one pressure canning, and a slow session to troubleshoot.
If the idea of next season's tomatoes already has you excited and you savor every seal-click, you're hooked on process, not just results. Dive deeper with a chosen method and start planning your canning rotation.
Indifference means the process didn't connect. The jars are done but you're unbothered. Preserving sounds intriguing, yet the experience didn't match what you imagined. Skip extending the trial — it simply didn't resonate.
Resentment signals a real mismatch. If safety steps felt like burdens instead of investments, canning isn't aligning with your needs. This isn't your hobby if cutting corners called louder than precision.
Pay attention if hardware store aisles catch your eye or if you find yourself snapping photos of jars at markets. That quiet pull means canning truly has a hold on you.
If canning feels like too much to commit to right now, browse what to do when you're bored for lower-stakes ideas.
Initial setup costs around $50–$150 depending on equipment quality. You'll need a large pot, mason jars, lids, bands, and basic tools like a jar lifter and funnel. Many items are reusable across seasons, so costs decrease significantly after your first batch.
Most canning projects take 2–4 hours from prep to finished jars, including cooking time and cooling. Simple jams are quicker (about 1.5 hours), while pressure-canned vegetables can take longer due to processing requirements.
Yes, canning is safe when you follow proven recipes and sterilization guidelines carefully. The biggest risks come from skipping steps or modifying recipes without understanding food safety. Starting with high-acid foods like jams and pickles is the safest entry point before moving to low-acid canned goods.
At minimum: a large pot, mason jars with two-piece lids (caps and bands), a jar lifter, a wide-mouth funnel, and a bubble remover tool. You can find complete starter kits for $30–$60, though many home cooks use items they already have in the kitchen.
Properly sealed and stored canned goods last 1–2 years in a cool, dark place, though many remain safe longer. The flavor and texture are best within the first year, after which quality gradually declines.
Not for beginners—a standard water bath canner works great for high-acid foods like jams, jellies, pickles, and chutneys. You only need a pressure canner when preserving low-acid foods like vegetables or meats, which you can tackle once you have more experience.