BoredomBusted — Find Your Next Favorite Thing To Do
Discover hobbies, activities, places, and ideas that spark joy. Whether you're looking for something creative, active, social, or relaxing, BoredomBusted helps you find your next favorite thing to do.
Browse our hobby guides, things-to-do collections, and place ideas to never be bored again.
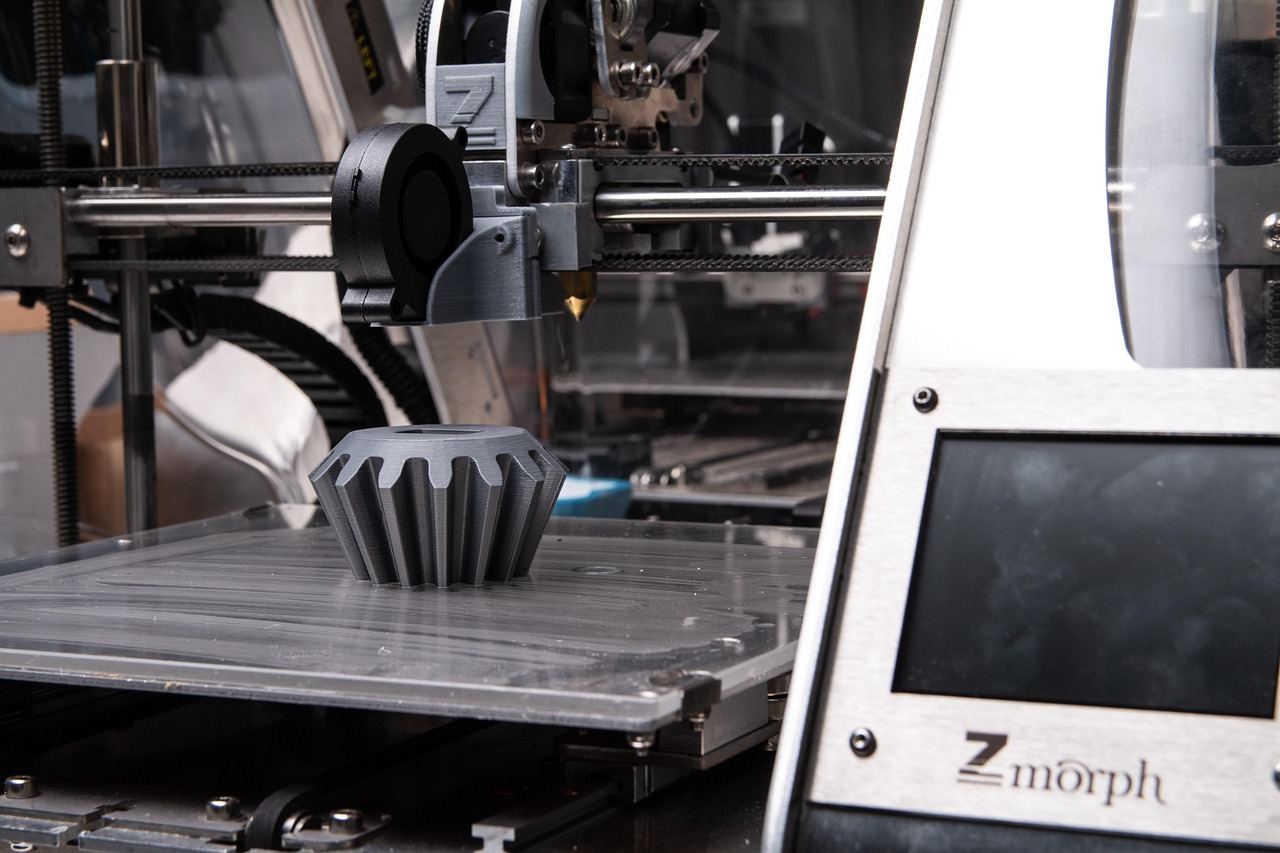
3D printing isn’t really about making toys or decor—it’s about solving real-world problems with custom designs that don’t yet exist.
Getting started with 3D printing as a beginner offers the exciting opportunity to transform digital designs into tangible creations using accessible technology. 3D printing is a hobby where you design or download digital files and turn them into physical objects — layer by layer — using a desktop machine and spools of plastic filament.
Unlike woodworking or modeling, you're not shaping material by hand; you're programming objects into existence, then iterating on them endlessly without starting from scratch.
In 3D printing, hobbyists design or download digital models, set up their printers, and monitor the printing process as objects are fabricated from filament, which includes troubleshooting issues and post-processing printed items for functionality or aesthetics.
3D printing creates immediate skill feedback loops through rapid prototyping, enabling quick adjustments that foster a flow state; this immersive cycle combines creative expression with tangible accomplishments, keeping engagement high and fighting boredom.
You already know what a 3D printer makes. Plastic things. Maybe a Yoda head. Maybe a phone stand someone posted on Reddit.
That mental image is exactly what keeps most people from starting. The object at the end is the least interesting part of this hobby — and fixating on it means you're missing what actually pulls people in.
A nurse in Michigan started printing cable organizers for her hospital unit. Six months later she was designing custom utensil grips for patients with limited hand mobility. She never took a class — she just kept running into problems that needed a specific shape that didn't exist yet.
A broken bracket.
A grip that doesn't fit.
Something that should exist but doesn't.
That frustration is the actual engine of this hobby — and the tools you need to act on it are cheaper and more accessible than you're assuming.
The first print that actually finishes feels almost unreal. You pull a small object off the build plate — something you loaded from a file an hour ago — and it's a physical thing now. That moment is real, but it takes longer to reach than most beginners expect.
Early sessions are mostly bed leveling. The bed goes slightly out of tram, a print detaches mid-layer, and the whole process resets. Auto-leveling features don't eliminate this — they reduce how often you notice the problem until you really need to solve it. Watching the first layer go down closely is more useful than any automated routine.
Around the second or third session, something small succeeds — a calibration cube, a basic phone stand — and the instinct is to immediately jump to something complex. That leap usually produces a failed print. The ambitious failure is where the real vocabulary gets built: supports, infill, layer adhesion stop being jargon and start being actual levers you know how to pull.
There's a point — usually somewhere around the fourth or fifth session — where a failed print stops feeling like a setback and starts feeling like data. That shift is the actual threshold between someone who quits and someone who sticks with it. The next section covers the specific mistakes that delay that shift the longest.
When to start: Early morning
Duration: 1-2 hours
Cost to try: $5
Success criteria: if you finished without major printing failures, do session 2.
Beds lose calibration frequently. Every print session, temperature change, or accidental nudge can shift it.
Check the bed level before any important print, or get a BLTouch probe to handle it automatically.
Slicer defaults fit most printers but aren't optimized for yours.
Start at 40–50mm/s for initial prints. Increase speed slowly as you learn what causes failures.
A poorly adhered first layer spells disaster for the entire print. If it isn't flattened slightly, it's all downhill.
Clean your bed with isopropyl alcohol and adjust your Z-offset until the first layer looks squished, not round.
Starter spools are often inconsistent. This leads beginners to mistakenly blame their printer for issues.
Invest in a quality 1kg spool of PLA from Hatchbox or Polymaker before trying other materials.
Reducing a model to half-size can cause walls to be as thin as a single extrusion line.
Use Prusaslicer's preview to check layer-by-layer. If walls disappear in the preview, they won't print either.
3D printing happens at home, in makerspaces, and in libraries with fabrication labs. But the fastest way to stop wasting filament on failed prints is finding people who already figured out your exact problem.
When you show up to a makerspace or meetup, lead with: "I just started, still figuring out slicing software, zero shame about dumb questions." That one line reliably turns strangers into people who hand you filament samples and invite you back.
FDM printing melts plastic filament and layers it into a solid object. It's the cheapest entry point and the most forgiving when you make mistakes.
Printers start around $200. Filament runs $15–25 per kilogram. You can print functional objects without a steep learning curve — which is why most people start here.
Resin printing uses UV light to cure liquid resin instead of melting plastic. The surface detail is sharper than anything FDM produces. If you're printing miniatures, jewelry, or detailed figurines, resin is the only real option.
The catch: resin is toxic. You need ventilation, nitrile gloves, and a wash-and-cure station. Budget an extra $50–80 on top of the printer just to handle it safely.
Multi-material FDM machines run the same basic process as a standard FDM printer, but they can swap filaments mid-print. That means two-tone parts, color logos, or dual-material functional pieces — all in one run. It's the natural upgrade once single-color prints stop feeling like enough.
The Bambu Lab X1C is the go-to machine here, landing between $800 and $1,200 depending on configuration.
SLS uses a laser to fuse powdered nylon into parts that are durable, flexible, and support-free. The results are genuinely impressive. The machines are industrial-grade and nowhere near consumer-friendly — most hobbyists should use a print service like Shapeways rather than buying one.
Bioprinting, food-grade printing, and concrete printing exist. They're being developed. None of them are relevant until you've got years of experience and a specific reason to go there.
Read about them if you're curious. Don't spend money chasing them.
If this resonates, Glassblowing explores a similar direction.
Vehicle Restoration lives in the same world — different mechanics, similar appeal.
For something adjacent, see Stone Sculpture.
Most beginners focus on print settings. They tweak speed, temperature, infill, and wonder why their prints still fail.
Settings aren't the issue. The real problem is their understanding of the machine.
The skill that truly matters is reading a failed print like a diagnostic chart. Spot the specific physical cause – under-extrusion, layer adhesion, stringing, warping – before touching any setting.
If you can pinpoint why a print failed, every failure becomes valuable data. Instead of aimlessly adjusting settings, you gather meaningful insights.
Without this skill, you're copying settings from Reddit threads meant for different setups.
Those who improve quickly aren't those with the best printers. They're the ones who can identify a bed adhesion problem instead of a temperature issue in seconds.
Next, see which 3D print issues you'll face most often and how to tackle them effectively.
Eight sessions over 30 days, roughly twice a week. That cadence gives you enough time to clear the early frustrations, finish a few prints, and get an honest read on whether you want to keep going.
If you're already thinking about the next print before the current one finishes, that's not novelty — that's the hobby. The thing to do next is open Tinkercad and start designing your own models rather than printing other people's files. That's where the activity changes from a trick to a tool.
If the sessions felt neutral — not frustrating, just flat — there's one thing worth testing before you walk away. Most people who lose interest have only ever printed downloaded files, never designed anything themselves. Spend one session in Tinkercad building something simple from scratch. That shift changes what the printer means to you.
If the fiddling and waiting actively wore you down, that's a clean answer. 3D printing has a high tolerance-for-process requirement that no amount of better hardware fixes. The waiting and adjusting is the hobby, not a phase you graduate out of.
The sign that it's taken hold: you're mentally redesigning a broken household object before you've even looked up whether a replacement part exists.
Sometimes you just need something for the next ten minutes — that's what things to do when bored is for.
Entry-level 3D printers range from $200–$500, with mid-range models between $500–$1500 offering better quality and features. You'll also need to budget for filament (plastic material), which typically costs $15–$25 per kilogram, plus occasional maintenance and replacement parts.
The basics are beginner-friendly — most modern printers come with simple software and intuitive controls that require just a few hours to understand. However, mastering design software, troubleshooting print failures, and optimizing settings takes practice and patience over weeks or months.
Print time depends on object size and complexity, ranging from 30 minutes for small items to 12+ hours for larger projects. A typical decorative piece or functional part takes 2–4 hours to complete.
You can create custom toys, phone stands, organizers, mechanical parts, miniatures, cosplay props, replacement components, and artistic sculptures. Many hobbyists design their own creations or download free designs from online communities like Thingiverse.
Most consumer 3D printers have a footprint similar to a microwave (around 12 x 12 inches), fitting easily on a desk or shelf. You'll also want ventilation or a small enclosure to manage plastic fumes and maintain consistent temperature.
No — you can download thousands of free designs from online communities and print them immediately with no design experience. If you want to create custom objects, beginner-friendly software like Tinkercad or Fusion 360 has free options with plenty of tutorials available.