BoredomBusted — Find Your Next Favorite Thing To Do
Discover hobbies, activities, places, and ideas that spark joy. Whether you're looking for something creative, active, social, or relaxing, BoredomBusted helps you find your next favorite thing to do.
Browse our hobby guides, things-to-do collections, and place ideas to never be bored again.
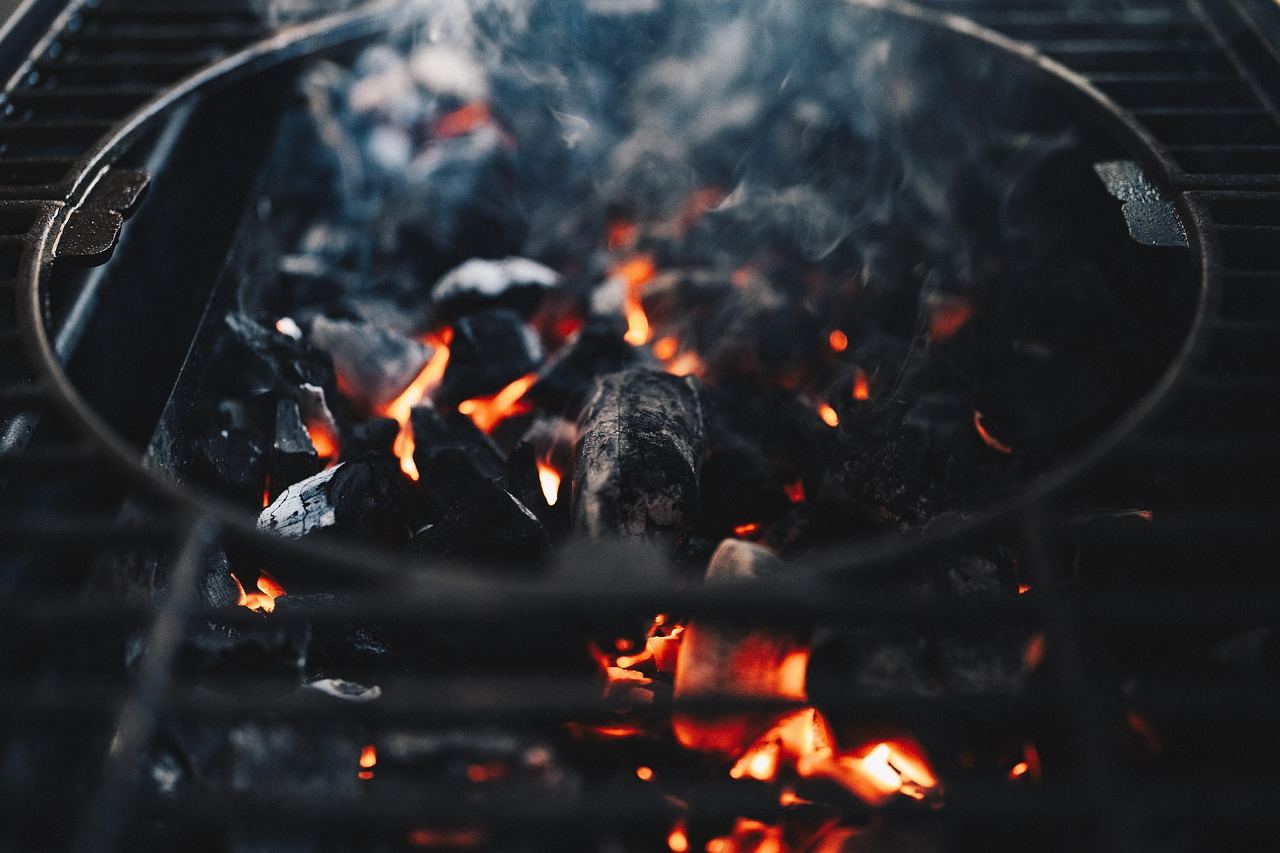
Grilling is less about mastering flames and more about becoming a heat management expert; the real secret lies in pre-cook techniques like dry brining and convection heat.
Getting started with grilling as a beginner involves understanding the basics of heat control and choosing the right fuel. Whether using gas, charcoal, or wood, it offers intense taste.
The heat source sits below the food. Grilling is reactive cooking, unlike baking or braising.
Grilling involves hands-on outdoor cooking where you manage heat sources, position food on grates, and monitor doneness using sensory cues like temperature and color. You light charcoal or ignite gas burners, adjust vents for temperature control, and employ techniques like direct and indirect grilling. Actions include marinating proteins, chopping veggies, organizing tools, and timing multi-item …
Grilling fosters a flow state by requiring focused immersion in dynamic variables like heat management and timing, leading to satisfying skill feedback loops as you refine techniques and achieve perfect results. This sense of accomplishment is amplified when successfully serving meals to guests, while the creative expression in experimenting with flavors and techniques combats monotony, ultimatel…
You think grilling is just cooking outside. Fire, meat, done – how complicated can it be?
That assumption is why most people plateau after two summers.Years pass by with the same dry chicken.
Heat management, not just fire, is key to grilling well. Moving food between zones and reading surface cues are crucial skills.
Consider flavor development before grilling. Dry brines, fat content, and surface moisture play major roles in the final result.
The grill lid is more critical than the tongs. Convection heat under a closed lid ensures proteins cook evenly.
Think about a reverse-seared thick ribeye.
You start it low and slow over indirect heat to 115°F, then sear it hard.
You get a steakhouse crust with edge-to-edge doneness. This technique comes from treating the grill as more than an on/off switch.
Grilling has a true learning curve. The next section dives into how beginners can master it from the start.
Grilling looks so easy when someone else does it. Flames flicker, meat sizzles, and everyone seems to enjoy it effortlessly.
The first time you strike a match, everything changes. You realize 'ready to cook' is a foggy concept. You're lost between glowing coals and undercooked meat.
Your first week will involve running either too hot or too cold. The food becomes your teacher before any recipe can.
By the second week, you'll map out your grill's hot spots. This map is more useful than any tutorial.
Around week three, you'll have a small success – perhaps not perfect, but a moment of real achievement.
In the fourth week, techniques like testing heat with your hand start to make sense. Trust grows.
A two-zone fire setup saves you early on. Keep coals on one side for direct heat, leaving a cooler zone as an escape route.
There's often a mix-up of undercooked and overcooked food. Sometimes, even small fires happen. These aren't failures but lessons bridging observation and practice.
Experience molds instinct. Every great griller started with fumbles until practice led to confidence. Let's tackle the common mistakes next.
When to start: Morning
Duration: 1.5 hours
Cost to try: $20
Success criteria: If you finished without burning the food, do session 2.
The smell is amazing and peeking is tempting. But resist the urge.
Opening the lid drops the temperature and adds 5–10 minutes to your cook time. Keep it closed and trust your timer instead.
Cold meat burns on the outside before cooking through. This seems efficient, but isn't.
Take meat out of the fridge 20-30 minutes before cooking. Let it reach room temperature so it cooks evenly.
Beginners often stick to the hottest area, leading to a burned outside and raw inside.
Use indirect heat for thicker cuts after searing. Move to the cooler part of the grill to avoid scorching.
Pressing with a spatula might feel productive, but it's a mistake.
You're squeezing out the juiciness. Flip the burger once, firmly, without pressing.
Early saucing burns the sugar. Most beginners don't realize sugar burns fast over direct heat.
Apply glaze or sauce in the last 3–5 minutes of cooking. That way, it caramelizes instead of blackening.
Grilling spots include your backyard, campgrounds, public parks with BBQ zones, or community gardens with shared pits. Some cities even have open-air recreation centers where you can reserve charcoal grills by the hour.
Walk up and say you're just starting out. That usually gets a griller over to your setup, eager to share advice. It's just how grillers roll.
Embrace the challenge of managing a live fire. You gain more heat control and smoke flavor, albeit with a greater chance to mess it up. Ideal for those eager to learn grilling as a craft, not just cook outdoors. Expect to spend $30–$150 on a kettle grill; the Weber 22" is the go-to starter.
Hit a button, light the burner. Enjoy consistent heat and fast startup with easy cleanup. You lose depth of flavor for convenience, but if weeknight dinners are the goal, most find it a fair trade. Entry-level grills start at $150; decent ones cost $300–$500.
Go slow with low heat and let wood do the work. Brisket at 225°F for 12 hours isn't just dinner; this is for those who've mastered basic grilling and crave a deeper challenge. Expect to invest $200–$600 in a decent offset or pellet smoker.
No grates or grill marks, just a flat steel surface over heat. Eggs, smash burgers, stir-fry — things standard grills can't touch, perfect for versatile chefs wanting one outdoor workhorse.
Use any grill to cook beside the heat, not directly over it. If working with thick cuts or whole birds, this prevents burnt outsides and raw insides, essential for advancing beyond burgers and steaks. Mastering heat zones means no extra gear needed.
Readers who enjoy this often gravitate toward Barbecuing next.
If you want a related angle, Light Painting Photography is the natural next stop.
Most beginners focus on recipes, rubs, and cook times, missing the key variable that ties them together.
Following a recipe perfectly is no guarantee of success if you overlook the assumed conditions.
Reading your grill's heat zones is crucial. Knowing where your grill runs hot or cool allows you to move food strategically.
Not just 'high vs. low heat' levels. It's about identifying physical zones on your specific grill through observation, not guessing.
Once you map out your heat zones, you stop chasing problems. You start using them. The hot edge becomes a sear station, and the cool side a holding area.
Techniques like reverse searing and carryover cooking depend on precise food placement.
Four sessions over 30 days. One cook every week so you can pace yourself and reflect between sessions.
Cooking, eating, getting immediate feedback is what makes grilling engaging. Four rounds let you feel the heat, make a few mistakes, and discover if correcting them invigorates or drains you.
If you can't wait for the next session before finishing the current one, you've found your groove. Expand your skills by trying different cuts and methods. The journey to mastery here is long and nuanced.
If grilling feels neutral, stick around for a bit. Extend to eight sessions before making a final call. Often, learning temperature control initially frustrates, but it tends to smooth out by session six.
Dreading the setup and watching the clock means it might not suit you. Consider an indoor alternative like stovetop cast iron, which offers similar cooking benefits without the fuss.
The real signal you're hooked? Watching grilling videos at odd hours just for the love of it. Not planning a meal, not prepping for an event. Just drawn to the rhythm and style of the cook.
Cooking restrictions at your residence? That's a dealbreaker—check what's allowed before making an investment.
Harsh winters without a covered space can stall progress. A long seasonal gap means starting from scratch each spring.
Not interested in meat or grilled veggies? The creative avenues narrow quickly without those staples.
When you're ready to compare options, the hobbies list lays out every direction we cover.
Not ready to pick a hobby yet? The boredom busters page has smaller things to try first.
You can start with a basic charcoal or gas grill for $100–$300, though quality mid-range grills range from $300–$800. Add essentials like tongs, spatula, and grill brush for another $30–$50. As you progress, upgrades like smoker boxes or digital thermometers are optional.
Charcoal grills produce higher heat and smoky flavor, ideal for traditional grilling, but require more setup and cleanup time. Gas grills offer faster heating, easier temperature control, and convenience, making them better for beginners or quick weeknight meals.
You can master fundamental techniques—building fires, managing heat, and cooking simple meats—in 2–3 grilling sessions. Developing consistency and handling diverse foods like seafood or vegetables takes a few weeks of regular practice.
No, grilling is beginner-friendly—the basics are straightforward: heat the grill, season your food, and monitor cooking time. Start with forgiving items like burgers and chicken, then progress to trickier items like fish or vegetables as you gain confidence.
Grills work great for vegetables, seafood, fruits, pizza, bread, and even desserts like grilled peaches. Wrapping delicate items in foil or using grill baskets expands your options and keeps smaller foods from falling through the grates.
Clean your grill grates after each use with a brush—takes 5 minutes. Once a season, empty ash (charcoal) or check fuel lines (gas), and wipe down the exterior. Proper maintenance extends your grill's life by 5–10 years.