BoredomBusted — Find Your Next Favorite Thing To Do
Discover hobbies, activities, places, and ideas that spark joy. Whether you're looking for something creative, active, social, or relaxing, BoredomBusted helps you find your next favorite thing to do.
Browse our hobby guides, things-to-do collections, and place ideas to never be bored again.
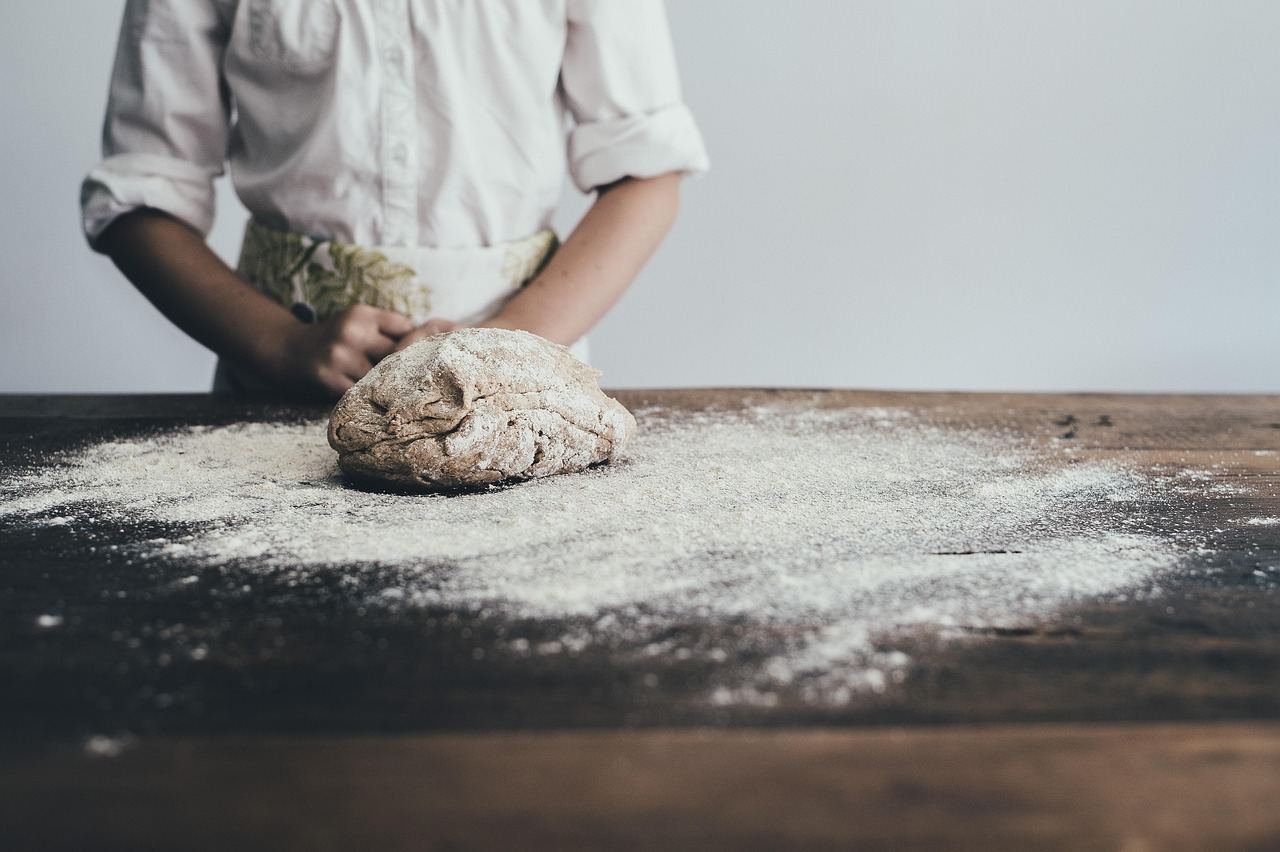
Bread making isn't just mixing ingredients; it's about creating the right environment, where temperature and humidity can turn your loaf into a brick or a masterpiece.
Learning bread making as a beginner is all about transforming simple ingredients like flour, water, salt, and yeast into delightful loaves that fill your kitchen with warmth.
Heat sets structure, yeast creates gas, and gluten holds it together.
Unlike cooking, there's no improvising mid-process – bread punishes impatience and rewards people who follow a method until they understand why it works.
In bread making, you measure and mix ingredients like flour, water, salt, and yeast, knead or pummel the dough, let it rise passively, shape it into loaves, and bake it in a hot oven, monitoring the baking process for the perfect crust and crumb texture.
Bread making induces a flow state through its low-supervision fermentation process, allowing for mental space while you anticipate results; skill feedback loops reinforce progress as you refine techniques, fostering a sense of accomplishment from transforming basic ingredients into superior loaves.
You think bread making is a grandma hobby. Flour, water, yeast, knead until your arms hurt – how complicated can it be?
That assumption is exactly why most first loaves come out like decorative bricks.
Bread making is applied microbiology. You are not just following a formula; you're cultivating a living environment. The yeast responds in ways no recipe can fully predict.
Most blame ingredients when their loaf fails.
The real variable is almost always the baker's environment.
Each step builds a protein structure – determining chew, crust, and crumb.
Imagine a baker in a 65°F apartment and another in a 78°F kitchen, both follow the same recipe. Their loaves are completely different. Neither did anything wrong.Their environments created entirely different conditions.
The gear and ingredients are almost offensively simple. What actually matters is understanding the process – and that's where the next section starts.
Baking bread looks easy until you try it yourself. The first week is a mess of confusion. You don't know what dough should feel like. Flour covers every surface, and your loaf resembles a dense brick
rather than a golden masterpiece. The unexpected sour smell fills the air. Timing feels more like guessing than skill.
Your first loaf might be edible but flat. By the second week, you start to notice over-proofed dough, often when it happens to you. In the third week, shaping becomes less confusing, and a decent crust might appear. Week four can surprise you with one perfect loaf and another that makes you rethink everything.
Before you give up, consider this: the most common beginner mistake is killing the yeast with the wrong water temperature. Get a kitchen thermometer and keep that water between 95°F and 110°F. It's physics, not personal judgment. Reduce this mistake and watch a third of your problems disappear.
Next, we'll dive into the mistakes that keep people stuck in the learning phase longer than needed.
When to start: Early morning
Duration: 1 hour
Cost to try: $10
Success criteria: if you finished without burning the dough, do session 2.
Recipes often say "let rise 1 hour." Yeast has other plans. Kitchen temperature changes everything.
Watch the dough, not the clock – proof until it's visibly doubled, then bake, regardless of what the timer says.
Boiling water feels thorough. It destroys the yeast, preventing any fermentation from starting.
Fix this by using water between 100–110°F. Test with your wrist; it should feel warm, not hot. An instant-read thermometer can make this precise.
Most beginners quit kneading when tired. They don't check if the gluten is developed enough.
Stretch a small piece of dough thin between your fingers. If it tears immediately, knead more. If it stretches translucent without tearing, you're done.
Sticky dough seems wrong, leading to more flour. This creates a dense, dry loaf.
Resist the add – use wet hands or a light oil on the surface to manage stickiness without destroying hydration.
Bread looks and smells finished, tempting an early slice. This collapses the crumb structure.
Let the loaf cool on a wire rack for at least 45 minutes; the interior is still baking from residual heat. Patience ensures chewy slices instead of a gummy mess.
Getting started with bread making can be as simple as using your kitchen counter.
Community college culinary programs and bakery workshops offer hands-on bread-making sessions if you want structured guidance.
The Bread Bakers Guild of America at bbga.org lists events and local classes that are worth checking out.
You only need to say you've never shaped a loaf, and you'll find experienced bakers ready to help instead of handing you a kit and leaving you alone.
Mix it the night before, let it sit, and bake in a Dutch oven. The long fermentation does all the work, needing no technique from you. Perfect for absolute beginners who want an easy start.
Sourdough relies on a live starter instead of yeast. This means you're nurturing a culture, not just mixing ingredients. Aim for skill-building over months, not a quick weekend project. Plan on extra weeks to grow and stabilize your starter before real baking.
Enriched doughs like brioche and challah use fat and eggs, making them richer and softer, with more forgiving margins for error. They taste like something between bread and pastry, which is **ideal for those bored with plain loaves**.
Flatbreads like pita or focaccia need no loaf pan or oven, sometimes. Achieve fresh, edible results fast—some in under 30 minutes. Ideal for those wanting low-commitment projects before taking on longer baking sessions.
Whole grain or seeded loaves use wheat, rye, or spelt. They alter hydration, rise, and flavor, behaving differently than white loaf recipes—no warning in most beginner guides. Best for those already comfortable with basics who crave more nutritional and flavor depth.
Dessert Making is a sibling pursuit and often surfaces the same kind of curiosity.
If the texture of this appeals to you, Cake Decorating is built on similar bones.
If this resonates, Fermenting explores a similar direction.
Most beginners obsess over recipes, chasing the perfect flour ratio or hydration percentage. But their efforts miss the mark. Recipes aren't the problem, they just can't read their dough yet.
Tactile dough assessment is the skill that changes everything. It's about knowing what properly developed gluten feels like and adjusting in real time based on that, not the clock.
Not knead for 10 minutes. Not let rise for 1 hour.
The dough tells you when it's ready. Until you can hear it, you're just following instructions and hoping.
When you feel the difference between under-proofed and over-proofed dough, failures become lessons. You'll stop tossing out loaves that could've been easily saved with an extra five minutes.
Without this skill, every variable—humidity, flour brand, room temperature—turns into an unpredictable challenge.
Commit to 4 sessions over 30 days. That's once a week, allowing time to process what went wrong rather than just blazing through repetitions.
You're hooked if you're planning your next loaf before the last one's even cool. You're mentally adjusting recipes, feeling energized by the last try even if it wasn't perfect. This is more than beginner interest—it's the start of a passion. Start jotting down your bakes in a notebook or phone. Improvements come faster when you keep a record.
If you're indifferent after the sessions, that's important too. Before deciding it's not for you, consider another month with a tougher recipe. Bread's early challenges can be misleading—they tend to ease up significantly with some persistence.
Actively disliking the experience indicates it's time to move on. Some hobbies are more appealing in theory, and bread often falls into that romanticized category. Recognizing it's not for you is a valid conclusion.
The real spark is there if you catch yourself eyeing crusts and crumb structures at the store without intending to buy. That's the kind of curiosity that suggests the hobby might be taking hold.
Most bread recipes take 3–5 hours total, including mixing, kneading, two rises, and baking. However, the hands-on time is only about 15–20 minutes; the rest is passive rising time, so you can work on other things while the dough develops.
You can start with just a mixing bowl, measuring cups, a spoon, and a regular oven. As you progress, many bakers add a stand mixer, Dutch oven (for better crust), banneton proofing basket, and kitchen scale for precision, but none of these are required for beginners.
Bread making has a learning curve, but it's very achievable for beginners—most people bake decent bread on their first try. The key is understanding basic concepts like hydration, fermentation, and temperature; once you grasp these, your results improve quickly.
You can start for under $20 using kitchen tools you likely already own. Flour, water, salt, and yeast cost just a few dollars per loaf, making homemade bread cheaper than buying artisanal loaves from a bakery.
Artisanal bread uses long fermentation (often 12–24+ hours), minimal additives, and traditional techniques to develop deeper flavor and better texture. Regular store-bought bread uses commercial yeast, shorter rises, and preservatives for convenience and shelf life.
Yes—hand-kneading works perfectly and is how bread has been made for centuries. It takes about 10 minutes of work but gives you better feel for the dough. A Dutch oven helps with crust, but you can bake in a regular pan or on a baking sheet with good results.