BoredomBusted — Find Your Next Favorite Thing To Do
Discover hobbies, activities, places, and ideas that spark joy. Whether you're looking for something creative, active, social, or relaxing, BoredomBusted helps you find your next favorite thing to do.
Browse our hobby guides, things-to-do collections, and place ideas to never be bored again.
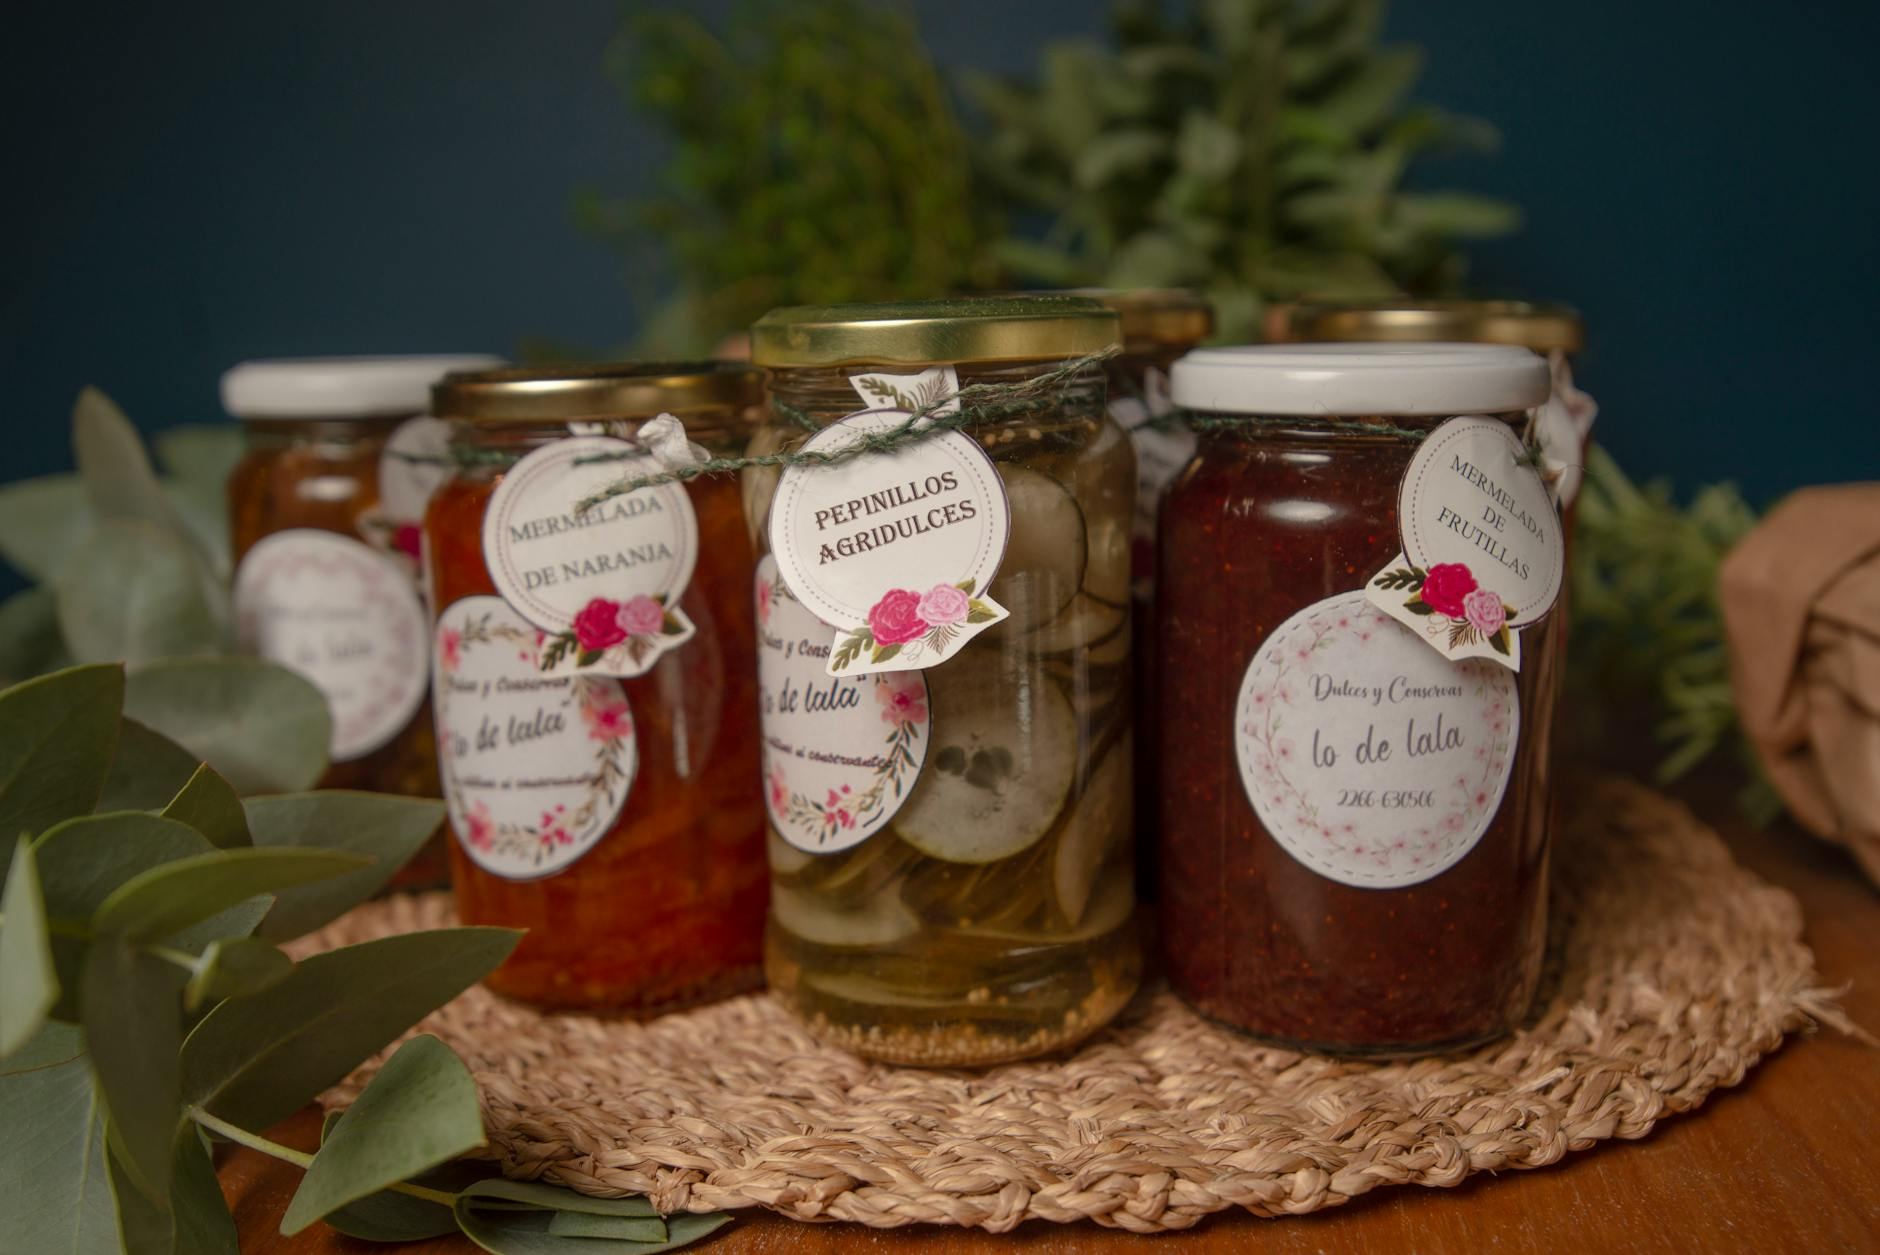
Food preservation isn’t just for experts; even beginners can start with simple methods like freezing or jam-making with minimal tools.
Learning food preservation as a beginner involves understanding various techniques that can help you extend your food's shelf life. Enjoy seasonal produce year-round.
Canning, freezing, and drying reduce food waste and can help you save money.
Food preservation involves hands-on techniques to extend the shelf life of produce and meats, such as washing, chopping, and blanching vegetables, canning with vacuum seals, fermenting foods, or freezing prepared items. Practitioners follow precise recipes, monitor cooking times, and experiment with flavors while engaging in tasks like packing jars, mixing brines, or testing the seal of canned go…
Food preservation fosters a flow state through its skill-intensive, sequential tasks that require focused attention and offer immediate sensory feedback, such as the sound of jars sealing. The practice also promotes a sense of accomplishment as practitioners transform seasonal produce into shelf-stable products, creating a feedback loop that reinforces skill mastery and invites creativity in reci…
You might think that food preservation is only for experts who have hours to spare, but this is a misunderstanding.
Even beginners can start preserving with just a few tools and simple recipes.Begin with freezer-friendly options or easy jams. These require minimal investment in both time and skill.
Freeze your favorite fruits. Get a taste of the process without any pressure.
Build your confidence step by step.** Skills grow with each batch, opening new culinary doors.
Soon you'll find yourself ready for more advanced methods. Reduced waste and homemade delicacies are just the start.
Your first session will likely smell better than it goes. There's steam, warm fruit, and the sharp tang of vinegar filling the kitchen. Your hands are busy — washing, chopping, stirring. But the gap between "following a recipe" and actually feeling in control is bigger than most beginners expect. Timing feels tight. You're watching three things at once.
The part nobody warns you about is the waiting. You pack your jars carefully, lower them into the water bath, and then — nothing to do but watch a pot. When the lids finally ping as they seal, it's genuinely satisfying. But before that moment, you'll second-guess every step at least once. Did I leave enough headspace? Is that seal actually tight? That uncertainty is normal, and it fades fast.
Early batches teach you things no guide can fully prepare you for — produce that releases more liquid than expected, a jar that doesn't seal and needs refrigerating instead, a flavor that's sharper than you wanted. None of these are failures; they're just the actual learning curve, compressed into a few hours. Most beginners walk away from their first session already planning the next one.
The momentum builds quickly once you have one successful batch on the shelf. You start noticing seasonal produce differently — seeing a flat of strawberries as an opportunity rather than a quantity problem. Before that click happens, though, there are a handful of beginner mistakes that reliably derail that first batch — and knowing them ahead of time makes all the difference.
When to start: Morning
Duration: 1.5 hours
Cost to try: $10
Success criteria: If you fill one mason jar with neatly cut produce, evenly salted layers, and a tight seal, do session 2.
Canning looks straightforward — fill a jar, seal it, done. But beginners often skip the step of learning why the rules exist. Botulism is odorless and invisible, and improperly canned low-acid foods can harbor it without any warning signs.
Before your first canning session, start with high-acid foods like jams and pickles using a tested recipe from the USDA or Ball — these have much more forgiving safety margins than vegetables or meats. Save pressure canning for after you've got a few successful water-bath batches under your belt.
A big haul from the farmers market feels like an opportunity. It quickly becomes a five-hour ordeal with three half-finished projects and produce going soft on the counter. This is the single fastest way to burn out on the hobby entirely.
Pick one ingredient and one method per session, especially early on. A single batch of strawberry jam teaches you more than three simultaneous projects ever will. The sequential, focused nature of preservation is what makes it satisfying — don't fight that.
Freezing feels like the easiest method, so beginners often assume it requires no prep. Toss the vegetables in a bag and freeze them. But enzymes that cause spoilage keep working even at freezer temperatures, degrading texture and flavor over time.
Blanching — briefly boiling vegetables then shocking them in ice water — deactivates those enzymes and locks in color and texture. It adds ten minutes to the process. The difference in quality after three months in the freezer is dramatic.
Fermentation invites creativity, and that's part of the appeal. But beginners sometimes treat salt ratios as approximate, adding "a bit more" or eyeballing the measurement. Salt concentration is what prevents harmful bacteria from outcompeting the beneficial ones.
Use a kitchen scale and follow a specific brine percentage — 2% for most vegetable ferments is a reliable starting point. Once you understand how a correctly fermented batch looks, smells, and tastes, you'll have a reliable baseline for knowing when something's off.
This sounds minor until you have eight identical jars and no idea which is the tomato sauce from last August and which is the plum jam from two weeks ago. Unlabeled jars also make it impossible to track what's working and refine your recipes over time.
Label every jar with the contents, the date, and the method before it goes on the shelf. Masking tape and a marker works fine. Treat your pantry like a simple inventory and you'll actually use what you make.
Start with r/Canning and r/fermentation on Reddit. Both are active, beginner-friendly, and full of people sharing batch results and troubleshooting seal failures. r/fermentation alone has hundreds of thousands of members posting daily.
The National Center for Home Food Preservation (nchfp.uga.edu) runs an active online community alongside its safety guides. The Ball Canning community on Facebook connects you with experienced canners who post seasonal recipes and answer questions fast.
Your local Cooperative Extension office often runs hands-on canning and food safety workshops — many of them free. Search "[your county] Cooperative Extension food preservation" to find scheduled classes near you.
Farmers markets are another underrated spot. Vendors who sell preserves often know local preservation clubs or swap groups. Community kitchens and food co-ops also host seasonal canning days — check your nearest co-op's event calendar directly.
Water bath and pressure canning turn fresh produce into shelf-stable jars that last for months. You pack fruit, vegetables, or sauces into sterilized jars and process them with heat to create a vacuum seal.
This is the route for anyone who wants a stocked pantry they built themselves. The satisfying pop of a sealing lid never gets old.
Fermentation uses salt, water, and natural bacteria to preserve food — think sauerkraut, kimchi, and pickles. You mix a brine, pack your vegetables, and let time do most of the work.
It suits people who enjoy watching a slow process unfold and tasting as they go. Each batch is slightly different, so there's always something new to learn.
Freezing is the fastest way to start preserving without buying specialist equipment. Blanch your vegetables, portion your fruit, and seal everything in freezer bags.
This works best for beginners who want real results on their first attempt. You can be eating summer berries in January with almost no learning curve.
Dehydrating removes moisture from food using low heat, air, or sun exposure. Dried herbs, fruit leather, and jerky all come from this method — and they keep for a long time.
It appeals to people who want light, portable, long-lasting food they can snack on anywhere. A basic dehydrator costs less than most kitchen gadgets and earns its place quickly.
Jam and jelly making sits right at the intersection of preserving and cooking. You cook fruit down with sugar, pour it into jars, and end up with something far better than anything off a supermarket shelf.
This is the go-to for anyone who loves the idea of a homemade gift that took real skill to make. It's also one of the most forgiving methods for beginners experimenting with flavor combinations.
Curing and smoking use salt, nitrates, and controlled heat to preserve protein-heavy foods. Bacon, smoked salmon, and cured sausages all start here.
This branch rewards people who want deep craft and are comfortable following precise safety guidelines. The results are genuinely impressive — and hard to replicate any other way.
Beverage Making is a sibling pursuit and often surfaces the same kind of curiosity.
Some of the same instincts show up in Home Brewing — worth a look if this clicked.
The skill that separates people who improve at food preservation from people who plateau is learning to read process, not just follow steps.
Most beginners treat recipes like checklists. They measure, they time, they move on. That works — until it doesn't. A jar doesn't seal. A brine tastes flat. Fermentation stalls. Preservers who keep improving are the ones who understand why each step exists, not just what the step is. That shift in thinking changes everything about how you troubleshoot and experiment.
Take blanching before freezing. You can do it correctly without knowing it stops enzyme activity that causes texture loss. But the moment you understand that, you stop guessing about timing. You know why two minutes matters for green beans and three matters for broccoli. The recipe becomes a starting point, not a ceiling.
That same logic applies to salt ratios in fermentation, acidity levels in canning, and sugar concentrations in jam. Once you see the pattern — that each variable is controlling a specific outcome — you stop feeling dependent on a single recipe. The next section covers exactly which techniques reward that kind of understanding first.
Run four sessions over the next month — roughly once a week. Start with something freezer-based, then attempt a simple jam or quick pickle by the end.
You found yourself watching the jars cool on the counter, listening for that satisfying pop of the seal. That sensory pull — the sounds, the smells, the visible transformation — is the clearest sign this hobby has real staying power for you. Move toward water bath canning next, then explore lacto-fermentation once you're comfortable with the basics.
You followed the steps, the food turned out fine, and you felt completely neutral about it. Before writing it off, try shifting the angle — fermentation is a different experience from freezing, and the flavor experimentation side of it attracts people who felt nothing from straight canning. If that still leaves you cold, the issue isn't your skill level — this particular process just doesn't hook you.
The chopping, the waiting, the precision — all of it felt like unpaid kitchen labor with extra steps. That resistance usually means you want creative output without process-heavy constraints. Cooking-focused hobbies like bread baking or recipe development tend to suit that preference better — faster feedback, more improvisation.
If you caught yourself at the farmers market mentally calculating what you could preserve before a seasonal crop disappears, the hobby has already taken hold. That unprompted scarcity thinking is the real tell.
Looking for something lighter? Our boredom-busters guide is built for exactly that.
Basic food preservation requires minimal investment — you can start with jars, lids, and sugar for pickling or jam-making for under $50. More advanced methods like water bath canners, pressure canners, or dehydrators range from $30–200, but these tools last for years and pay for themselves quickly as you preserve seasonal produce.
Pickling, freezing, and jam-making are the most beginner-friendly methods since they require minimal equipment and have forgiving learning curves. These three techniques teach you fundamental preservation principles while producing reliable, delicious results on your first try.
Shelf life varies by method: properly canned goods last 1–2 years, pickled items last 6–12 months, frozen items last 8–12 months, and dried foods can last 6 months to several years depending on storage conditions. Storing in cool, dark, airtight containers maximizes longevity across all methods.
Food preservation is safe when you follow tested recipes and proper techniques—botulism risk is extremely low with high-acid foods (jams, pickles) but requires careful attention to pressure canning low-acid foods like vegetables and meat. Using established USDA guidelines and quality recipes eliminates nearly all risk.
Simple methods like freezing or refrigerator pickling take 15–30 minutes of active work, while water bath canning takes 1–2 hours total. Larger projects like making multiple batches or preserving large harvests can take a full day, but much of that time is passive cooking and cooling.
Freezing preserves food by stopping bacterial growth through cold, pickling uses acid or salt to prevent spoilage, and canning uses heat to create an airtight seal that eliminates microorganisms. Each method works best for different foods: freezing is ideal for vegetables and berries, pickling for cucumbers and vegetables, and canning for jams and high-acid foods.