BoredomBusted — Find Your Next Favorite Thing To Do
Discover hobbies, activities, places, and ideas that spark joy. Whether you're looking for something creative, active, social, or relaxing, BoredomBusted helps you find your next favorite thing to do.
Browse our hobby guides, things-to-do collections, and place ideas to never be bored again.
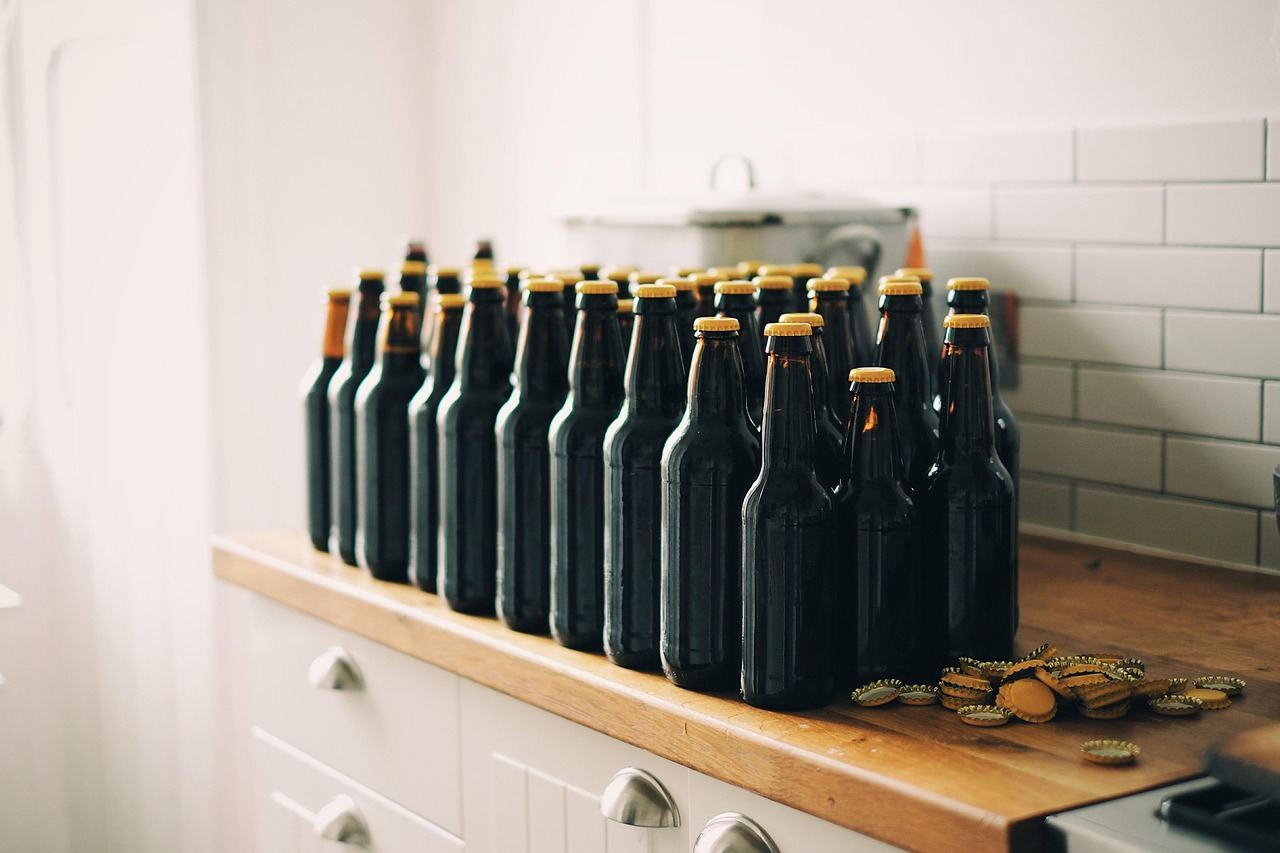
Home brewing is less about making beer and more about mastering the art of food science, where your experiments lead to sensory breakthroughs beyond just beverage.
Getting started with home brewing as a beginner opens up a fascinating world of crafting your own beer, wine, cider, or mead right in your kitchen.
Yeast consumes sugars and produces alcohol and CO₂ over days or weeks.
Unlike cooking or baking, the finished product keeps improving after you're done, and every batch teaches you something the last one didn't.
Home brewing is the process of crafting beer from raw ingredients, involving specific steps like heating water, steeping grains, boiling wort with hops, cooling, fermenting with yeast, and finally bottling or kegging the beer. This multi-stage activity can take several hours to weeks, requiring careful monitoring, sanitation, and skill to produce distinct flavors and consistent quality.
Home brewing fosters a flow state through its intricate rituals, demanding focused attention while balancing challenges. The iterative feedback loop of tasting and tweaking recipes builds confidence and encourages creativity, while tangible outcomes provide a sense of accomplishment. Additionally, brewing can enhance social belonging through shared experiences and community engagement, preventing…
You think home brewing is a garage hobby for people who own too many mason jars. Buy a kit, follow steps, drink something that tastes like a science experiment gone sideways.
It's not just about making beer; it's about mastering a craft.
The real lesson is how ingredients interact with pressure, temperature, and time. Brewing connects to the same principles behind fermentation, bread, and cheese.
Many stop at just making a drink. The dedicated ones craft a system. They tweak variables, analyze results, and intentionally improve.
The sensory training transforms how they taste. Seasoned brewers detect flavors in coffee and wine that others miss.
Consider a new brewer who finds their IPA always turns out too sweet. They realize the summer heat affects fermentation temperatures. A simple water bath and thermometer fix the issue. This is when brewing transcends recipes and becomes a skill.
Curious about the tools? Get ready to find out just how straightforward they can be.
A brew day video can look tranquil. Someone stirs a kettle, sips coffee, everything seems peaceful and easy.
Reality hits when your timer rings while you're buried in a grain bag, realizing something might already be off. Your initial confidence from YouTube quickly slips away.
You start with high hopes, one pot, and a kitchen that smells like home. Soon it's four vessels on the stove, hydrometer readings you second-guess, and wort somehow on the ceiling. Your closet holds a bubbling fermenter, and the waiting begins.
The first week involves more cleaning than brewing. By day three, you're obsessively checking the airlock as if it were a magic money machine. Week two brings doubt as the bubbling slows, spiraling you into forum-reading frenzies. By week three, doing nothing feels wrong but is right. This is where impatience has most beginners opening too soon.
You'll bottle by week four and wait again. You realize this hobby is less about brewing and more about leaving things alone. Your sanitizer, like Star San, protects your brew from your gear, not your recipe. Messy technique and timing can be forgiven, but one unsanitized spoon can ruin everything. Get serious about sanitation before diving into the flavors of hops.
When to start: Morning
Duration: 1.5 hours
Cost to try: $25
Success criteria: If you cool the wort into the carboy, pitch yeast, and lock the fermenter so it starts bubbling in a dark place, do session 2.
Most beginners pitch the yeast and hope for the best. This means you'll never actually know if fermentation finished or stalled. Get an original gravity (OG) reading before starting. Use a hydrometer, then compare it to your final gravity (FG) to confirm the beer is actually done.
Curiosity is understandable, but opening the lid invites contamination. Trust your airlock. If it bubbled for days and slowed, leave it sealed. Wait until your scheduled transfer date.
Beginners assume ambient temperature equals beer temperature. But fermentation generates heat, often pushing your wort 5–8 degrees higher. Use a water bath and an aquarium thermometer on the vessel.
A still airlock isn't a green light to bottle. Airlocks can stop long before yeast finish. Wait for two identical gravity readings 48 hours apart before bottling.
Municipal water suppresses microbial growth, which you don't want for brewing. Add a crushed Campden tablet per 10 gallons to neutralize chlorine and chloramine. This should happen before your water touches grain or hops.
Home brewing is mostly a solo activity, but you'll start in your own kitchen or garage. Find a corner with decent ventilation. Make sure you have access to a stovetop. That's really all you need to begin.
Your best first step is the American Homebrewers Association club finder. Search "homebrew club near me site:homebrew.org" to find registered clubs by zip code at homebrewersassociation.org/community/clubs.
Meetup.com is another resource with active listings. Search for "[your city] homebrew club" to find groups and their meeting schedules. They often welcome new faces to join.
Pop into your local homebrew supply shop. These stores are hubs for homebrewers and the staff typically know all the active local clubs. They might even be members.
Explore r/homebrewing on Reddit. Include your city name in your search. You'll find regional threads and hidden clubs without formal listings.
Join the American Homebrewers Association (AHA) for access to competitions, recipes, and their magazine, Zymurgy.
Visit a meeting and say, "I've never brewed before – can I watch a batch?" This usually gets you a walkthrough, someone to lend equipment for your first solo try, and an invite to the next meet-up.
Extract brewing skips the mashing step – you use pre-made malt extract instead of converting grain yourself.
It's the clearest on-ramp for beginners, cutting your brew day from six hours to three. Starter kits are built around this method for a reason.
This is the full process – you control everything, starting from raw grain.
The flavor ceiling is higher, but so is the time commitment and equipment cost. Best for brewers who've done a few batches and want real control over their recipes.
A middle ground between extract and all-grain – you mash a small amount of grain but still lean on extract.
It's underrated as a stepping stone, giving you a taste of grain brewing without a full equipment overhaul. One large mesh bag is all the extra gear you need.
Not a brewing method, but a finishing choice that changes your whole setup.
Kegging means no bottle-capping, no priming sugar math, and beer that's ready faster. The CO2 system and kegerator cost $150–$400 upfront – worth it once you're brewing consistently.
Uses the same fermentation logic as beer, but starts from apple juice or honey instead of grain.
Much simpler for absolute beginners – no mashing, minimal equipment, and faster feedback loops. If beer feels overwhelming, cider is a legitimate first project.
Another variant that pulls from the same roots is Mixology.
If the texture of this appeals to you, Beer Brewing is built on similar bones.
Most beginners obsess over ingredients—chasing better hops, fancier malts, more expensive yeast. But the recipe isn't the problem. It's their process consistency. They ignore the real game changer: temperature control literacy.
Success in home brewing comes down to one thing: knowing exactly what your yeast is experiencing at every stage. This means adjusting your environment to match your yeast, not bending your yeast to fit your environment.
Forget 'keep it cool.' It's about tracking the actual fermentation temperature—not ambient room temp—and understanding the yeast's sweet spot within a 2–3°F window.
Nail the temperature, and your off-flavors disappear—no more harsh, boozy bite or banana-ester weirdness that made your last batch 'pretty good, but.' Without it, even the best ingredients can't save you from brewing something that tastes like a mistake.
Brewers who plateau often ferment at room temperature—and calling it 'close enough' is never close enough.
Commit to three full brew days over 30 days. One batch start to finish, a second to fix any confusion, and a third to decide if the rhythm suits you.
You can't stop thinking about the batch fermenting. You're checking gravity readings without prompting and planning what to change next time. This isn't just interest; this means you're a fit for the hobby. Dive into researching all-grain brewing and start building your second kit list.
You finished the sessions, felt okay, but didn't think much about it afterward. That's not excitement – that's indifference. Extending the trial rarely changes this. Enthusiasts often can't stop discussing their first batch before it's even ready to drink.
You found the waiting more frustrating than enjoyable. Brewing requires patience, with feedback loops lasting weeks. Waiting for something you can't touch isn't for everyone. If you dislike this, move on to something with quicker results.
You find yourself in the craft beer aisle, reverse-engineering the label to understand the brewing process. Not just style, but also hops, fermentation temperatures, and grain bills. This curiosity signals you're already thinking like a brewer.
When you don't want to commit, things to do when bored is a better starting point.
Most home brewing batches take 4–6 weeks from start to finish, including fermentation and bottling time. Active brewing time is only 2–3 hours, but you'll need patience as the beer ferments and conditions. Many brewers start their first batch and enjoy it within a month or two.
At minimum, you'll need a fermenter, airlock, bottling equipment, a large pot, sanitizer, thermometer, and hydrometer. Starter kits typically cost $100–$200 and include most essentials. As you progress, you can invest in additional equipment like temperature controllers or kegging systems.
Home brewing is legal in the United States for personal use up to 100 gallons per person per year (maximum 200 gallons per household). Laws vary significantly by country and some regions, so check your local regulations before starting. Many countries prohibit home brewing or have strict limits, so verify legality in your area first.
Initial startup costs range from $100–$300 for basic equipment, while each batch typically costs $15–$30 to produce. This works out to roughly $1–$2 per bottle, significantly cheaper than buying craft beer. As you brew more, costs decrease since equipment is reusable.
Yes, home brewing is beginner-friendly if you follow recipes and sanitation guidelines carefully. Most first-time brewers produce drinkable beer, though it may not be perfect. Starting with simple ales and using quality ingredients and kits designed for beginners greatly increases your chances of success.
Ales ferment at warmer temperatures (65–75°F) and finish faster (1–2 weeks), making them ideal for beginners. Lagers require cooler temperatures (50–55°F) and take longer to ferment, but produce crisp, clean flavors. Most new brewers start with ales since they require less temperature control equipment.