BoredomBusted — Find Your Next Favorite Thing To Do
Discover hobbies, activities, places, and ideas that spark joy. Whether you're looking for something creative, active, social, or relaxing, BoredomBusted helps you find your next favorite thing to do.
Browse our hobby guides, things-to-do collections, and place ideas to never be bored again.
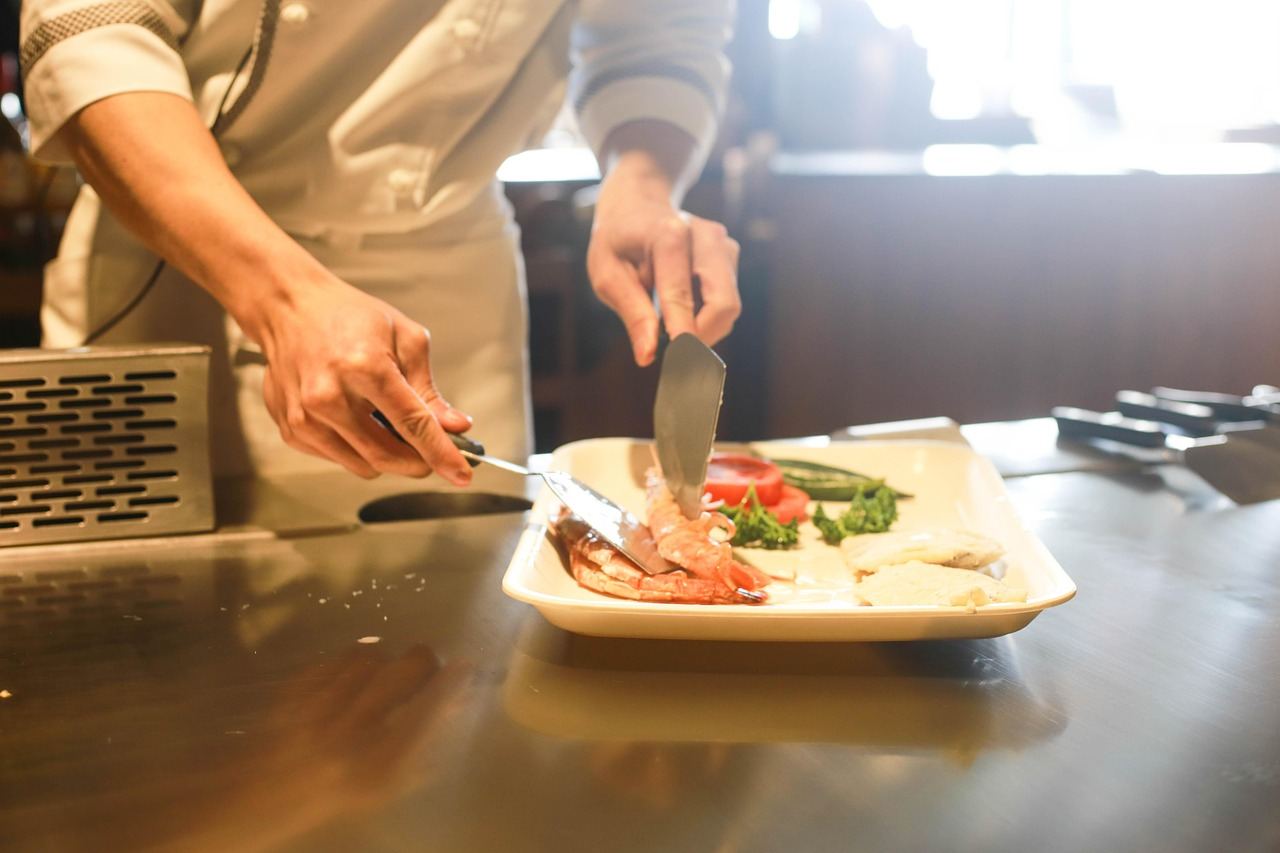
Sous vide isn’t just for fancy kitchens — it makes cooking less about timing and more about consistent temperature control, turning out perfect meals effortlessly.
Learning sous vide cooking as a beginner is an excellent way to achieve perfectly cooked meals with minimal effort and precision. Food is vacuum-sealed in a bag and submerged in a precisely temperature-controlled water bath for an extended period.
Unlike grilling or pan-cooking, you're controlling the exact endpoint temperature of the food itself – not the heat source – which makes overcooking structurally impossible.
In sous vide cooking, hobbyists seal ingredients in vacuum bags and immerse them in a precisely temperature-controlled water bath using an immersion circulator, allowing for slow cooking that ensures perfect doneness without overcooking. They monitor temperatures and times, experiment with different foods and infusions, and finish dishes with techniques like searing to achieve desired textures.
Sous vide cooking fosters a flow state by providing precise control over cooking variables, which aligns challenges with skills, allowing for deep immersion in the cooking process. The incremental skill feedback from consistently achieving perfect results builds confidence, while creative experimentation satisfies a desire for novelty and self-expression, resulting in a strong sense of accomplish…
You think sous vide is for restaurants and people with too much time. A glorified bag-in-water trick that swaps actual cooking skill for expensive equipment and a timer.
That assumption is going to cost you some genuinely great meals.
You've been treating cooking as a precise target practice.
Picture this: a pork tenderloin at 140°F for 90 minutes emerging flawlessly.
No gray band. No dry outside hiding a pink center.
You sear it for 90 seconds. It looks like a photo.
Once you see what consistency feels like, the next question is how to set it up so it runs itself.
Watching someone pull a perfect medium-rare steak from a water bath looks effortless. It basically is — but not the first time, and not because sous vide is hard.
The gap is mostly in your head. You expect a machine to do everything, then feel weirdly responsible when you still have to think. That disorientation is the whole first week — not failure, just recalibration.
Most beginners nail the water bath and blow the finish. A grey band shows up on the steak, and the machine gets the blame — but it was the pan temperature. The two-minute sear is where the result actually gets made, and that skill lives entirely outside the water bath.
By week two most people overcorrect on the sear and accidentally get it right. It feels like a fluke. It wasn't. Week three is usually when someone tries chicken thighs or eggs and something genuinely surprises them. Week four is quieter — you stop checking the recipe mid-cook, which is the real signal that something has clicked.
One practical thing worth knowing before your first session: water displacement seals a zip-lock bag better than most entry-level vacuum sealers. Lower the filled bag slowly into the water before clipping it to the edge — the pressure forces the air out without any extra equipment. The next section covers the mistakes that keep people stuck in the frustrating half longer than they need to be.
When to start: Morning
Duration: 1.5 hours
Cost to try: $15
Success criteria: if you finished without overcooking the chicken, do session 2.
The bag comes out looking cooked, so beginners plate it straight away. Then they wonder why a perfectly cooked steak tastes flat and a little sad.
The sous vide bath builds texture. A 90-second blast in a screaming-hot cast iron pan is where the flavor actually gets built. No sear means no crust, no Maillard reaction, no real reason to eat it.
Most temperature charts online aren't wrong — they're just written for someone else's texture preference. A chart optimized for a well-done crowd will steer a medium-rare fan badly every time.
Use Serious Eats' temperature guides until you know enough to deviate. Their numbers are tested obsessively against specific texture outcomes — not just pulled from a generic doneness scale.
Salt and aromatics behave differently under sustained heat and pressure. Whatever feels like enough going into the bag is probably half what you actually need.
Season more aggressively than feels right, and add a small pat of butter or a smashed garlic clove directly in the bag. The enclosed environment concentrates everything — use that to your advantage.
Longer feels more forgiving. It's not. Chicken at 145°F for six hours doesn't get silkier — it goes mushy. The extended time breaks down proteins past the point of pleasant.
Treat the upper limit of your protein's time window as a hard stop, not a suggestion. More time is only better up to a point — and that point is earlier than most beginners assume.
Moisture is a sear's enemy. Pull food straight from the bag and you get steam, not crust — the pan drops temperature and the surface stews instead of browning.
Pat everything dry with paper towels and rest it uncovered for two minutes before it touches the heat. Two minutes of patience is the difference between a crust and a gray exterior.
Sous vide is a home kitchen hobby. Your countertop and an outlet are all you need.
There's no official sous vide body. The online community sets the standards, with r/sousvide being a prominent gathering spot.
Mention that you're new and exploring times and temperatures. Sous vide enthusiasts love sharing their temperature charts.
You'll likely receive a Google Sheet of tested cook times to get started.
Cold sous vide skips heat entirely. You use the vacuum seal and a cold water bath to infuse flavors — cocktail bitters, flavored oils, pickled vegetables in minutes instead of days.
Temperature control barely matters here. Best entry point if you want to learn bag prep and sealing before risking an undercooked protein. Your existing setup works fine — no extra gear needed.
Most sous vide content ignores this, but vegetables and grains often need 183°F–190°F to break down properly — far higher than protein temps. Carrots at 185°F for an hour concentrate flavor instead of diluting it.
Best for cooks who already have protein dialed in and want to push into new territory.
This is holding food at a specific temp long enough to make it safe — without technically cooking it. Eggs at 135°F for two hours stay custardy but are safe to serve raw-style.
The right approach for sauces, desserts, and anyone cooking for kids, elderly family members, or guests where food safety isn't negotiable.
The finishing-first method flips the standard sequence — you sear before the water bath instead of after. The crust forms first, then the bath finishes cooking through.
Results are genuinely debated, but some cooks report less moisture loss during the final sear. Worth trying only after you have months of standard sous vide as a baseline to compare against.
Traditional curing takes days or weeks. Sous vide can replicate the texture and safety profile of pastrami, confit, and rillettes in a fraction of that time.
This is the most gear-sensitive variant — zip-lock bags won't cut it. You need a vacuum sealer and a solid grasp of safe internal temp timelines before attempting any cured meat project.
Best reserved for experienced sous vide cooks — not a starting point.
A close neighbor worth considering: Pickling.
A close neighbor worth considering: Cheese Making.
Master the Maillard reaction after sous vide for a restaurant-quality finish.
Moisture ruins your sear before it starts. Controlling surface moisture is key to achieving the Maillard reaction.
Sous vide gives you a perfectly cooked interior, but your dish lands on the plate wet. Wet surfaces steam instead of sear. Every effort in precision cooking goes out the window with improper finishing.
Control moisture for a crust that rivals any restaurant. Achieving that deep, lacquered texture elevates your meal.
Dry it right: pull the protein from the bag, place it on a wire rack in the fridge for 15–30 minutes. This step achieves what paper towels can't.
Searing demands a hot carbon steel or cast iron pan. Push it past the smoke point, ensuring full contact.
Test it yourself: compare searing straight from the bag versus after the rack rest. Same pan, same time. You won't skip drying again.
Commit to 4 sessions over 30 days — roughly one cook per week. That matches the natural rhythm of sous vide: you need time between attempts to eat the results, notice what you'd change, and actually want to do it again.
You're already planning the fifth cook before the fourth one is done. That's the signal — you're not just eating well, you're thinking in temperatures and times. Buy a vacuum sealer, start a cooking log, and stop second-guessing the hobby.
It worked, the food was good, but you haven't thought about it since. That's usually not boredom — it's that you haven't found your thing yet. Try one genuinely harder cook: a whole duck leg or a 48-hour short rib.
You resented babysitting a water bath for two hours to eat a chicken breast. Honest answer: that feeling doesn't go away. Some people find the hands-off wait freeing — others find it just slow — and only one of them is you.
You're reading restaurant menus differently — specifically noticing when something is described as "slow-cooked" and wondering what temperature they used. That's not casual curiosity — that's your brain already cooking.
A few specific situations where the workflow actively works against you — worth checking before you spend anything.
You'll need an immersion circulator (also called a sous vide machine), a pot or container to hold water, vacuum sealer bags, and a heat-safe vessel. An immersion circulator is the core tool—it heats and circulates water to precise temperatures—and these range from budget-friendly ($60–$100) to premium models ($200+). Many beginners find affordable immersion circulators sufficient for home cooking.
Cooking times vary significantly based on food type and thickness, typically ranging from 30 minutes to several hours. Thin cuts of steak or fish cook in 45 minutes to 1.5 hours, while tougher cuts like brisket or short ribs benefit from 24–48 hours of slow cooking to break down connective tissue. The extended time is one of sous vide's advantages—you set it and forget it.
You can cook nearly any protein—steak, chicken, fish, pork, and lamb—as well as vegetables, eggs, and even desserts. Sous vide excels with proteins that benefit from precise temperature control and can become dry using traditional cooking methods. It's particularly popular for steaks (edge-to-edge doneness), salmon (tender and moist), and tough cuts that become tender through long, slow cooking.
No—sous vide is actually one of the easiest cooking methods to master. You set the water temperature, place your sealed food in the bath, and wait; there's no stirring, flipping, or guessing. The hardest part is learning the ideal temperatures for different foods, but charts and apps make this straightforward.
Sous vide uses precise temperature control to cook food evenly throughout—no overcooked edges or undercooked centers. Sealing food in bags traps flavors and moisture, preventing drying out, and this method allows you to achieve exact doneness levels impossible with conventional methods. The result is consistent, restaurant-quality texture and taste every time.
Initial startup costs are moderate: an immersion circulator ($60–$200), a large pot ($20–$50), and bags or containers ($10–$20). Your total first investment is typically $100–$300, and ongoing costs are just bags and ingredients. Compared to buying restaurant-quality meals regularly, this investment pays for itself quickly.