BoredomBusted — Find Your Next Favorite Thing To Do
Discover hobbies, activities, places, and ideas that spark joy. Whether you're looking for something creative, active, social, or relaxing, BoredomBusted helps you find your next favorite thing to do.
Browse our hobby guides, things-to-do collections, and place ideas to never be bored again.
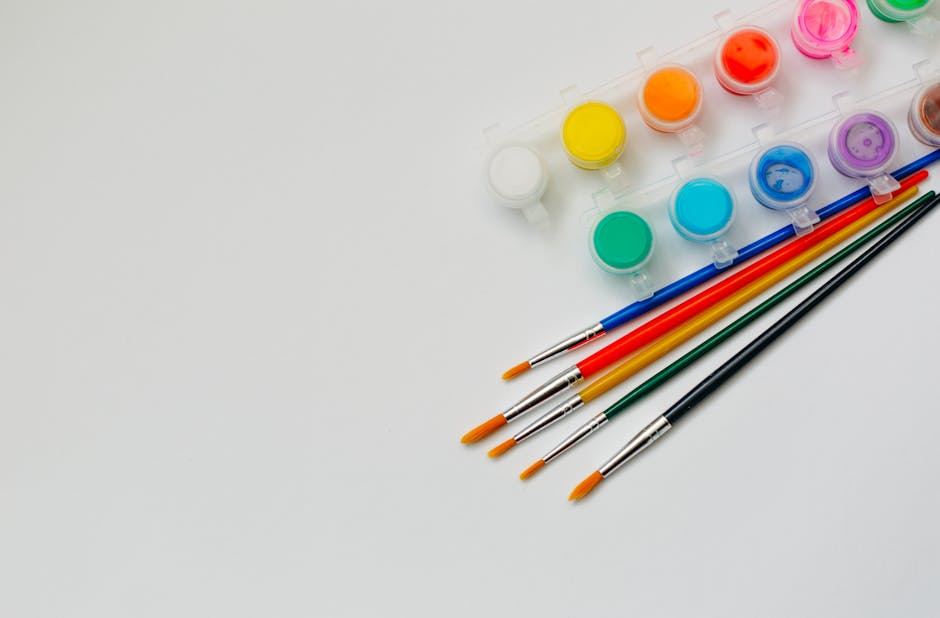
Most people think acrylic painting is the easy option — the forgiving medium you pick up before you're ready for oil or watercolor. That's backwards. Acrylics are fast-drying, unblendable after about 60 seconds, and completely unforgiving of a muddy palette. The reason beginners love them isn't that they're easy. It's that they're immediate.
You can paint over mistakes, layer colors within an hour, and clean up with water. That speed is the whole game — and once you understand how to work with it instead of against it, acrylics become one of the most satisfying painting mediums you can pick up.
There are three things that trip up almost every beginner, and none of them are about artistic talent.
Drying time kills blending. Acrylics dry in 15–30 minutes on the palette and even faster on a warm canvas. If you're trying to blend two colors on the surface the way you would with oils, you'll hit a streaky, dragged mess. You have to work fast, keep your palette wet, or use a retarder medium to buy time.
Colors shift when they dry. Acrylic paint dries slightly darker than it looks wet. This catches beginners constantly — you mix what looks like the perfect tone, it dries, and suddenly everything looks different. You have to account for this shift when matching colors across a session.
Water consistency changes everything. Add a little water and you get a smooth, flowing stroke. Add too much and you break the acrylic binder — the paint becomes weak, chalky, and won't adhere properly. The general rule: no more than 30% water by volume, and use a medium if you want to go thinner.
Your first session will probably be a simple study — a single object, a basic landscape, or just color mixing exercises. You'll squeeze out paint, dip a brush in water, and immediately put too much paint on the canvas in one spot.
What surprises most people: how quickly the paint on the palette becomes unusable. You'll be mid-stroke and reach back to grab more color, only to find it's already filmed over and won't mix cleanly. This is why a stay-wet palette isn't optional — it's a basic tool for keeping your paint workable.
The big mistake: overworking wet paint. You'll lay down a stroke and then try to fix it with another stroke right on top, pushing the layers around until you get brown mud. The fix is to let each layer dry before touching it again — which, with acrylics, usually means just five minutes of patience.
The insight that actually changes how people paint: acrylics reward building from dark to light, not from light to dark. Start with your darkest shadow tones as the base. Let each layer dry, then add midtones. Add your lightest highlights last — in thin strokes, with a dry-ish brush.
Light colors painted over dark ones stay vibrant because the fast drying time keeps layers optically separate. In oil painting, layering too fast causes muddy color mixing on the surface. In acrylics, fast drying is the feature — each layer locks in clean before the next one touches it.
Working painters call this approach "fat over lean" in oils, but in acrylics the equivalent is "thin glazes over opaque grounds." A transparent glaze of color over a dry opaque layer creates luminosity you can't get from mixing those two colors together on the palette.
Acrylics are one of the cheaper painting mediums to start. Here's what realistic spending looks like at each stage.
A student-grade paint set (6–12 colors), a basic brush set, a canvas pad or two small canvases, a plastic palette, and a cup for water. You can paint immediately and figure out what you actually need before spending more.
Step up to a stay-wet palette, a handful of individual artist-grade paints in your most-used colors, a few quality brushes in different shapes, and stretched canvases instead of canvas pads. The stay-wet palette alone will change your painting experience significantly.
Full artist-grade paint collection, a solid easel, palette knives, mediums (retarder, gloss/matte gel, glazing medium), gesso for priming surfaces, and larger canvases. At this point you're set up for serious work.
Student-grade acrylic paint set (6–12 colors): Liquitex BASICS or Golden Open are solid starting points. Don't buy 48-color sets — you'll never use most of them.
Flat and round synthetic brushes (sizes 4, 8, 12): Synthetic bristles handle acrylics better than natural hair and are much easier to clean.
Stay-wet palette: A Sta-Wet palette keeps paint workable for hours. This is the single most impactful gear upgrade for a new acrylic painter.
Canvas pads or 3–4 small stretched canvases: Start small (8x10 or 9x12). Larger canvases intimidate beginners and waste paint.
Two containers for water: One for rinsing brushes, one for clean water to thin paint. This is basic but most beginners skip it and contaminate their colors.
Artist-grade paints: Significantly better pigment density and color accuracy, but 3–5x the cost. Worth it once you know you're serious.
Mediums (retarder, glazing liquid, gel): These change how paint behaves in useful ways, but you need to understand what you're trying to achieve first.
A proper easel: Useful but not necessary to start. Prop your canvas on a table against a box while you figure out your setup.
Palette knives: Great for texture and mixing, but not a first-session priority. Learn brush control first.
New painters spend a lot of time comparing brands — Golden vs. Liquitex vs. Winsor & Newton — when the real decision that matters is paint grade: student vs. artist quality.
Student-grade paint uses more filler and less pigment, which means colors look duller and mixes go muddy faster. This can make you think you're bad at color mixing when the problem is actually the paint. If you're frustrated that your mixed colors look dead, try one artist-grade tube of a color you use constantly and compare.
The practical middle ground: start with a student-grade set, but upgrade your primary colors (a warm red, a cool red, a warm blue, a cool blue, yellow, white) to artist grade first. Those six colors are what you'll mix from constantly, and quality matters most there.
Also: avoid craft store acrylic paint (Apple Barrel, Folk Art, etc.). It's formulated for decorative crafts, not painting — the consistency and pigment load are completely different from even student-grade art paint.
Not all painting instruction is equal. Here's what separates a class that actually builds your skills from one that just walks you through copying an image.
The instructor paints alongside students, not just demonstrates. Real-time painting lets you watch decision-making, not just finished technique.
Color mixing is explicitly taught, not assumed. Any class that hands you a pre-mixed palette is skipping the most important foundational skill.
The class has a small cohort — under 12 students. You need individual feedback. Paint-and-sip style events are fun, but they won't make you better.
It covers the medium's properties, not just the subject. A good acrylic class teaches you how paint behaves — dry time, water ratios, layering — not just "paint the sky blue."
There's structure across multiple sessions. A single-session workshop can be fun, but a 4–8 week course with progressive skills will actually move your painting forward. See more creative hobby options at BoredomBusted's creative hobbies list.
Acrylic painting has a huge online community and an active local scene in most cities. You don't have to figure this out alone.
Online: r/painting and r/learnart on Reddit are active and genuinely helpful for feedback. YouTube channels like Painting with Jared, Lachri Fine Art, and The Art Sherpa have hundreds of free tutorials specifically for acrylics.
In person: Most cities have open studio nights at local art centers where you paint alongside others without formal instruction. Look for community art centers, local art leagues, and Meetup groups for painters. Even a once-a-month in-person session keeps you accountable.
Posting your work publicly — even rough studies on Instagram or Reddit — accelerates improvement more than painting in isolation. The feedback loop matters.
Give it 30 sessions before you decide anything. Here's what to watch for.
By session 10: You understand why the paint behaves the way it does — dry time, water ratio, layer opacity. You're not fighting the medium, you're working with it.
By session 20: You can mix the color you're aiming for at least 70% of the time without guessing. Your work shows clear dark-to-light structure, not flat muddy patches.
By session 30: You're making intentional choices about texture, surface finish, and composition — not just reacting to what happens. You have a sense of what a finished painting needs to feel done.
Stop if: Every session feels like a chore rather than a problem you want to solve. If the medium consistently frustrates rather than engages you, try a slower-drying medium like oil or gouache — they suit different temperaments.
Keep going if: You start noticing light and shadow differently when you're not painting — the way afternoon sun hits a wall, the reflected color in a shadow, the edge quality where two shapes meet. When the medium starts changing how you see the world, it has its hooks in you.
Oil Painting for Beginners — if acrylics feel too fast and you want more blending time, oil painting is the natural next step.
Watercolor Painting for Beginners — a completely different approach to color and transparency, worth knowing how it compares.
Gouache Painting for Beginners — opaque, matte, and reworkable when wet. A close cousin to acrylics with a very different feel.
Digital Drawing for Beginners — if you want to experiment with color and composition without buying supplies, digital is worth a look first.
Creative Hobbies List — the full BB breakdown of every creative medium worth considering, if you're still deciding where to start.
You'll need acrylic paints, brushes, a canvas or painting surface, a palette, water for rinsing, and paper towels or a rag. A palette knife and medium (like acrylic medium or water) can help with blending and extending paint, but you can start with just the basics and add tools as you progress.
You can create your first basic painting in a single session, but developing foundational skills typically takes 4–8 weeks of regular practice. With consistent effort, you'll see noticeable improvement in technique and confidence within 2–3 months.
Yes, acrylic painting is widely considered the most beginner-friendly because it's fast-drying, forgiving, and requires minimal cleanup with just water. You can also paint over mistakes easily, making it ideal for learning without frustration.
A basic starter kit with paints, brushes, and canvas typically costs $20–$50. You can find budget-friendly supplies at craft stores, and investing in higher-quality materials once you're committed will run $75–$150 for a more complete set.
Traditional acrylic painting uses brushes to apply paint deliberately, while acrylic pouring involves diluting paint and pouring it onto canvas to create fluid, marbled effects through tilting. Pouring requires less technical skill but more patience and is great for creating abstract or modern art.
Use acrylic medium or retarder, which slows drying time without thinning the paint. You can also work in cooler environments, use a wet palette that keeps paint moist longer, or apply paint in thin layers and mist your work with water occasionally.