BoredomBusted — Find Your Next Favorite Thing To Do
Discover hobbies, activities, places, and ideas that spark joy. Whether you're looking for something creative, active, social, or relaxing, BoredomBusted helps you find your next favorite thing to do.
Browse our hobby guides, things-to-do collections, and place ideas to never be bored again.
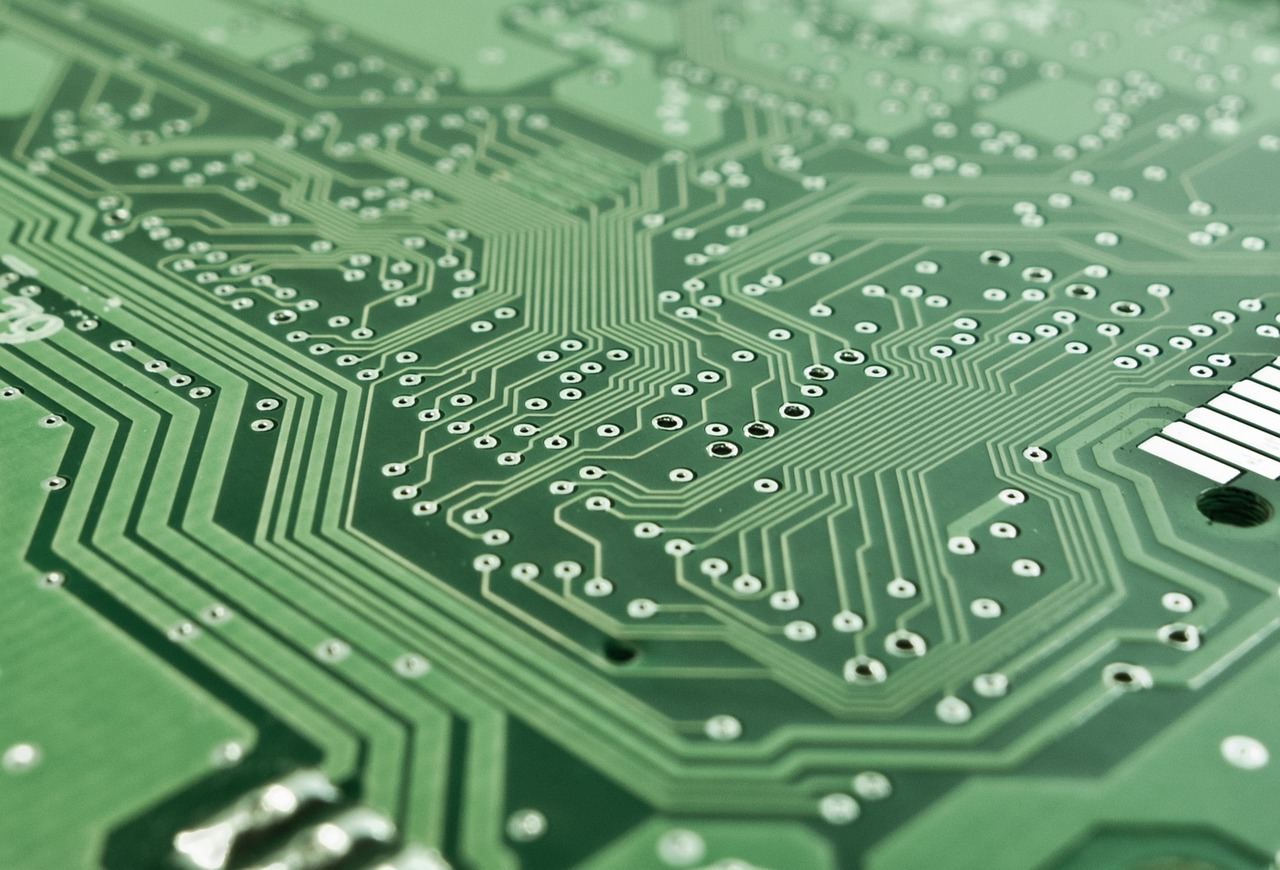
Circuit building isn't just about soldering wires — it's a fast track to mastering cause and effect that enhances your logic in every area of life.
Getting started with circuit building as a beginner involves learning how to connect components like resistors and capacitors to create functional electronic systems. – resistors, capacitors, microcontrollers – so electricity flows in a controlled, useful way.
Unlike coding or 3D printing, the feedback is immediate and physical: something lights up, moves, or makes noise because of what your hands just built.
In Circuit Building, you design, assemble, and test electronic circuits by selecting components like resistors and microcontrollers, soldering or breadboarding them together, troubleshooting issues, and iterating on your designs to create functional devices such as LED drivers or robotics projects.
This hobby fosters flow through sustained focus on hands-on tasks, offers immediate feedback on project success, and enhances self-confidence by demonstrating problem-solving abilities, thus addressing feelings of boredom with tangible accomplishments and a sense of agency.
You think circuit building means soldering wires until something makes noise or a light blinks.
That mindset stops progress before it starts. Most quit right when it starts getting interesting.
Circuit building is really about systems thinking in physical form. Each component is a decision leading to instant, honest feedback.
You'll learn to read cause and effect. Missteps are lessons waiting to teach.
Stick with it for three months, and you'll see everything differently. From debugging code to diagnosing car noises.
Imagine this: a first-timer tries to wire a transistor switch to control a small motor.
The motor doesn't spin. It's not frustration—it's a clear puzzle.
Wrong pin here. Backwards polarity there. A floating ground maybe. Solving this teaches you how electricity actually works, more than any video could.
Now, the only question left is what you need to start. It's cheaper and easier than you think.
Building your first circuit feels like deciphering code. Tiny colored stripes seem to speak a language you don't know. Components snap together smoothly in videos, but you'll face a reality full of obstacles.
Frustration is part of the process. You'll find that 'Aha!' moments often occur right before you're ready to give up. Debugging a non-working circuit reveals more than ten perfect circuits ever will. This is where real learning happens.
Breadboards can surprise you with hidden complexities. Many beginners are caught off guard by the split in the middle of power rails on most models. Make sure to understand your board's layout by checking the datasheet. That small step can save you from hours of frustration over seemingly "broken" circuits.
Mistakes can block your progress, but they're entirely avoidable. The next section will cover common errors that keep beginners from advancing.
When to start: Morning
Duration: 1 hour
Cost to try: $15
Success criteria: if you finished without causing any shorts or component damage, do session 2.
Assuming all components work as labeled is a common trap. Beginners think an LED or resistor will always perform as expected, based on assumptions about their labels.
Check the datasheet before using anything. Knowing the forward voltage and current ratings can save you from burning out components.
It's easy to skip adding a resistor when the LED lights up immediately. That is, until it stops working.
Testing as you build seems smart until you short something critical.
Complete and double-check the circuit before adding power. Make sure every connection follows the schematic to avoid mishaps.
Gold and silver resistor bands can look the same under poor lighting. Confusing a 10Ω resistor can wreak havoc fast.
Always use a multimeter to verify the resistor value. Do this before placing it in the breadboard to prevent errors.
Floating pins on microcontrollers gather noise and cause unpredictable behavior. Beginners think faulty code is to blame, wasting hours.
Tie unused input pins HIGH or LOW. Use a 10kΩ resistor or its internal pull-up option in your code.
Circuit building is flexible. Your kitchen table works as a lab. Makerspaces and hackerspaces offer communal benches, shared tools, and guidance on your soldering technique.
No single group controls circuit building. The beauty lies in the open, decentralized community. No gatekeepers here.
Simply say, "I'm just starting out – I know Ohm's Law but I've never built anything." That introduction gets you a mentor, a borrowed multimeter, and guidance on the best starter kit.
No soldering or commitment here. Components are pushed into a reusable grid you can reconfigure at will. Perfect for absolute beginners who want to explore and test ideas freely.
Move beyond prototypes with soldering and create a lasting circuit. This step transforms experiments into real, tangible projects. Ideal for those who've practiced on breadboards and want permanent creations. Kit PCBs cost $5–$30, while custom boards from places like JLCPCB start around $2 each for small runs.
Bring circuits to life with microcontrollers. Add brains to your build—now it can react, loop, and control. Perfect for creators who want interaction, like sensor reactions or motor control. Expect a $10–$35 cost for the board, beyond basic components.
Dive into RF and radio circuits. Learn to transmit and receive signals using antennas and oscillators. It's challenging and involves FCC regulations, but great for enthusiasts interested in amateur radio or wireless projects.
Analog circuit design dives deep. Rely on transistors, op-amps, and math without digital aids. It's tough to learn and debug, but builds fundamental skills that explain all other areas.
For something adjacent, see Home Improvement.
If you want a related angle, Robotics is the natural next stop.
If this resonates, Raspberry Pi Projects explores a similar direction.
Most beginners think success lies in memorizing specs and diagrams. But that's not the real challenge. It's all about schematic literacy.
Understanding a schematic means more than just recognizing symbols. You need to trace the current flow mentally. Visualize the journey from power source, through each component, to ground. Predict what happens to the signal or voltage at every stage.
Trace current in your head and troubleshooting gets predictable. With this skill, you can identify which part of the circuit deserves your focus. Without it, every repair attempt turns into costly trial and error.
Commit to six sessions over 30 days. Aim for one project a week, with a rest week in between to avoid burnout. This schedule will help you move past the initial confusion without investing too much if it's not for you.
If you find yourself eager to start the next circuit project while doing everyday tasks, you're most likely hooked. This goes beyond initial excitement – it's about engaging with the challenges. Upgrade to a better multimeter and start organizing your components.
If the sessions felt just okay, it's a sign of indifference. You might not have found the right project yet. Basic breadboard exercises don't excite everyone. Before walking away, try a project with a practical application, like a timer or an alarm.
If the process felt like a chore, that's important data. Squinting at datasheets and dealing with solder burns are unpleasant for some. This might mean you're naturally repelled by the hobby itself, not just its initial challenges.
The moment to pay attention to happens when you're watching teardown videos and find yourself pondering what each component does. That curiosity about the inner workings of gadgets is key to enjoying circuit building.
When you don't want to commit, things to do when bored is a better starting point.
A beginner's starter kit typically costs $30–$100 and includes essential components like resistors, LEDs, breadboards, and wire. Once you have basic tools and components, individual projects add minimal cost, making this hobby affordable to start and maintain.
No prior experience is required—many beginners start with simple circuits like LED blinkers before progressing to complex projects. Online tutorials and starter kits are designed specifically for learners with no background in electronics.
A simple circuit like an LED light with a battery typically takes 15–30 minutes once you understand the components. More complex projects can take several hours or multiple sessions, depending on the design and your familiarity with the process.
Essential tools include a soldering iron (if soldering), breadboard or PCB, wire strippers, a multimeter for testing, and a screwdriver set. For beginners, a no-solder breadboard setup is ideal as it eliminates the need for advanced soldering skills.
Beginner projects using low-voltage components (under 5V) are very safe and pose minimal risk. Standard safety practices like avoiding water near electronics and using proper ventilation when soldering make this hobby safe for all ages.
Beginners commonly build LED circuits, simple alarms, flashlights, and basic Arduino projects. These projects teach fundamental concepts and create functioning devices you can use or modify, building confidence for more advanced builds.