BoredomBusted — Find Your Next Favorite Thing To Do
Discover hobbies, activities, places, and ideas that spark joy. Whether you're looking for something creative, active, social, or relaxing, BoredomBusted helps you find your next favorite thing to do.
Browse our hobby guides, things-to-do collections, and place ideas to never be bored again.
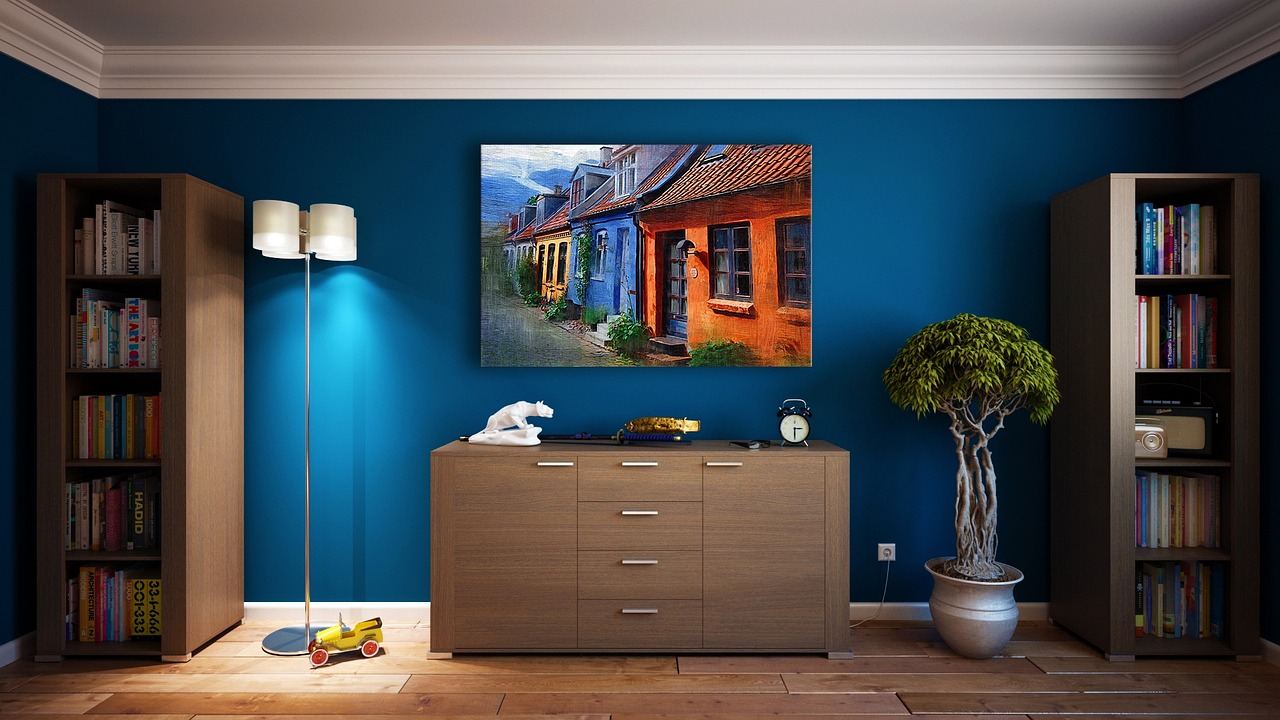
Home improvement isn't just repairs; it's a skill that builds confidence and turns each project into a stepping stone for bigger challenges.
Getting started with home improvement as a beginner can be an incredibly fulfilling journey that transforms your living space into a personal haven.
You can tackle projects like patching drywall, rewiring outlets, or even renovating a whole room.
This isn't just about looks; it's about function and value. Your home becomes more livable and potentially more valuable.
In home improvement, you engage in hands-on projects that involve measuring, cutting, painting, installing fixtures, and arranging spaces. Tasks include painting rooms, replacing faucets, building furniture, upcycling items, and organizing areas in your home, all requiring a blend of technical skills and creative decision-making.
Home improvement fosters a sense of accomplishment through visible results and tangible transformations of your space, providing immediate feedback on your efforts and satisfying your creative drive through customization and personal expression.
You think home improvement is just about fixing what's broken. A leaky faucet, a squeaky door, a fresh coat of paint before selling. That's the assumption keeping most people stuck at someday.
Home improvement is a skill set that compounds. Each project teaches you something that makes the next one faster, cheaper, and less daunting. Most people see projects as crises. The people who enjoy them see their homes as ongoing challenges.
A homeowner who replaces an outlet not only saves on a $150 electrician call. They gain confidence by touching the wiring and reading the panel. Building confidence is the true reward – not a finished room.
Six months later, they're adding a ceiling fan. A year later, they're running a new circuit for a workshop. Nobody plans this kind of progression. It just happens when you stop outsourcing your confidence.
The difference between those who love this hobby and those who dread it usually boils down to one thing. They did their first project intentionally—before anything broke.
Attempting your own DIY project feels entirely different from watching someone else do it. You realize this when a four-minute tutorial leads to four hours of wrestling with unexpected hurdles, like hitting a mystery pipe.
The frustrating gap from video confidence to real-life chaos is where many give up. That confident feeling fades as you realize your screws are the wrong size, or your stud finder lied. But over time, those mistakes become part of the plan.
It's critical to measure wall cavity depth before buying hardware. Anchors, switches, and outlet boxes all need room. Most beginners skip this, leading to most of their returns.
Beginner projects go slowly at first. Three times longer than expected on a simple task. But then, those frustrations start to dissolve.The skill isn't hard, but it demands slowing down. The early sessions teach you this crucial patience.
When to start: Early morning
Duration: 1.5 hours
Cost to try: $20
Success criteria: If you painted one taped-off wall with smooth, even coverage and removed the tape cleanly after drying, do session 2.
Walls can look identical, leading beginners to assume they can eyeball or knock until they detect a stud.
Invest in a $15 magnetic stud finder and mark both edges of the stud. Don't stop at the first beep because the center lies between the beeps.
Fresh spackle appears smooth and dry, tricking beginners into thinking it's ready for paint.
Use a coat of PVA drywall primer on patches first. Without it, patched areas will show dull, flat spots through the paint.
Tightening screws more seems to offer better hold, but drywall isn't built for heavy torque.
Stop when the screw head is flush with the surface. A small dimple means a secure hold, while a crater means you've overdone it.
Beginners often rely on their initial measurement, assuming conditions haven't changed.
Always measure the opening right before cutting. Don't depend on notes from earlier sessions on different pieces.
Tape feels like a safeguard, yet bleed-through often occurs because the tape edge wasn't properly adhered.
Run a flexible putty knife along the tape edge first. A slow pass eliminates the air pockets that let paint seep underneath.
Home improvement is all about transforming your own living space. Your walls, floors, and fixtures become your practice area. If you're just starting out, consider renting time at a makerspace or community workshop to test tools before you buy them.
Although there's no national body solely for home improvement as a hobby, the North American Hardware and Paint Association (NHPA) is a solid resource. They link independent hardware stores hosting skill-building events.
Paint, trim, hardware swaps, and peel-and-stick tile — all possible without permits or major risks. Build confidence with quick results and projects under $200.
Move walls or redo entire rooms. Permits are needed, and mistakes are expensive. Perfect for those who've mastered cosmetics and want more. Budget from $1,000 to $5,000+. Invest in rental tools too.
Fixing fixtures is one thing; rewiring or replumbing is another. Best for methodical learners, as missteps are serious. Know when a licensed pro is required.
Build decks, erect fences, or lay garden beds. Ideal for those seeking outdoor satisfaction through hands-on labor. Rules are more lenient here.
Optimize improvements for resale or tenant use, not personal flair. Perfect for seasoned DIYers looking to financially benefit from their work.
Circuit Building is a sibling pursuit and often surfaces the same kind of curiosity.
A close neighbor worth considering: Raspberry Pi Projects.
Engine Rebuilding is a sibling pursuit and often surfaces the same kind of curiosity.
Rookies obsess over tools. The issue isn't tools.
The real skill is planning from the end backward. Know the last step first, then trace back to each need. Spot the essentials before hammering the first nail.
If you plan forwards, you'll hit avoidable snags. You can't tile without the cement board. Can't attach the board without patching the subfloor. Can't patch without removing old flooring. Suddenly, you're stuck with wet mortar and nowhere to go.
Planning backwards reveals dependencies before you start. Without this skill, rushing means damaging work by missing steps that needed a day to set.
Grab a paper. Top it with the final step, then find out what must happen first.
Ask, "What must exist for this step?" for each answer, until you reach demo or prep.
Check and block dry times on your calendar before buying materials.
Try a practice project just on paper, like a door rehang. See where a missed step would ruin your work.
Next, find out when knowing this skill makes the biggest difference.
Four home improvement projects in a month. Not video tutorials, real fixes: plan, purchase, complete. Home improvement rewards completion, not research.
If each project sparks thoughts on the next, like fixing a gap under the door, you're in. This means you're naturally drawn to the process and results of DIY. Dive deeper: tackle slightly more challenging projects.
If projects feel neutral and you're motivated by results, stick to simple repairs. This indicates a functional approach. DIY as a hobby might not be your interest, but doing occasional fixes still works.
If you rushed through the tasks or felt relieved when they ended, this isn't your scene. Some enjoy the idea more than the activity, which is a valid outcome.
You're at a hardware store, chatting about projects you don't even have yet. That's a sign of genuine curiosity and a pull toward DIY beyond necessity.
For quicker fixes, see our roundup of things to do when you're bored.
Beginners can start with painting, installing shelving, replacing cabinet hardware, caulking gaps, and updating lighting fixtures—all low-risk projects that build confidence. These require basic tools and minimal investment, making them ideal entry points before attempting larger renovations like flooring or drywall work.
Initial tool investments range from $100–$500 for essential basics like a drill, hammer set, level, and tape measure. Project costs vary widely depending on scope: small updates like painting run $20–$100, while larger renovations can cost thousands, but you'll save 30–50% on labor by doing the work yourself.
Simple projects like painting a room take 4–8 hours, while medium projects like installing shelves or replacing fixtures span a weekend. Larger renovations like kitchen updates or bathroom remodels typically require weeks or months depending on complexity and your experience level.
Yes, starting with smaller projects helps you develop skills, save money, and understand your home better before tackling complex work. YouTube tutorials, how-to guides, and online communities provide extensive support, though some tasks like electrical or plumbing may still require professionals for safety and code compliance.
Essential tools include a power drill, hammer, adjustable wrench, tape measure, level, screwdriver set, and utility knife. These cover 80% of common projects; you can add specialized tools as your skills grow and projects demand them.
Strategic renovations can increase home value by 50–100% of their cost, with kitchens, bathrooms, and energy-efficient upgrades offering the best returns. Focus on improvements that address functional issues or appeal to future buyers rather than highly personal aesthetic choices.