BoredomBusted — Find Your Next Favorite Thing To Do
Discover hobbies, activities, places, and ideas that spark joy. Whether you're looking for something creative, active, social, or relaxing, BoredomBusted helps you find your next favorite thing to do.
Browse our hobby guides, things-to-do collections, and place ideas to never be bored again.
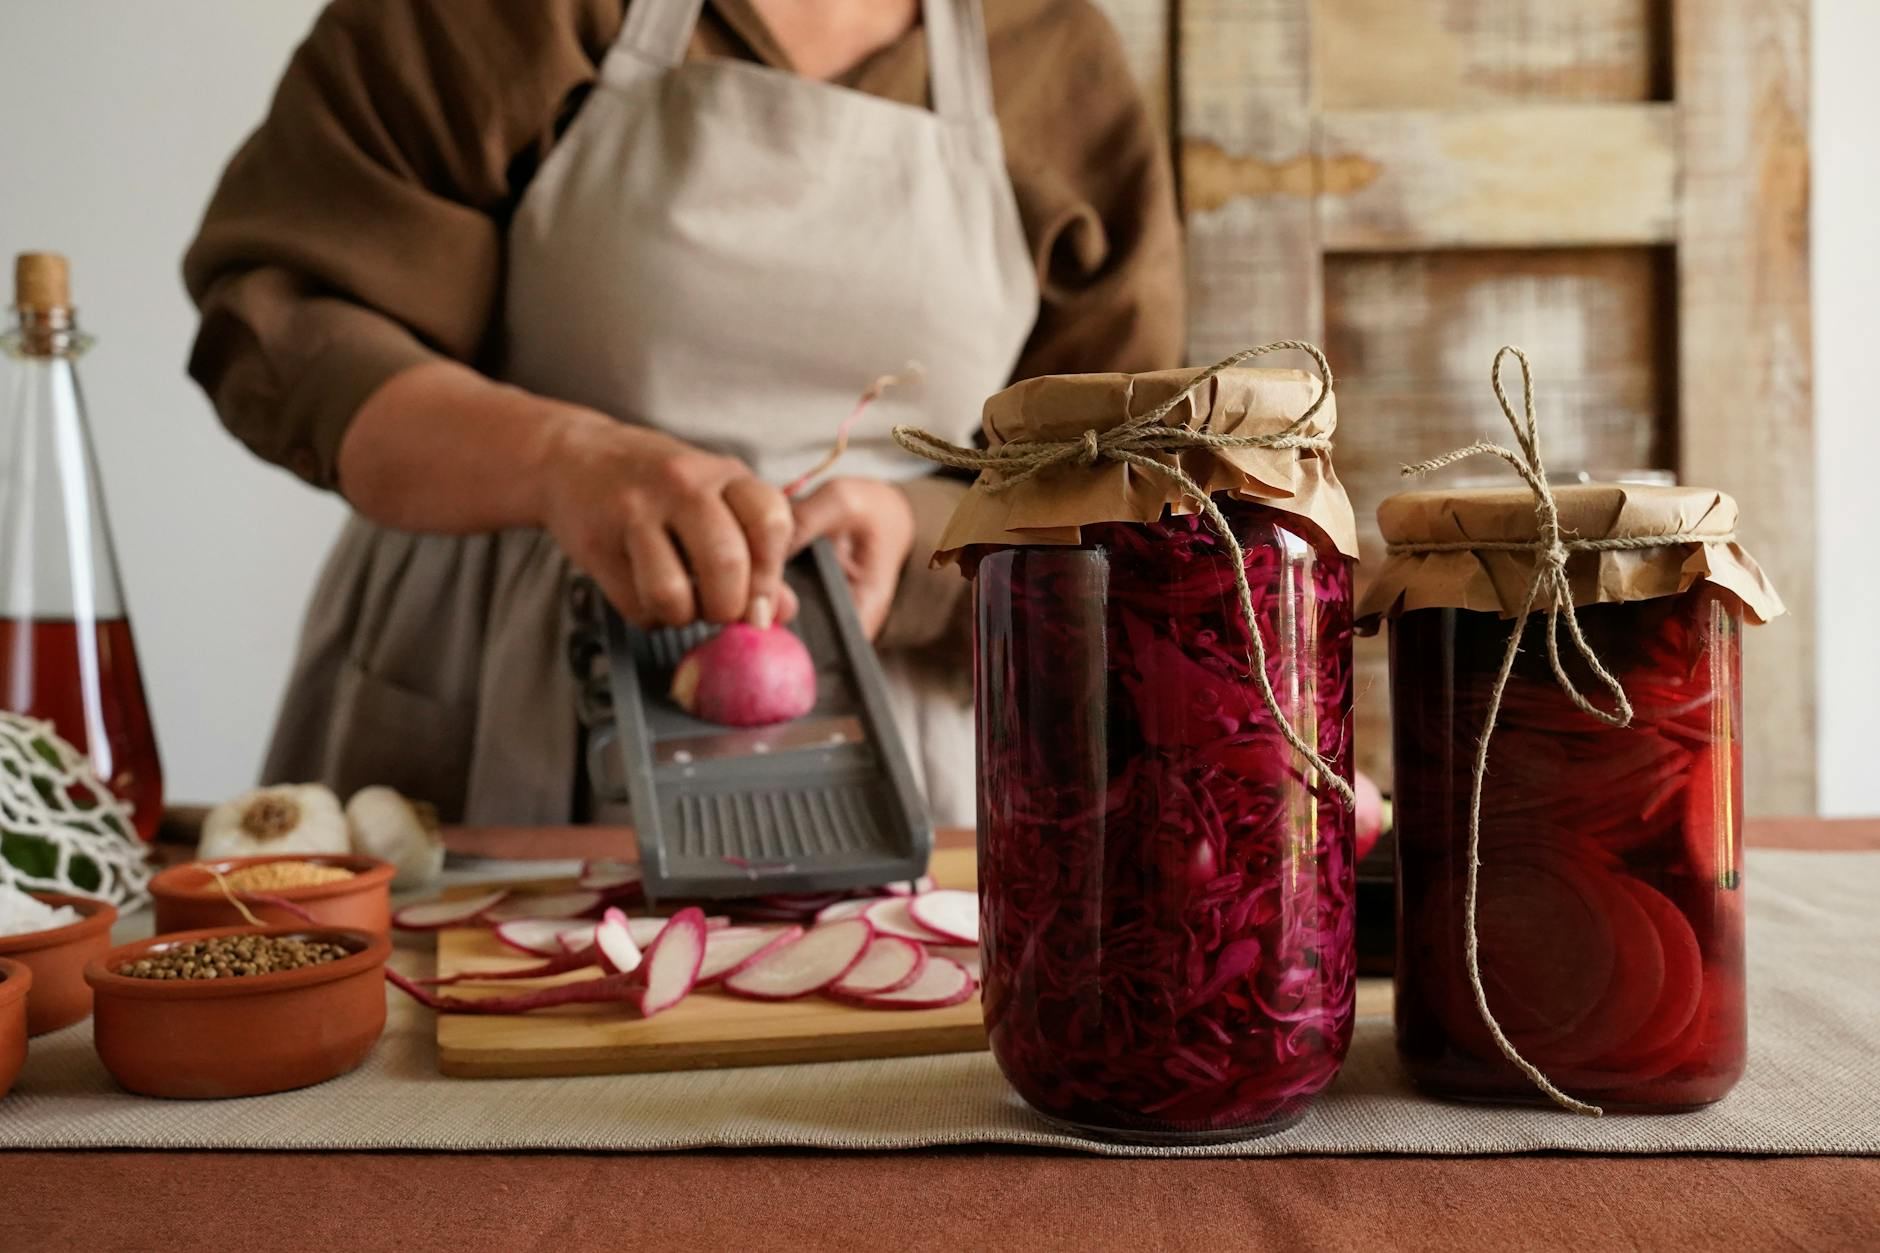
Pickling isn’t just about preserving food; it’s a burst of creativity that turns leftovers into exciting flavors, combating boredom with instant results.
Learning pickling as a beginner can be a rewarding way to extend the shelf life of your favorite foods through the magic of acidic brines and fermented liquids.
Shelf life expands, but flavor transformation is the real magic.
Vinegar contributes acid, while salt encourages natural fermentation. Both stop spoilage bacteria in their tracks.
Pickling involves selecting and chopping fresh vegetables or fruits, packing them into jars, and immersing them in a hot brine made from vinegar, water, salt, and optional spices. The process includes cleaning jars, mincing garlic or herbs, layering produce tightly, sealing lids, and refrigerating to allow flavors to develop, allowing for experimentation with diverse combinations.
Pickling provides a low-risk, high-reward transformation of ingredients, offering immediate sensory satisfaction and a sense of accomplishment as you preserve food and reduce waste. The creative freedom to experiment with flavors fosters novelty, while quick skill feedback loops build confidence, helping to alleviate feelings of boredom through productive engagement.
You think pickling means boiling jars and following a 12-step process your grandmother barely survived. It sounds fussy, equipment-heavy, and weirdly medical – like one wrong move and you've poisoned everyone at Thanksgiving.
This idea is blocking you from a surprisingly simple way to elevate your kitchen game.
A jar of quick-pickled red onions– four ingredients, a spare 15 minutes, nothing fancy – will outlast the meal you made it for, disappear faster than you expect, and have three people asking for the recipe before the week is out.
The equipment question is the next thing you're going to ask – and the answer is simpler than the Pinterest boards are making it look.
Watching someone pickle looks almost meditative. Jars gleam, brine swirls, everything is controlled. But then it's your turn, and you're standing at the stove with vinegar that smells like a swimming pool.
It hits you how different it is when you're unsure about that salt. The gap between watching and doing is where pickling actually begins.
By week two, most want to quit. A bad batch with mushy texture can make this feel fussy. But this isn't failure — it's how you learn. People who push through this get better quickly.
One thing to know: the vegetable-to-brine ratio beats the brine recipe. Pack too loosely and floaters oxidize. Too tight and the brine doesn't penetrate.
Fill the jar firmly, with no gaps bigger than your fingernail.
When to start: Early morning
Duration: 1 hour
Cost to try: $15
Success criteria: if you finished without burning anything or spilling too much brine, do session 2.
Chlorine in city tap water fights helpful bacteria needed for lacto-fermentation. This means your ferment might not take off.
Use filtered water or let water sit overnight. This allows chlorine to dissipate, supporting proper fermentation.
Once cut, cucumbers start losing moisture. This leads to disappointing, mushy pickles.
Cut vegetables the same day you brine them. Also, remove the blossom end to prevent enzymes from softening your pickles.
The salt percentage is crucial for fermentation. A wrong guess might throw off its balance, affecting speed, flavor, and safety.
Weigh salt to ensure it's 2–3% of total brine weight. A $10 kitchen scale makes your process consistent and hassle-free.
Airtight might seem safe, but fermentation produces CO2 that needs an escape route.
Use an airlock lid or open the jar daily. This prevents pressure buildup and keeps your kitchen safe.
Tasting on the first day often leads beginners to think their batch failed. The early brine is misleadingly salty and flat.
Wait 3–5 days at room temperature before deciding. This timeframe allows proper flavor development and fermentation completion.
Sure, pickling starts in your kitchen. But real progress happens in community kitchen spaces and workshops. You'll learn faster surrounded by people who've already made a batch or two.
When you attend, say: "I'm new and I've never done a water bath before." That line gets you help on your first dip and often a jar to take home.
Skip the boiling and sterilizing. Mix a brine, pour it over your veggies, and chill. Great for immediate results. These pickles last weeks instead of years, perfect if you want pickles this week without special gear.
Sealed jars and boiling water. That's your plan for long-term, shelf-stable pickles. You'll need some gear: a canning pot and jar lifter, and you'll have to follow safety steps. This is a commitment. Begin with quick pickles and move up once you're ready.
Traditional fermentation in saltwater, not vinegar. It's all about natural bacteria taking your veggies to the next level, like kimchi or deli pickles. Rich, complex flavors await. Not for those who wing measurements, but perfect if you're interested in the broader world of fermentation.
Sweet, soft, perfect for sandwiches. Use either refrigerator or water bath methods with a sugary brine. Ideal if dill's too tangy for you.
Use rice vinegar, maybe sesame oil or chili, for quick, light, and less acidic pickles. Ready in an hour and the fastest way to a tasty snack. Suited for cooks with Asian pantry staples looking to add some zing.
If this resonates, Sous Vide Cooking explores a similar direction.
For something adjacent, see Cheese Making.
Fermenting lives in the same world — different mechanics, similar appeal.
Most beginners obsess over the recipe – the exact vinegar percentage, the right spice blend, the perfect jar. The recipe isn't the problem. Their brine ratio intuition is.
Brine intuition means reading salt-to-water ratios by taste and texture, not by measurement. Specifically: knowing whether a raw brine is under-salted (flat, thin), balanced (bright, slightly sharp), or over-salted (harsh, one-dimensional) – before placing any vegetables in the jar.
Mastering brine intuition turns recipes into flexible guides rather than strict rules. Without this skill, you're stuck following exact formulas. When cucumbers are waterier than expected, or when using coarser salt, your pickles might fail without understanding why.
Four sessions over 30 days, about one each week. Each session can take 30 to 90 minutes, covering everything from prep to taste testing.
If you're already planning your next pickling project in your head, that's a solid sign it's your thing. Jot down ideas in a dedicated notebook and slowly expand your rotation. Continue exploring by trying out fermentation next.
If the sessions left you feeling lukewarm, consider extending for a couple more tries. Sometimes the satisfaction hits when you finally taste something uniquely yours. If it still doesn't click, it's not grabbing your interest.
If the process had you wanting to bail entirely, it's not a patience or skill issue. Some people just don't click with the downtime and sensory aspects. That's okay, better to move on to something else without hesitation.
A genuine interest emerges when you notice every pickle detail at the grocery store. You're scrutinizing labels, comparing prices, and thinking about your next jar. That curiosity means you're likely invested for the long haul.
Curious what else is out there? Skim our list of hobbies for ideas that go in a different direction.
Pickling is a deeper commitment than most boredom cures — for lighter options, check things to do when bored.
Most quick pickles are ready to eat within 24–48 hours of preparation. Traditional fermented pickles typically take 3–7 days to develop their signature tangy flavor, though some can take several weeks depending on your taste preference and fermentation temperature.
Cucumbers are the classic choice, but you can pickle almost any vegetable including carrots, peppers, onions, cauliflower, green beans, and radishes. The key is choosing firm, fresh produce that holds up well to brining and maintains its texture during fermentation.
No—basic pickling only requires a clean glass jar, vinegar, salt, and spices. For fermented pickles, many people use a simple mason jar with a cloth cover, though specialized fermentation jars with airlocks can help prevent mold and make the process easier.
Pickling is very affordable to begin with—you likely have most basics (jars, vinegar, salt, spices) at home already. If buying fresh, your main expense is produce (typically $2–5 per batch), making homemade pickles significantly cheaper than store-bought options.
Quick pickling is extremely beginner-friendly—it's basically boiling a brine and pouring it over vegetables. Fermented pickling requires slightly more attention to cleanliness and monitoring, but both methods are forgiving and have a high success rate even for first-timers.
Refrigerated quick pickles stay fresh for 3–4 weeks, while properly fermented and sealed pickles can last 3–6 months or longer in cool conditions. Storing them in an airtight jar in the fridge is key to maintaining crispness and flavor.