BoredomBusted — Find Your Next Favorite Thing To Do
Discover hobbies, activities, places, and ideas that spark joy. Whether you're looking for something creative, active, social, or relaxing, BoredomBusted helps you find your next favorite thing to do.
Browse our hobby guides, things-to-do collections, and place ideas to never be bored again.
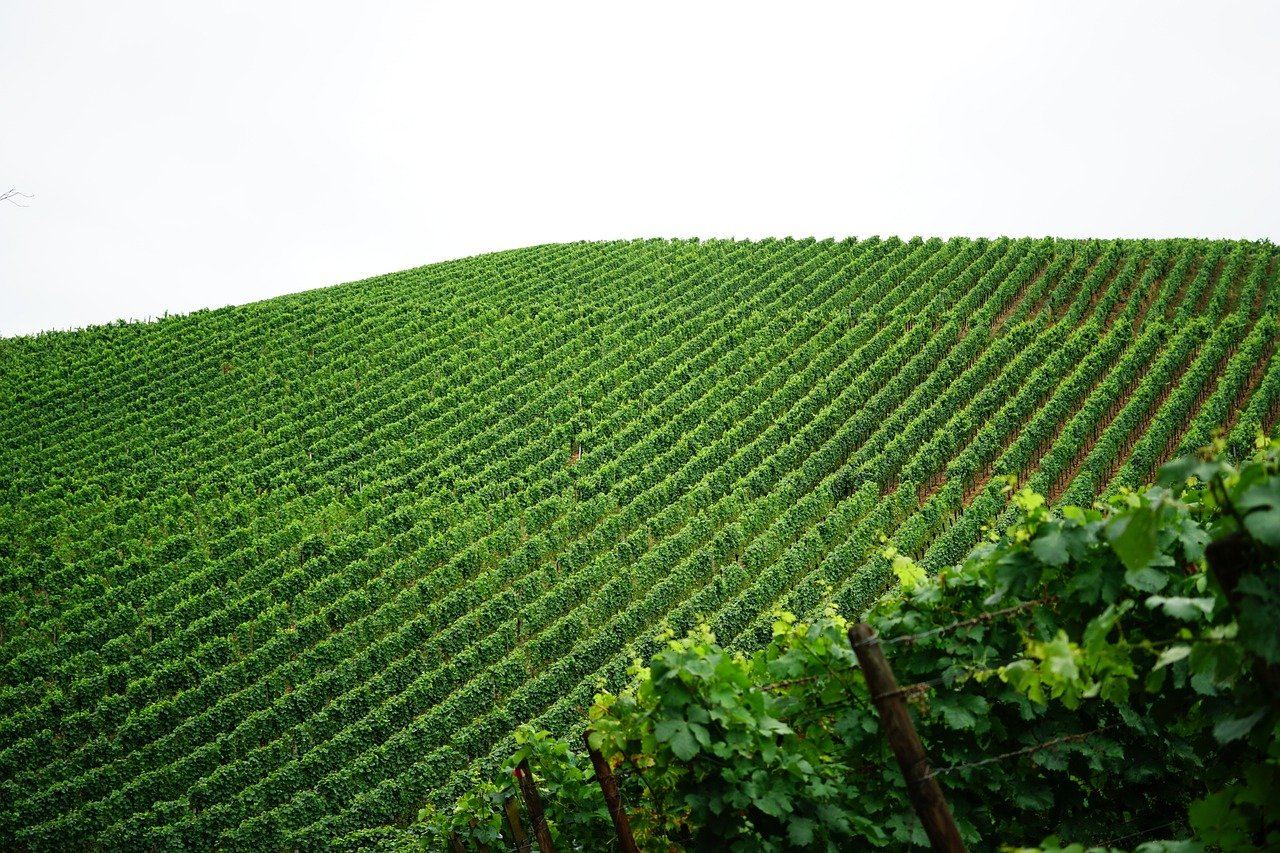
Winemaking isn’t a passive hobby; managing fermentation's live process requires skill and keen sensory awareness to adjust flavors mid-batch.
Getting started with wine making as a beginner involves understanding the process of converting fruit juice, typically grapes, into alcohol through fermentation with yeast under controlled conditions.
One sentence version:
yeast eats sugar, produces alcohol and CO₂, and you manage that process.
What separates it from brewing beer is the ingredient-first philosophy – the fruit does most of the talking, and your job is mostly not to ruin it.
Wine making involves a hands-on process of transforming fruit into wine through specific tasks like hand-harvesting grapes, crushing and destemming them, fermenting in sanitized containers with yeast and additives, and bottling the finished product after careful monitoring of fermentation stages over weeks to months.
Wine making fosters extended flow states through repetitive, focused tasks like stirring and racking, providing immediate sensory feedback and clear goals, while the sense of accomplishment peaks at bottling, rewarding patience with unique flavors and opportunities for creative expression.
You think winemaking is basically pouring juice into a jug and waiting. Maybe some romanticized image of stomping grapes.
Either way, you've decided it's a passive hobby – set it and forget it, just with alcohol.
That assumption is what keeps most people from realizing winemaking is actually a live, responsive system you're managing the whole time.
Wild temperature swings can kill your yeast mid-process. Every early decision – which yeast strain, how much sugar, how long on the skins – compounds forward into the final flavor. There's a logic chain running from day one to your last sip, and most beginners never see it coming.
Tasting mid-fermentation is a legitimate diagnostic skill – your palate becomes a tool, not just a reward at the end. A winemaker in a suburban kitchen in Ohio caught a stuck fermentation at day four not because an app flagged it, but because the smell shifted and she recognized it.
That's not luck.
That's not instinct.
That's pattern recognition built across six batches – the kind of skill that only shows up once you stop treating the jug like a slow cooker you set and walk away from.
The gear question is where most people get derailed next – and the answer is cheaper than you think.
Watching someone swirl a glass of deep red and explain tannins looks effortless. Actually doing it — the sanitizing, the waiting, the anxious peering into a fermentation bucket — is a different experience entirely. The gap isn't skill. It's patience you didn't know you'd need.
Week one, you sanitize everything twice, second-guess the yeast pitch temperature, and refresh a Reddit thread about airlocks at midnight. Week two, fermentation starts bubbling and you feel like a genius — then it slows and you panic for no reason. Both reactions are completely normal, and neither one means anything about how the wine will turn out.
Week three, you rack the wine for the first time and lose more liquid than you expected — which stings more than it should. By week four, it's clearing, it smells like something recognizable, and you're already planning the second batch before the first is done. That urge to start batch two is the real sign things are working, not the hydrometer reading.
One practical thing that will save your first session: buy potassium metabisulfite before you think you need it. Every step where contamination can ruin a month of work requires it, and shipping takes days you won't have.
At week four, the wine looks murky, smells unfamiliar, and nothing like the bottle on your shelf. That's exactly what wine at this stage is supposed to look like — the people who quit here just didn't know week four was the turning point. The next section covers the mistakes that keep beginners stuck on the wrong side of it.
When to start: Morning
Duration: 2 hours
Cost to try: $30
Success criteria: if you finished without major spills or leaks, do session 2.
Fermentation is a competition between the yeast you want and every other microbe in the room. Wild bacteria don't need much of an invitation.
Before any juice touches any surface, sanitize everything with Star San or potassium metabisulfite solution — not dish soap and hope.
Most beginners guess at sugar additions because a recipe "seemed about right." That gets you wine that's either thin as water or rocket fuel.
Measure your must's specific gravity with a hydrometer before fermentation starts. You'll know exactly where you are and can hit your target ABV on purpose.
Bubbles slowing down doesn't mean fermentation is done. It means you're about to trap dead yeast sediment in your wine and wonder why it tastes bitter.
Wait until your hydrometer reads stable for three consecutive days before you rack — not until it goes quiet.
Bread yeast is bred to make dough rise, not to survive high-alcohol environments. It often dies out mid-fermentation and leaves your wine cloyingly sweet with no way to fix it.
Spend two dollars on a wine-specific strain like Lalvin EC-1118 or 71B. You'll actually finish what you started.
Residual sugar still fermenting inside a sealed bottle builds pressure. That pressure pops corks — or shatters glass.
Confirm fermentation is fully complete with a hydrometer reading at or below 0.998 before a single drop goes in a bottle.
Winemaking happens at home — a kitchen corner, basement, or garage is enough to start.
If you want shared equipment and company, look for home brewing clubs or community workshop spaces that cater to fermentation hobbyists.
Any of those routes will get you into a room with people who have already made every mistake you're about to make. That's the whole point of showing up in person.
When you show up, say exactly this: "I'm brand new — I haven't made my first batch yet."
That one sentence gets you the shortcut version of everything — which kit to buy, which mistakes to skip, and usually an invitation to taste what they're already making.
Country wine means fermenting anything except grapes — strawberries, elderflower, rhubarb, dandelions. The most forgiving entry point for most beginners — ingredients are cheap and easy to source.
No special equipment beyond the standard winemaking kit. If you're not sure the hobby sticks yet, start here.
Kit winemaking uses boxed grape concentrate with step-by-step instructions included. The variables are stripped back, so failures are rare.
But fewer decisions means fewer things to actually learn. Good for producing a quick result. Not good if understanding the process is the point.
This is the version most people picture. You source fresh or frozen grapes, crush them, manage fermentation, and age the result — every variable in play.
Grapes cost more and the learning curve is steeper. Worth the investment once you're sure this hobby has you hooked — premature if you're still testing the waters.
Méthode traditionnelle sparkling wine uses a second fermentation inside the bottle to create carbonation. That also creates serious pressure.
Get the sugar addition wrong and bottles can explode. Treat this as an intermediate step, not a starting point.
Mead is technically its own category, but the equipment and process overlap almost entirely with winemaking. The ingredient list is brutally simple: honey, water, yeast.
Easier to start with than grape wine. Just know that good honey costs real money — budget accordingly before you commit to a batch.
If you want a related angle, Coffee Roasting is the natural next stop.
For something adjacent, see Mead Making.
If the texture of this appeals to you, Baking is built on similar bones.
Most beginners obsess over ingredients – the best juice, the right yeast, the fancy equipment. But the real lever is learning to read fermentation by what you observe, not by what the recipe says should be happening.
The skill is sensory calibration: training yourself to assess smell, taste, color, and bubble activity together as a system, then adjust in real time – not after the fact.
When your wine smells faintly of nail polish remover at day four, that's not a disaster. It's a data point – one a calibrated nose catches early enough to fix.
Why Sensory Calibration Changes Everything
Recipes assume ideal conditions – your garage in October doesn't have ideal conditions.
Without calibration, you follow a schedule; with it, you follow the wine.
Batches that would've turned to vinegar become your best bottles, because you caught the signal before it became a problem.
How to Build It
Smell your must every single day for the first two weeks – not to check a box, but to log a mental baseline so deviation registers immediately.
Taste at three fixed points: end of primary fermentation, post-racking, and at 30 days – write two words describing flavor and smell each time, then compare them batch to batch.
Deliberately ruin a small 1-gallon test batch by letting temperature spike or skipping sulfites, then smell and taste the result – knowing what wrong smells like is the fastest way to recognize right.
Wine making moves slowly. One batch takes weeks. Your 30-day test isn't about finishing anything – it's about finding out whether the waiting bothers you or excites you.
Commit to 3 sessions in 30 days:
One to start a small batch,
One to monitor and adjust it,
One to research what you'll make next.
That's enough contact with the real process to get an honest read.
Three Outcomes After 3 Sessions
You want to come back.
You caught yourself reading about yeast strains at 11pm. You checked the airlock more than once for no reason. That's not obsession – that's the signal that slow, process-driven hobbies are your thing. Move to a second batch and start taking notes.
You're indifferent.
You did the steps. Nothing felt wrong, nothing felt right. Give it one more batch before you walk away – wine making has a delayed payoff, and indifference at week three is common. If batch two doesn't shift something, this hobby is probably just not wired into you.
You actively didn't want to be there.
The waiting felt like punishment. Sanitizing equipment felt pointless. The smell of fermenting juice wasn't interesting – it was just a smell. That's real information. Don't override it.
The Sign You Shouldn't Ignore
You find yourself reading wine labels differently – not for status, but to reverse-engineer what's in the glass. You wonder why one vintage tastes sharper than another. That low-level curiosity about what's actually happening inside the bottle is the clearest sign wine making will hold your attention past the first batch.
When Wine Making Genuinely Isn't the Right Fit
If your living space runs hot with no temperature control, fermentation will fight you constantly – inconsistent results frustrate beginners out of the hobby faster than anything else.
If your schedule is genuinely unpredictable for weeks at a time, wine making punishes gaps – a batch that isn't monitored or racked on time can turn to vinegar, and that kills momentum fast.
If you need near-term feedback to stay motivated, this hobby will drain you. The payoff is months away. That's not a flaw – it's just a structural mismatch worth being honest about before you spend money on equipment.
If you've read this and you're still in, the resources section has exactly what you need to start without overcomplicating it.
For ideas that take five minutes instead of five weeks, see things to do when you're bored.
Most home wine-making projects take 2–6 months from fermentation to bottling, depending on the type of wine and conditions. Red wines typically require longer aging than whites, and some vintages benefit from additional bottle aging of 6–12 months before drinking.
Basic supplies include a fermentation vessel, airlock, siphon, hydrometer, sanitizer, and bottles with corks. Starter kits are available for $50–$150 and include most essentials, though quality equipment may cost more depending on batch size.
Wine making is very manageable for beginners—the process follows straightforward steps of fermentation, racking, and bottling. Most home winemakers succeed on their first attempt by following a recipe and maintaining cleanliness, though refinement comes with practice.
While you can use table grapes, wine-specific varieties like Cabernet Sauvignon or Chardonnay are formulated for better flavor and fermentation. Many beginners start with wine kits containing pre-measured juice or concentrate, which removes the guesswork of grape selection.
A typical 5-gallon batch costs $20–$50 for grapes or juice concentrate, plus supplies, bringing total startup around $75–$200. Once you own equipment, subsequent batches are significantly cheaper, typically $25–$40 per batch.
Use a hydrometer to check that fermentation is complete—the specific gravity should remain stable over 3–5 days. The wine should also be clear rather than cloudy, and you can taste it to ensure it's reached your desired dryness level.