BoredomBusted — Find Your Next Favorite Thing To Do
Discover hobbies, activities, places, and ideas that spark joy. Whether you're looking for something creative, active, social, or relaxing, BoredomBusted helps you find your next favorite thing to do.
Browse our hobby guides, things-to-do collections, and place ideas to never be bored again.
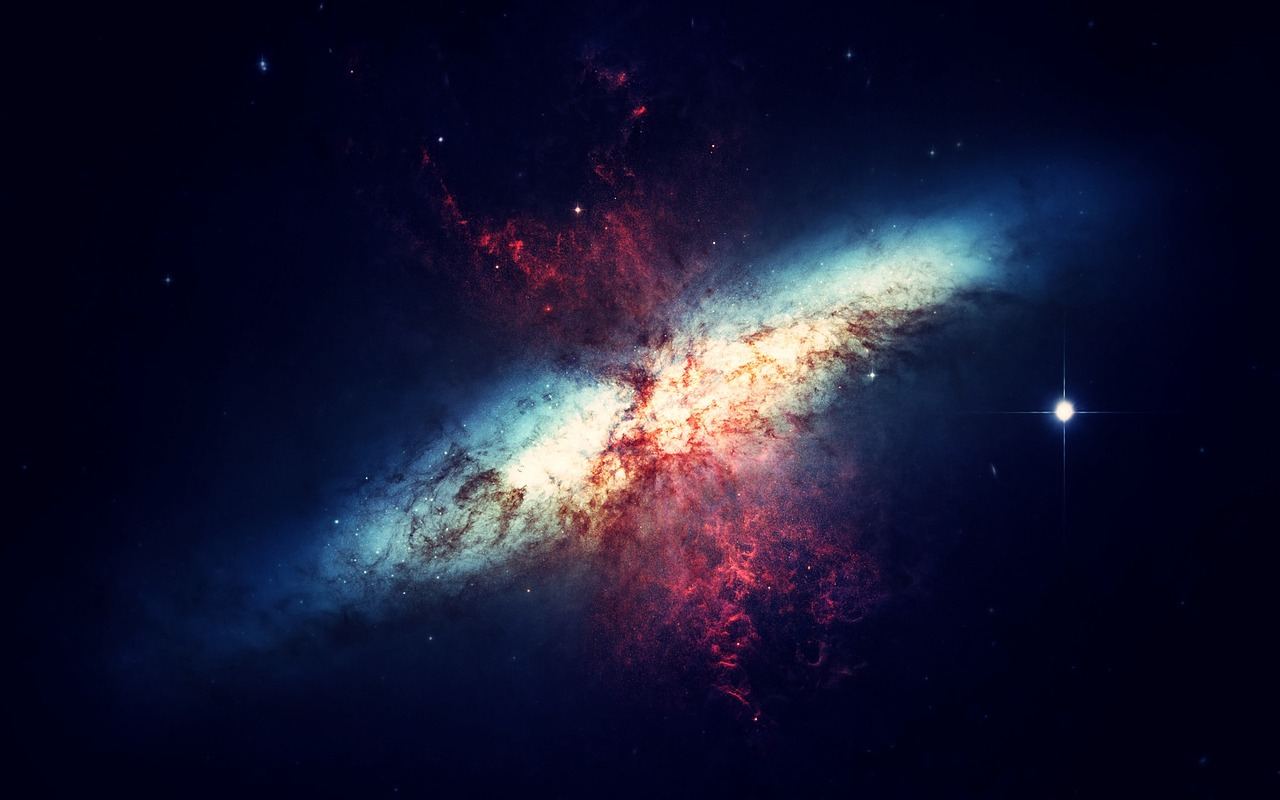
Astrophotography isn't about expensive gear—it's mastered through composition, timing, and learning how to chase the night sky from your balcony.
Getting started with astrophotography as a beginner opens up a fascinating world of capturing light from celestial wonders using just a camera and a stable mount.
Your camera collects photons over a long exposure, revealing detail the human eye can't see live.
Unlike stargazing, you end up with something permanent – an image that holds scientific data, not just a memory.
In astrophotography, you plan and set up for nighttime shooting by scouting locations and aligning equipment, then capture long-exposure images of celestial bodies, and finally, process these images using software to reveal intricate details of the universe.
Astrophotography induces a flow state through intense focus on technical challenges, while the immediate feedback from post-processing provides visible progress, fostering a sense of accomplishment as you capture rare cosmic phenomena.
You think
astrophotography needs a $3,000 telescope, a dark-sky ranch, and a physics degree.
That assumption is keeping you indoors on clear nights.
Your phone's camera is closer than you think to the real barrier, and the people capturing galaxies from their balconies have discovered that secret.
Take a photographer in suburban Chicago—he began with a borrowed DSLR and a $40 tripod.
Two years later, his Milky Way photos from a local preserve were licensed twice, not due to better equipment, but because he learned to work around
light pollution.
Gear matters, but it's the
third question—not the first.
Let's get into what you really need to start, and what you can skip.
Pointing a camera at the stars won't instantly produce magic. Your first night might be spent shivering in the cold, puzzled by blurry light smears on your screen.
That gap doesn't mean you're doing it wrong.
The sky in your mind seems so vibrant. Armed just with confidence, you think it can't be that hard.
Soon, you'll know ISO limits by heart, appreciate star trails, and make noise reduction your friend.
Your first week is almost a blur. One decent frame out of eighty might feel like a win, even if it only vaguely resembles a galaxy.
By the second week, you realize the mount is the unsung hero, more vital than your camera. It's a rude awakening, but a crucial lesson.
In week three, multi-exposure stacking makes sense at last, and your photos start to look intentional.
By week four, you're timing sessions with moon phases and consulting light pollution maps before even glancing at the weather.
Your camera's default settings can undermine long exposures. Shoot in RAW, and disable in-camera noise reduction to avoid processing issues that complicate things later.
First session feels like failure.
Second feels like a puzzle.
Third is when you're hooked; annoyed by cloudy nights because they prevent more shooting.
When to start: Evening
Duration: 2 hours
Cost to try: $15 (for a smartphone app if needed)
Success criteria: If you capture a sharp, star-shaped test shot with no visible trailing and a clearly focused bright star, do session 2.
City lights don't just obscure stars. They introduce orange noise that your camera can't distinguish. Editing can't fix this. Use the Light Pollution Map to find your nearest dark-sky site, even if it's a 45-minute drive.
Blurry stars are usually a focus issue, not lens softness. Beginners often assume their gear is at fault. Use live view, zoom in on a bright star, and adjust focus manually until it's sharp.
A single long exposure bakes in noise permanently. Shorter, stacked exposures reduce noise. Capture 20–30 shorter shots and use free software like DeepSkyStacker to enhance details.
High ISO sounds like a shortcut for dark skies, but it boosts noise dramatically. Test your camera's ISO (800–3200) by comparing noise in shadows at various settings.
A misaligned tracking mount tracks incorrectly, so stars still trail. Spend 10 minutes aligning with a polar scope or SharpCap's tool before each session to avoid this issue.
Astrophotography happens where the sky is darkest. Think backyard setups, rural areas, national parks, and dedicated dark sky sites.
A suburban rooftop is fine to start. But the real change comes from finding darker skies, not new gear.
When you join a meetup, start with this line: "I'm just starting out – I have [camera/phone/nothing yet], what should I be shooting first?"
That one sentence gets you a target recommendation, a gear reality check, and a chance to view through another's setup for free.
Not all astrophotography is the same. Different methods suit different styles and goals.
Imagine the Milky Way spanning above a mountain or star trails over a lake. This is the easiest way to start. A basic DSLR with a wide-angle lens is enough to get stunning results.
Think nebulae, galaxies, and star clusters. You'll need a tracking mount to follow the sky's rotation and software to stack exposures. The learning curve is steep, but the payoff can look straight out of an observatory.
Expect to spend $300–$800+ for just the tracking mount.
Mars, Jupiter, Saturn — close and bright targets. A telescope matters more here than a tracking mount. A dedicated planetary camera ($100–$200) is better than most DSLRs for this task.
A good choice if you're near city lights where deep-sky imaging struggles.
Lucky imaging involves shooting thousands of video frames and only keeping the sharpest ones. Atmospheric turbulence blurs most frames, so capturing those rare clear ones is the goal. Tedious, yes, but it's how amateurs achieve stunning planetary details with simple equipment.
Long exposures or stacked sequences show stars as arcs of light. No tracking mount needed. It's simple and striking, perfect for anyone overwhelmed by deep-sky imaging but eager for a stunning wall piece.
For something adjacent, see Macro Photography.
Astrophotography isn't just about the gear.
The key skill is reading your histogram on site. It involves understanding your luminance histogram and adjusting settings before you capture a stack of worthless frames.
Not in Lightroom the next morning. Right there, in the dark. Do this before committing hours to a broken signal.
Get exposure right from the start, and your stacked image will capture the true signal. Otherwise, you'll waste hours in post-processing, stretching non-existent data and wondering why your image looks flat compared to others.
The problem isn't your processing skills. It's your capture technique.
Four sessions in 30 days. That's your test.
If you're already planning your next session before the fourth one is over, that's a strong indicator. This isn't just about being excited about space—it's the process that hooks you. Start considering a dedicated astronomy camera and star tracker.
Feeling neutral after four sessions often points to gear or location issues, not personal ones. Try one more session with better equipment or a darker site to see if anything changes.
If you dreaded the setup, struggled with the late-night cold, and felt nothing looking at your images, that's a clear signal to step away. Some people love the concept of astrophotography but not the reality.
Finding yourself checking weather apps like Clear Outside during your day is more than curiosity. This spontaneous behavior often appears when someone is truly invested.
Urban light pollution is a big deal. Living in a city without easy access to darker skies limits your potential captures, which can quickly diminish motivation.
Erratic sleep patterns make timing tricky. The prime imaging hours are frequently between 11pm and 4am, and unpredictable schedules don't accommodate this easily.
The idea of being out alone in the cold isn't appealing— and if that's the case, every session will feel more like a chore than a hobby.
For quicker fixes, see our roundup of things to do when you're bored.
You don't need an expensive setup to begin—a DSLR or mirrorless camera with manual mode (M), a fast wide-angle lens (f/2.8 or wider), and a sturdy tripod are the essentials. Many astrophotography beginners start with entry-level cameras like Canon EOS Rebel or Nikon D3500 and upgrade their lens quality first before investing in pricier body equipment.
Basic skills like capturing stars and the Milky Core take 2-4 weeks of practice with your camera settings and location scouting. However, mastering advanced techniques like tracking mounts, post-processing, and capturing celestial events like meteor showers or eclipses requires several months to a year of consistent practice.
Budget $300–$500 total by purchasing an affordable used DSLR ($150–$250), a basic wide-angle lens ($80–$150), and a simple tripod ($50–$100). Many beginners also borrow or rent equipment first to test their interest before making a larger investment.
The core skills are straightforward—learning manual mode, exposure time, ISO, and aperture settings takes a few sessions. The harder part is patience: finding dark skies, dealing with weather, and waiting for clear nights, but these challenges become easier once you understand the fundamentals and plan ahead.
Yes, you can capture stars, the Moon, and constellations from home, though light pollution will limit what you see compared to darker locations. For the best results like detailed Milky Way shots, plan trips 1-2 hours away from cities to areas with minimal light pollution.
A beginner setup (camera, lens, tripod) ranges from $500–$2,000; intermediate gear with tracking mounts and better lenses runs $2,000–$5,000; professional equipment with telescopes and specialized cameras can exceed $10,000. Most hobbyists start modest and gradually add equipment based on their specific interests and budget.