BoredomBusted — Find Your Next Favorite Thing To Do
Discover hobbies, activities, places, and ideas that spark joy. Whether you're looking for something creative, active, social, or relaxing, BoredomBusted helps you find your next favorite thing to do.
Browse our hobby guides, things-to-do collections, and place ideas to never be bored again.
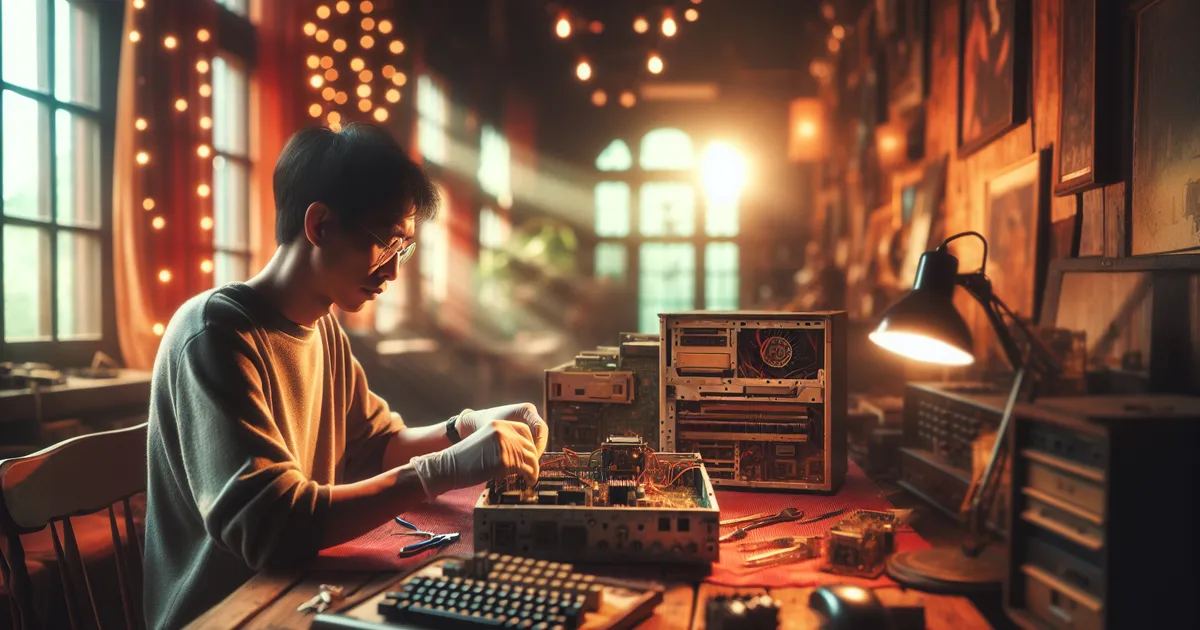
Retro computing restoration is less about nostalgia and more about honing technical skills while reviving forgotten technology.
Getting started with retro computing restoration as a beginner offers a fascinating opportunity to reconnect with the early days of technology. It's about reviving vintage machines from the 1970s to the early 2000s.
Restoration means more than just collecting. You're doing the detective work to diagnose problems and bring the tech back to life.
Real hardware offers a unique thrill. You run classic software on actual machines, just as it was decades ago.
In retro computing restoration, you systematically diagnose and repair vintage computer hardware by disassembling machines, testing circuits, replacing faulty components, sourcing obsolete parts, and finally validating the machine's functionality through careful testing.
This hobby satisfies a creative drive by allowing practitioners to engage in problem-solving, gain mastery through skill development, and experience tangible accomplishments as they restore non-functional machines to operational status.
You think this is about fixing old computers. Plug in a capacitor, maybe clean some contacts, boot it up and feel nostalgic. That's the assumption – and it's about 20% of what's actually happening here.
That Commodore 64 with a dead SID chip pushes you beyond basic repairs. You're tracing why a specific voltage rail is sagging. You're sourcing a replacement from a dead C64 donor board.
That's electronics, logistics, and acoustics in a single afternoon.
Sorting out your toolkit is next. That's the next thing we're covering.
Pristine restoration videos paint a deceptive picture of refurbishing a Commodore 64. In reality, you'll end up with hands smelling like ancient capacitor fluid long before you know why it matters.
Starting off, you'll feel excited and maybe a bit overconfident with just a vague plan and a single screwdriver. Fast forward a bit, and you're surrounded by disassembled machines and waiting on parts orders. Real understanding takes its sweet time.
Research becomes your secret weapon. Early on, you'll spend more time understanding the quirks of your machine's specific model than actually working on it. When you attempt that first recap, it might not go perfectly, but the machine will power on, even if an unexpected video artifact appears.
Eventually, you'll find yourself knee-deep in mysteries like a misbehaving flyback transformer. Yet, when everything finally boots clean, it's satisfying in a way that's hard to describe. Restoration is more rewarding than it looks.
Expect hidden hitches, like dirty boards or elusive bad solder joints. Remember, it's not a defect — it's part of the machine's history. Your frustration is just the process of closing the skill gap, not a sign you chose wrong.
Check the revision number of your Commodore 64 before anything else. Different revisions have unique failure points, so using generic guides can leave you confused and lost.
When to start: Morning
Duration: 1.5 hours
Cost to try: $30
Success criteria: if you finished without fully restoring the device, do session 2.
Dead computers scream logic board issue, but that's a trap. Often, it's the power supply unit (PSU) causing the headache. A faulty capacitor in the PSU can wreck a perfectly good machine after you painstakingly recap it.
Start by testing and rebuilding the PSU. Give it priority to avoid unnecessary logic board replacements.
Cleanliness is crucial, but not all isopropyl alcohol is the same. Lower purity like 70% IPA will leave behind water, accelerating corrosion.
Opt for 91% or preferably 99% IPA from electronics suppliers. This ensures a clean evaporating solution.
It's easy to flip DIP chips during extraction, as they all look the same out of the socket. A wrong orientation can lead to damage when the machine powers up.
Always mark pin 1 with correction fluid before removal. This simple step saves you from costly mistakes.
Scrambled video or boot failures lead many to swap ROM chips prematurely. But often the issue lies elsewhere.
Check the address lines with a logic probe or oscilloscope to see if they toggle before spending on replacements.
Recap guides vary, and using the wrong values can destabilize your machine's clock signal. This leads to frustrating issues.
Verify the board revision on your PCB and cross-reference with a trusted recap sheet from Retro Rewind or specific hardware forums.
Head to your local makerspace. That's where you'll find bench space, soldering stations, and veterans who have fried a capacitor or two. It's a social hub for shared learning.
Introduce yourself with, "I'm just getting started – I have a machine that needs work and I don't know what I'm doing yet." This invitation often gets you a spot at a bench, guidance on which capacitors may fail, and a loan of tools you don't yet own.
Restoring NES, Atari, and Sega consoles is simpler than working on desktop computers. These have easier hardware and cheaper replacement parts. A thriving community offers guidance and support.
Ideal for those new to restoration, plus you can often find consoles for under $30.
Machines like Commodore 64s and Apple IIs offer a nostalgic touch. Restoration involves dealing with old capacitors, corroded contacts, and discolored plastics.
Perfect for nostalgia seekers or those wanting a programmable machine. Expect to spend $50–$200 before starting repairs.
Compact Macs from the late '80s are unique with their CRTs. They present a danger if mishandled, but have a deep pool of documentation and a passionate community.
Ideal for intermediate restorers looking for a conversation starter, rather than a beginner project.
Restoring Sun Microsystems, SGI, and VAX offers historical value but are big, heavy, and power-intensive.
Best for seasoned restorers with space. Finding obscure parts can be tough as some components are no longer available.
Focus on replacing failing capacitors to revive old hardware. This is often the most impactful fix.
Perfect for learning soldering without diving into a full project. Great starting point for the hesitant.
Readers who enjoy this often gravitate toward Circuit Building next.
If this resonates, Raspberry Pi Projects explores a similar direction.
Readers who enjoy this often gravitate toward Engine Rebuilding next.
Many beginners think better parts will solve their retro computer woes. They scour for replacement capacitors and period-correct chips but still face a dead machine.
They focus on parts, missing the real challenge. It's about understanding and diagnosing the machine's behavior systematically.
Systematic fault isolation is crucial. Split the system in two, identify the faulty half, then narrow it down further. Repeat until you pinpoint the exact component.
Don't guess or swap parts randomly. Use a methodical approach, testing each part of the signal chain with a multimeter or logic probe.
With this skill, even a dead Amiga 500 becomes a series of yes/no questions. You get measurable answers.
Without it, you'll end up replacing unnecessary parts. You might even miss simple power issues, leaving you puzzled as the screen stays black.
Over 30 days, dive into six sessions—one every five days. This cadence helps break down the stages of diagnosing, sourcing parts, waiting for delivery, and repair.
If you're eager for the next machine while still working on the current project, you're hooked. Start a repair log and consider investing in quality soldering tools.
If you feel indifferent after six sessions, it's okay to explore another machine or two. A unique model or challenging repair might reignite your interest.
If the process felt tedious and stressful, that's your answer. Not everyone enjoys the intricate process of restoration. Try simpler tech activities or hardware tinkering.
Watching a YouTube teardown just for curiosity signals a fit. If the mechanics of vintage machines captivate you, the hobby is likely a match.
Still looking for something to do? Browse things to do when bored for more ideas.
Essential tools include a soldering iron, multimeter, antistatic mat, screwdrivers, and isopropyl alcohol for cleaning. You'll also want a safe workspace to handle delicate components. Many beginners start with just a few basic tools and expand their collection as they tackle more complex projects.
Initial setup can range from $50–$200 for basic tools, while vintage hardware itself varies widely—from $20 for older personal computers to several hundred for rare systems. You can start affordably by focusing on common, inexpensive machines and gradually investing in higher-end equipment as your skills grow.
It's very beginner-friendly if you start with simple projects like cleaning, checking capacitors, and replacing batteries. Most classic systems are mechanistically straightforward compared to modern electronics, making them ideal for learning troubleshooting without overwhelming complexity.
Simple restoration jobs like cleaning and battery replacement take 1–3 hours, while deeper repairs involving component replacement or circuit board work can take 5–20+ hours depending on complexity. Your timeline improves significantly as you gain experience and familiarity with specific systems.
Common sources include thrift stores, estate sales, online marketplaces like eBay and Facebook Marketplace, local electronics recyclers, and retro computing communities. Many people also have old computers gathering dust in attics—starting with family and friends is a great way to source projects.
You'll develop hands-on electronics knowledge including soldering, circuit board diagnostics, hardware troubleshooting, and component identification. You'll also gain patience, problem-solving abilities, and a deeper appreciation for how technology has evolved over decades.