BoredomBusted — Find Your Next Favorite Thing To Do
Discover hobbies, activities, places, and ideas that spark joy. Whether you're looking for something creative, active, social, or relaxing, BoredomBusted helps you find your next favorite thing to do.
Browse our hobby guides, things-to-do collections, and place ideas to never be bored again.
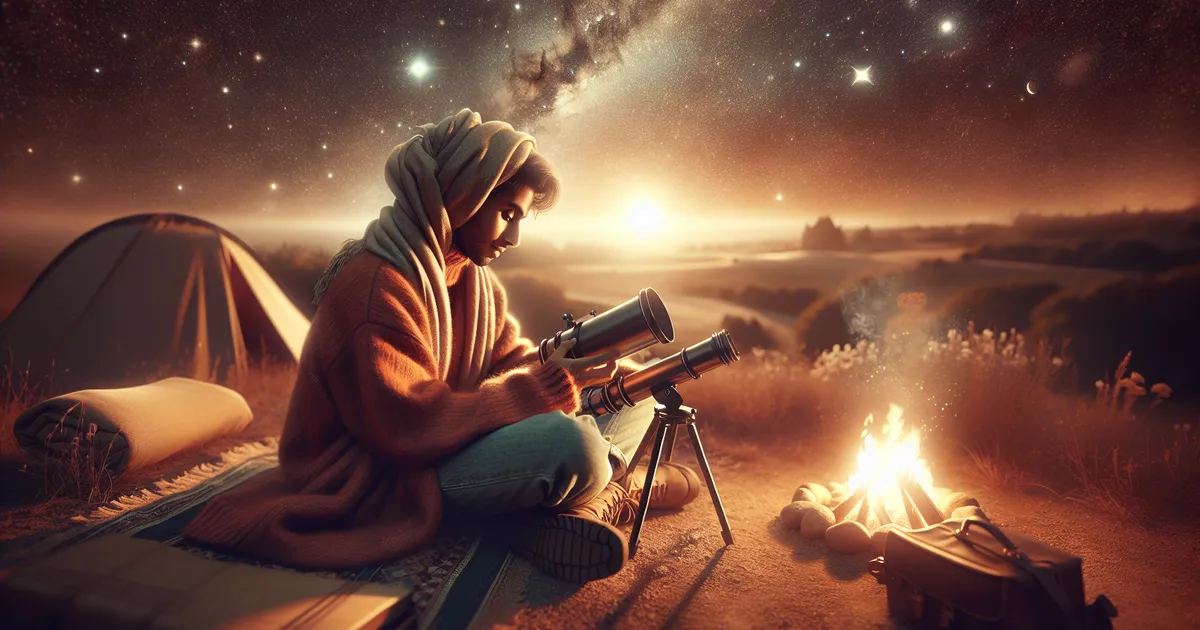
Most newcomers think amateur astronomy is about telescopes, but the real magic begins with months of naked-eye stargazing and contributing to real science.
Getting started with amateur astronomy as a beginner is all about intentional stargazing – tracking celestial objects, logging what you see, and building pattern recognition across nights and seasons.
Unlike casual stargazing, it involves equipment, charts, and genuine observation goals.
What separates it from astrophotography or science courses is that you're doing real sky-reading, not just watching or studying.
In amateur astronomy, you set up a telescope or binoculars in a dark area, navigate the night sky using star charts, and locate celestial objects like planets, stars, and galaxies. You physically align and focus your equipment, observe details through the eyepiece, and may even engage in astrophotography to capture images of these objects for analysis or artistic expression.
Amateur astronomy induces a flow state through the intense focus required for star hopping and telescope tracking, allowing you to lose track of time while honing your skills in celestial navigation. Additionally, the satisfaction from logging observations and contributing scientifically fosters a sense of accomplishment and purpose, combating feelings of boredom.
You think amateur astronomy means buying a telescope and staring at a blurry dot that's supposed to be Saturn.
That assumption is killing your interest before you even start.
The telescope is almost the last thing that matters.
Most serious amateurs spend months learning the sky naked-eye first. They explore constellations, star-hopping, and seasonal patterns before touching any equipment.
Amateur astronomy means doing real science, not just sightseeing. Many contribute variable star data, exoplanet transit observations, and meteor counts to databases professionals use.
The community is absurdly generous with knowledge. Show up to a star party, and strangers will spend hours sharing their gear, charts, and favorite targets – no gatekeeping, no hierarchy.
A retired teacher in rural Ohio started with a $40 pair of binoculars. She had only a printed star chart.
Two years later, she's submitting variable star brightness reports to the AAVSO. Her data feeds into published research.
She never bought a telescope. Still hasn't.
The gear question is coming.
And it matters, but only once you know what kind of observer you actually want to be.
Standing in your backyard at 11pm, you squint into an eyepiece and wonder if the smudge is a galaxy or a fingerprint. It's nothing like watching a time-lapse of the Milky Way arching over a dark field. The videos skip the forty minutes you'll spend finding absolutely nothing — and that gap between fantasy and reality is where most beginners quietly lose confidence.
The sky is the first thing that overwhelms you. Every star looks identical, and the chart in your hand isn't helping as much as you expected. The equipment has its own learning curve that nobody mentions before you buy it — and that curve runs parallel to the astronomy one, not after it.
The first week you find the Moon, maybe Saturn, and spend the rest of the session accidentally pointing at your neighbor's roof. By week two, star-hopping stops being jargon and starts being the only method that works — you're using finder charts to trace a path from a bright anchor star to something dimmer. Week three is when most people land their first deep-sky object, usually M42 or M45. It looks nothing like the photos, but that faint smudge is the moment something shifts. By week four, a few constellations feel familiar. The sky stops feeling like noise.
One thing catches almost everyone off guard: your eyes need 20–30 minutes of darkness to fully adapt, and one glance at your phone screen resets the clock. A red flashlight for reading charts isn't optional — it's the difference between seeing faint objects and missing them entirely. The frustrating sessions in weeks one and two are a skill problem, not a talent problem, and the next section covers the specific mistakes that keep people stuck there longer than necessary.
When to start: Early morning
Duration: 1 hour
Cost to try: $0
Success criteria: If you can identify and sketch three constellations and note one bright star in each, do session 2.
Star charts and apps seem dull next to a shiny telescope, so beginners jump to gear first.
Spend a month outdoors with just your eyes and a free app like Stellarium – if you can't find Orion's Belt alone, a telescope won't help you.
Your backyard might feel convenient, but it hides most of the sky's wonders.
Travel 30–45 minutes from the city and use the Light Pollution Map to find a Class 4 or darker Bortle site before blaming your gear.
Your eyes need time to fully adapt to darkness, but most rush the process.
Allow your eyes 20–30 minutes to adjust and use red-light mode on your phone to preserve night vision.
GoTo mounts seem helpful, but they won't teach you the sky's layout.
Focus on mastering star-hopping by tracing paths from bright stars using printed charts.
Looking through a telescope won't deliver Hubble-like images, and that can disappoint.
Search for 'realistic eyepiece view' before observing so you appreciate the small wonders you actually see.
Your backyard works early on, but streetlights will cap your progress fast. Dark sky parks, rural campgrounds, and open fields give you the conditions to actually see what you're trying to find. That's also where you'll run into other amateur astronomers — which matters more than most beginners expect.
The people in this hobby will teach you more in one night than a month of solo reading — and finding them takes about five minutes.
At a star party, just walk up and say you're new and don't have a scope yet. That one sentence opens every door — advice on what to buy, invites to future meetups, and time behind someone else's eyepiece.
Visual observing is you, a telescope or binoculars, and whatever the sky shows tonight. No tracking mounts, no software, no extra gear.
This is the lowest-friction way to start — Saturn's rings visible on your first clear night. No prior knowledge required.
Astrophotography uses long exposures to pull in faint nebulae and distant galaxies invisible to the naked eye. You need a camera, a tracking mount, and processing software.
Budget $800–$2,000+ before your first real result. The learning curve is steep and the gear costs are front-loaded — but nothing else produces images like this.
Planets, Jupiter's moons, and the Moon itself are bright enough to cut through urban light pollution. A modest telescope from a balcony gets results.
Light pollution that kills deep-sky work is essentially irrelevant here — making this the strongest option if you're stuck in a city.
This is hunting galaxies and nebulae under genuinely dark skies. Many observers work through structured lists — the Messier catalog is the classic starting point.
It requires patience and a drive to dark-sky locations. The payoff is a sense of scale that planetary observing can't match.
Radio astronomy detects radio waves from space using antennas you can build yourself. Clouds, city lights, and daylight don't stop you.
If you already hold an amateur radio license, the equipment overlap makes this a natural extension rather than a separate hobby.
Wildlife Study is a sibling pursuit and often surfaces the same kind of curiosity.
If you want a related angle, Crystal Collecting is the natural next stop.
Most beginners spend their first six months chasing better gear — darker skies, bigger aperture, fancier eyepieces. The telescope isn't the bottleneck. Their eyes are.
Dark adaptation is the discipline of protecting your eyes' sensitivity before and during a session. Eyes need 20–30 minutes to shift from cone to rod vision. One glance at a phone screen resets that clock entirely.
A fully dark-adapted eye detects objects three to four magnitudes fainter than a partially adapted one.
Three to four magnitudes. That's not a rounding error.
It's the difference between spotting a faint galaxy and staring at empty sky wondering if your eyepiece is broken.
Without dark adaptation, you're stargazing through sunglasses and blaming the universe for being boring. Master this one habit, and the sky you already have access to becomes a completely different place — no new gear required.
The tools that protect your adaptation — red lights, phone shields, session planning — are simpler and cheaper than most beginners expect.
Commit to 6 sessions over 30 days — one or two per week, depending on the weather.
If each session leaves you wanting to find one more object before you go in, that restlessness is the hobby talking, not just novelty. Start planning your first equipment purchase — a decent beginner refractor or a pair of 10x50 binoculars — before the sessions are even finished.
If the sessions felt flat, add three more before writing it off — but change the target. Planets and deep-sky objects attract completely different people, so if Jupiter didn't move you, try sweeping for star clusters or tracing constellations with naked eyes.
If watching the clock was the highlight, that's genuine feedback. Darkness and stillness aren't always soothing. Discomfort that doesn't fade after a few sessions is a clean answer, not a character flaw.
The sign that it's working: you're checking the moon phase at midnight without any particular reason to.
If amateur astronomy feels like too much to commit to right now, browse what to do when you're bored for lower-stakes ideas.
You can begin with binoculars or a budget telescope for $50–$200, though quality matters. Many hobbyists eventually invest $300–$800 in a mid-range telescope as they progress, but free stargazing with your eyes and smartphone apps works fine initially.
The Moon, planets like Jupiter and Saturn, star clusters, and nebulae are ideal targets for beginners. A modest 6-inch telescope reveals details you can't see with your eyes, making these celestial objects truly rewarding to observe.
You can start observing and finding objects within a few nights of practice. Most beginners spend 3–6 months learning constellations, how to use equipment, and reading star charts before feeling comfortable navigating the night sky independently.
No—the basics are straightforward and accessible to all ages and skill levels. Learning where to point your telescope and understanding what you're viewing takes patience and practice, but it's more about curiosity than technical difficulty.
Light pollution in cities limits what you can observe, but it's still possible with binoculars and telescopes for brighter objects like the Moon and planets. For deeper exploration of nebulae and faint stars, traveling to darker rural areas 1–2 times monthly significantly improves your experience.
Most observers spend 1–2 hours per session, though this varies by what you're tracking and your schedule. Planet observation sessions can be short and focused, while deep-sky exploration often benefits from longer nights to let your eyes adapt and discover fainter objects.