BoredomBusted — Find Your Next Favorite Thing To Do
Discover hobbies, activities, places, and ideas that spark joy. Whether you're looking for something creative, active, social, or relaxing, BoredomBusted helps you find your next favorite thing to do.
Browse our hobby guides, things-to-do collections, and place ideas to never be bored again.
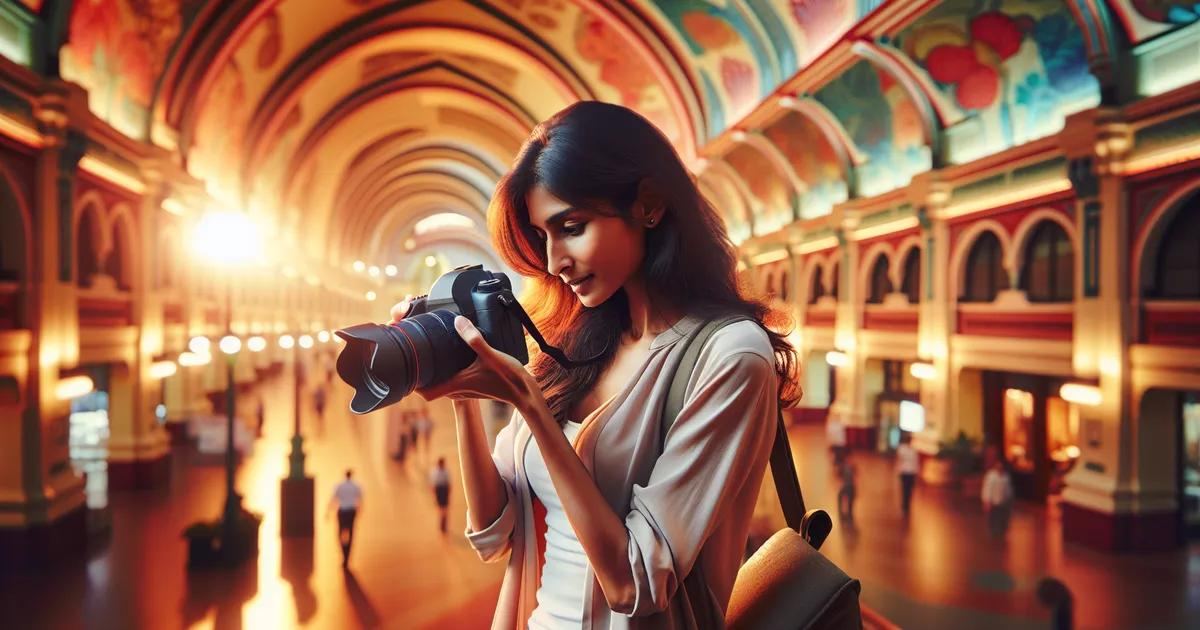
Architectural photography isn’t just about the building — it’s about the light that reveals its emotions and the absence or presence of people that tells its story.
Learning architectural photography as a beginner involves understanding how to frame buildings and spaces to create intentional compositions that tell a story. It's about creating more than just snapshots.
You control light, angles, and geometry to convey meaning in a structure.
Unlike travel or street photography, the subject is still. It's your understanding of the space that transforms the shot.
In architectural photography, you physically scout urban environments, using a camera and tripod to capture buildings and structures by experimenting with angles, light, and composition. This involves analyzing geometrical lines and patterns, making iterative adjustments to find optimal shots, and creatively transforming mundane architecture into visually engaging art.
This hobby induces a flow state through focused attention on composing shots, providing immediate visual feedback that enhances skills and fosters a sense of accomplishment. The creative process of discovering unique perspectives amidst familiar surroundings keeps the experience engaging and combats boredom through novelty and iterative mastery.
You think architectural photography is about buildings. Point camera at building, press button, done.
That assumption is exactly why most people's first shots look like real estate listings.
Light is what you're truly capturing — the building just reflects it. A concrete wall in the golden hour is nothing like one at noon. They're almost different walls altogether.
Geometry shapes emotion in architectural photography. A spiraling staircase creates tension. A compressing corridor makes you feel small. You're not just capturing space; you're making people feel it.
The human absence is deliberate Choosing to leave people out, or include just one, changes the building's story entirely.
Consider the Pantheon in Rome, photographed countless times. The striking shots aren't the wide-angle ones showing its size.
They're the ones where a photographer waits for a single beam of light to angle perfectly through the oculus. These shots are framed so tightly you forget the age and grandeur of the ceiling and feel the silence instead.
The gear discussion is coming. It matters less than you think, but more than you can avoid.
Next up: what you actually need to start.
Starting architectural photography feels like standing on a sidewalk, confused about why every shot looks worse than your own eyes' view. It's surprising how different it is from a magazine-ready photo.
You'll spend 40 minutes at one corner, humbled by converging lines. Light starts to feel important, and you begin to see that the angle, not the building, is your real subject.
Week one is full of regret-filled shots taken at eye level, while week two brings the frustration of keystoning problems that ruin supposedly good photos.
Golden hour clicks in week three. You finally understand why timing changes everything, and this insight shifts your perspective on the whole process.
By week four, revisiting a previously shot building, you achieve a better result through problem-solving, not just chance. This marks the transition from taking random pictures to making deliberate choices.
One crucial tip: shoot from further away than feels intuitive and crop later. Up-close shots often distort and are hard to fix, but distance helps maintain clarity.
The journey is frustrating at first, dull in the middle, but eventually rewarding. Capturing that perfect frame isn't by chance—it's a reward for every effort put into learning.
When to start: Early morning
Duration: 1-2 hours
Cost to try: $0
Success criteria: If you capture one building from three angles with straight verticals and one frame showing clear leading lines or symmetry, do session 2.
Harsh overhead light washes out details and leaves a building looking lifeless. For more striking shots, capture your images during early morning or late afternoon. The softer light creates depth and contrast, enhancing the architecture.
Tilting your camera upwards makes vertical lines converge awkwardly. Instead, keep your camera level. Use an electronic level or fix issues in Lightroom's Transform panel before diving deeper into edits.
Removing people sounds good for displaying architecture, right? However, adding a few figures gives scale. Without them, even tall buildings can appear like miniature models.
Mixing different light sources inside leads to tricky color casts. You can use Kelvin mode and bracket for balance, or place a grey card near the subject to aid post-processing corrections.
Wide lenses can distort, curving walls and destabilizing structures. When possible, step back and use a 24–35mm equivalent. Or go for a tilt-shift lens if keeping lines straight is key.
City centers, historic districts, and university campuses offer the most diverse and accessible architectural photography opportunities.
Modern areas and industrial zones are also rich with possibilities. You don't need famous landmarks to find intriguing subjects.
While there's no official national body for architectural photography, AIA partnerships and events provide key networking and shooting opportunities. Get on their mailing list to stay updated.
Mention your interest in architecture to experienced members. You'll get valuable tips on locations, editing feedback, and permissions.
Exterior shots of buildings in natural light make an easy entry.
No need for permissions or dealing with interior setups. All you need is a wide-angle lens.
Interior photography tests your skills with tricky lighting and tight spaces.
You'll battle blown-out windows and shadow details. Flash knowledge or post-processing skills are key.
A wide-angle lens (16\u201324mm) and a tripod are crucial here.
Street architecture is about watching buildings engage with the city around them.
Fast-paced and rewarding, it favors curiosity.
Urbex focuses on decay as the main subject, not something to avoid.
Access and safety issues are significant. Gear gets dirty; consider weather-sealed bodies.
Drone photography lets you capture unique rooflines and geometric patterns.
Licensing is a big hurdle here. Entry-level drones cost around $500.
Some of the same instincts show up in Technical Drawing — worth a look if this clicked.
If you want a related angle, Architectural Drawing is the natural next stop.
Some of the same instincts show up in Foley Artistry — worth a look if this clicked.
Mastering perspective distortion is about aligning your camera's sensor parallel to the building's face before touching editing tools.
This requires moving around. You may need to step back, change your height, or shoot from across the street.
Once you get this, you stop battling buildings during editing. You see compositions clearly, avoiding post-process corrections. Without it, you'll lean on Lightroom's geometry fixes that cause unwanted cropping.
Photographers with authoritative work aren't using better tools – they're in the right spot.
Find your neutral axis before shooting. Identify where your lens aligns with the building's midpoint.
Photograph one building from four different distances. Keep the same focal length, and notice how the verticals change.
Use gridlines for a month. Align architectural lines before shooting to hone your eye for perspective.
Dedicate yourself to 6 sessions over 30 days. Aim for one every five days to capture different lighting and experiment with various buildings.
If you're drawn back to the same buildings, noticing angles and checking light conditions, you're in the zone. Start diving into manual exposure techniques and explore the distinctions between rectilinear and fisheye lenses.
If the sessions felt bland and uninspiring, give it a bit more time. Add 3 more sessions with a challenge: avoid wide shots and get closer to the details.
If boredom dominated and you just wanted it to end, that's clear information. Some interests don't transfer to enjoyable activities.
You're on the right path if architectural features distract you on the go. When shadow lines and proportions grab your attention without a camera in hand, that's a real sign you're into it.
If architectural photography sounds close but not quite right, our hobby list might surface something better suited.
You can start with a smartphone or entry-level DSLR/mirrorless camera—the key is having manual exposure controls. For serious work, a wide-angle lens (10–35mm) helps capture entire structures, and a tripod ensures sharp, level compositions. Many professionals eventually invest in a prime lens for superior image quality, but quality shots are possible with minimal gear.
You can grasp fundamental concepts like composition, perspective, and lighting within 2–4 weeks of regular practice. However, developing a distinctive eye and mastering advanced techniques like perspective correction takes several months of consistent shooting. The learning curve accelerates when you study existing architectural work and shoot real buildings weekly.
It's more technical than casual photography because precision matters—straight lines, proper exposure, and perspective control are essential. However, it's very learnable; the main challenge is understanding light and geometry rather than having artistic talent. Starting with well-lit, structurally interesting buildings makes the learning process much smoother.
You can start free or nearly free using a smartphone camera. If upgrading, budget $300–$600 for a decent used DSLR and kit lens, and $40–$100 for a sturdy tripod. Professional-grade equipment runs $1,500+, but beginners see dramatic improvement without spending that much.
Architectural photography focuses on artistic interpretation—emphasizing design, light, form, and stories—often requiring special access and creative angles. Real estate photography is documentary and sales-focused, showing properties as they are for potential buyers. Architectural work is more about capturing the beauty and intent of design, while real estate prioritizes functionality and clarity.
You can photograph buildings from public spaces without permission in most places, though laws vary by country. However, for interior shots or unique angles on private property, getting permission is both legally safer and ethically respectful. Always check local regulations and consider reaching out to owners or architects—many appreciate the interest in their work.