BoredomBusted — Find Your Next Favorite Thing To Do
Discover hobbies, activities, places, and ideas that spark joy. Whether you're looking for something creative, active, social, or relaxing, BoredomBusted helps you find your next favorite thing to do.
Browse our hobby guides, things-to-do collections, and place ideas to never be bored again.
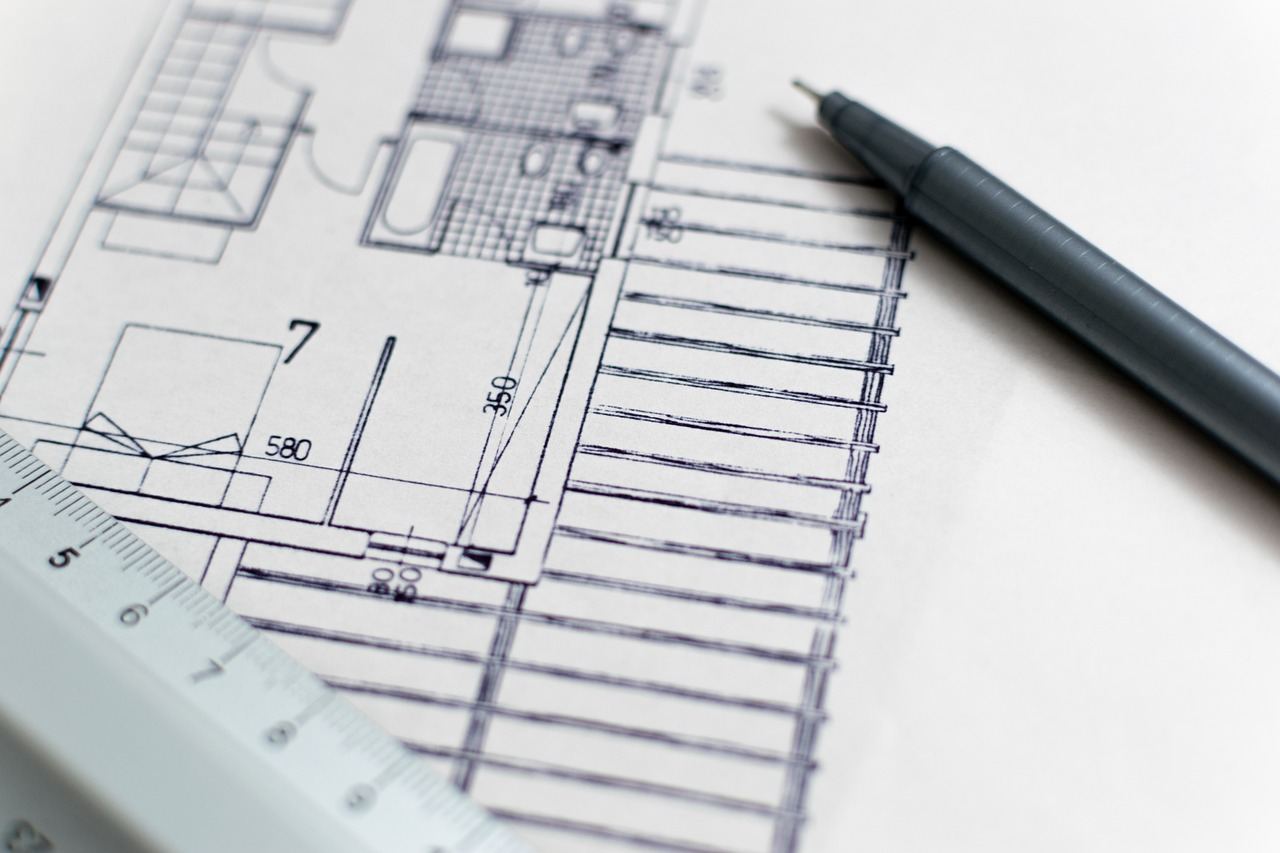
Forget talent. Architectural drawing's real value is training your eye to perceive spatial relationships, changing how you read any room.
Learning architectural drawing as a beginner blends creativity with technical skill, allowing you to sketch, draft, or render buildings and spaces, either by hand or digitally.
Unlike general illustration, each line serves a purpose. It's about communicating structure, proportion, and spatial relationships with precision.
In architectural drawing, hobbyists engage in freehand sketching of buildings and spaces using various media on paper or sketchbooks, often outdoors or from memory, focusing on fundamental techniques like drawing lines, measuring proportions, and layering shading for depth while iterating on designs through quick sketches and technical exercises.
Architectural drawing induces a flow state through repetitive line and perspective exercises that require focused coordination and problem-solving, while providing incremental skill feedback through visual progress in sketches, fostering a sense of accomplishment and creative expression as complex structures are simplified into unique designs.
Architectural drawing gets dismissed as either a professional skill or a talent you're born with. The assumption is that without formal training — or at least a natural hand for sketching — there's nothing here for you.
That assumption is costing you something genuinely useful. Architectural drawing teaches you to see relationships between objects, not just the objects themselves. The gap between a window and the wall edge matters more than the window.
Consider this: a first-time sketcher spends one afternoon drawing their apartment floor plan from memory — no drafting pencil, no ruler, no experience. One exercise permanently changes how they read a room. The measuring and observing did that. The drawing skill was just the byproduct.
No equipment. No experience. No talent required. Stick with it for 60 days and you'll start thinking differently about physical space — not because you learned to draw, but because you trained yourself to observe.
The real question, then, is what you actually need to get started — and the answer is probably less than expected.
Watching someone draft a clean floor plan looks almost meditative. Then you pick up the pencil. The ruler slides, your hand shakes, and the line that should connect two walls wanders off into open space. That gap between watching and doing is wider than any beginner expects.
Your first few sessions are mostly erasing. Lines meander. Corners don't close. The paper gets worn and smudged before anything resembles a room. Precision isn't the goal yet — learning to recover from bad lines is.
Week one, the ruler is your adversary — it slips the moment you find your rhythm. Week two, scale starts to make sense in your head, but your hand still ignores it. Week three is when you start spotting your own mistakes, which feels like going backward but is actually the first real sign of progress.
One thing that catches people off guard is the architect's scale ruler. Most beginners treat it like a regular ruler. It isn't. Until you understand what the 1/4" side actually represents, every drawing will produce rooms that are either broom closets or aircraft hangars — and you won't know which until it's too late to fix.
By week four, a page full of visible errors is a win. It means your eye got ahead of your hand — and that gap closes faster than the first one did. The next section covers the specific mistakes that keep people stuck in the frustrating half longer than they need to be.
When to start: Early morning
Duration: 1 hour
Cost to try: $10
Success criteria: If you sketch a simple building in one-point perspective with straight ground, vertical, and converging lines, do session 2.
Freehand feels expressive early on — until you realise your walls are bowing and your angles are guesswork. Precision tools like a scale ruler and 45/90 triangle feel restrictive at first, but that resistance is the point.
Spend 30 minutes with a scale ruler and triangle before your next drawing session. Straight lines stop being a constraint and start being muscle memory fast.
Scale feels like a technicality — right up until you try to add a door that doesn't fit, or hand your drawing to someone who can't read it. Fixing scale retroactively means redrawing almost everything.
Commit to one measurement on your scale bar before you draw a single line. A standard 3-foot door is a reliable anchor — everything else in the drawing scales from there.
Facades look impressive, so it's tempting to jump straight to them. But elevations are derived from the floor plan — the moment you change a plan dimension, your elevation becomes fiction.
Lock down your floor plan dimensions completely before touching an elevation. Then use projection lines to carry those dimensions directly into your elevation — no guessing, no redrawing.
Line weight variation looks like a stylistic choice, so people apply it wherever it feels right. The result is a drawing that looks busy but doesn't actually tell you anything.
Assign three weights before you start — heavy for cut elements, medium for visible edges, light for receding or distant lines — and don't deviate. Consistency is what makes a drawing readable at a glance.
Plans and elevations feel like a complete picture — they show where things are and what they look like. But neither one shows how the building actually works structurally or spatially.
Draw at least one section cut for every project, even a rough one. It forces decisions about ceiling heights, structural layers, and spatial relationships that plans simply don't surface.
Art studios and makerspaces often host open drafting sessions. Community colleges run short courses on architectural drawing — useful for both better tools and better company.
On Meetup.com, search "architectural sketching [your city]" or "urban sketching [your city]" — urban sketching groups almost always include architecture-focused members.
Urban Sketchers (urbansketchers.org) maintains a map of active chapters worldwide. Architecture is central to most of their meetups — bring a sketchbook and you belong.
Facebook Groups surface smaller, hyperlocal communities that never show up elsewhere. Search "architectural drawing" or "drafting and design" plus your city name.
The American Institute of Architects runs public workshops through local chapters at aia.org/chapters. These occasionally open to enthusiasts, not just professionals.
When you show up anywhere new, lead with: "I've been drawing buildings but never studied it formally." You'll get faster, sharper feedback from people who started exactly the same way.
This is drawing buildings with just a sketchbook and your eye. You train yourself to observe proportion and depth without any measuring tools.
A sketchbook and a few pencils are all you need. The lowest barrier to entry of any variant here — and the fastest way to sharpen how you actually see buildings.
Floor plans, elevations, and sections drawn to scale with consistent line weights. This is what most people picture when they hear "architectural drawing."
You'll need a drafting board and set squares to do it properly. Built for anyone pursuing architecture professionally — this is the foundation of real architectural communication.
Technical drawing measures a building. Perspective drawing makes you feel like you're standing in front of it.
Two-point perspective is the most useful method to learn. Harder than freehand sketching, but it's the technique that makes drawings look convincingly three-dimensional — the artistic side of the craft.
AutoCAD and SketchUp replace the drafting table. You get precision, layering, and output that matches industry standards.
SketchUp has a free version, so the cost barrier is low. The real investment is time — expect weeks before the software stops fighting you — but the result is work that looks indistinguishable from professional studio output.
You take your sketchbook outside and draw actual streetscapes as they happen around you. Accuracy matters less than capturing atmosphere.
There's no setup required and no wrong answer. Best for hobbyists who want drawing to feel like an outing rather than a discipline — you can start the same day you decide to try it.
Botanical Drawing lives in the same world — different mechanics, similar appeal.
Some of the same instincts show up in Manga Drawing — worth a look if this clicked.
Readers who enjoy this often gravitate toward Portrait Drawing next.
Beginners often spend too long on line weight and hatching. They focus on decorating drawings they don't fully grasp.
Orthographic thinking is the ability to mentally project a 3D form onto a 2D plane. It means knowing an object's exact dimensions and spatial relationships — not just the surfaces you can see, but the ones you can't.
Most people draw what's visible. Orthographic drawing means sketching what actually exists — and that difference is why your plans, sections, and elevations either align or don't.
Miss this. Fix it after. Repeat indefinitely. Once this mental model clicks, misalignments stop being something you correct after the fact — they stop happening in the first place.
The next section shows exactly where to apply this thinking across the most common drafting scenarios.
Plan for six drawing sessions over 30 days — one every five days, each lasting 45 to 60 minutes, focused on a real-life subject like a building corner or a room you actually spend time in.
If you keep redrawing the same window to nail the proportions — and that repetition feels energizing rather than tedious — that drive toward precision is the hobby, not just enthusiasm for the subject. Move directly into orthographic projection and stop treating the sessions as exploration.
If the sessions were forgettable, try switching your subject to something that genuinely interests you architecturally — a building you've always noticed, a room with unusual proportions. Run three more sessions with that subject before drawing any conclusions.
Counting minutes is a different signal entirely. Active disinterest during the sessions themselves means more sessions won't shift anything. That's a clean answer — not a problem to solve.
The sign worth paying attention to: you're cataloguing ceiling joints and baseboard profiles the moment you walk into an unfamiliar building, without meaning to. That quiet, involuntary attention is what this hobby actually runs on.
Still looking for something to do? Browse things to do when bored for more ideas.
You'll need basic drawing supplies: a sketchpad, pencils (HB, 2B, 4B), a ruler, set square, compass, and eraser. As you progress, you can invest in drafting tables, T-squares, and specialized pens. Many beginners start with just pencil and paper before upgrading to digital tools like AutoCAD or Revit.
Basic perspective drawing and technical sketching skills can be learned in 4–8 weeks with consistent practice. However, mastering architectural drawing to a professional level typically takes 1–2 years of dedicated study, including understanding building codes, materials, and design principles.
No—many hobbyists learn through online tutorials, books, and practice without formal training. However, if you want to pursue architecture professionally, a degree is typically required. For hobby purposes, self-teaching through courses and practice is entirely viable.
Freehand sketching focuses on capturing design ideas and proportions quickly using artistic intuition, while technical drawing requires precise measurements, scale, and adherence to conventions for construction clarity. Both skills are valuable—sketching develops creativity, while technical drawing ensures accuracy for builders.
It's manageable for beginners, though having some drawing experience helps. The technical aspect (using tools and understanding perspective) can be learned step-by-step, and perspective drawing is a skill that improves significantly with practice rather than natural talent.
Yes—digital tools like AutoCAD, SketchUp, and Revit are industry-standard and great for learning. Many beginners actually start with software because it automates measurements and alignment. However, learning hand-drawing first builds stronger foundational skills in perspective and proportion.