BoredomBusted — Find Your Next Favorite Thing To Do
Discover hobbies, activities, places, and ideas that spark joy. Whether you're looking for something creative, active, social, or relaxing, BoredomBusted helps you find your next favorite thing to do.
Browse our hobby guides, things-to-do collections, and place ideas to never be bored again.
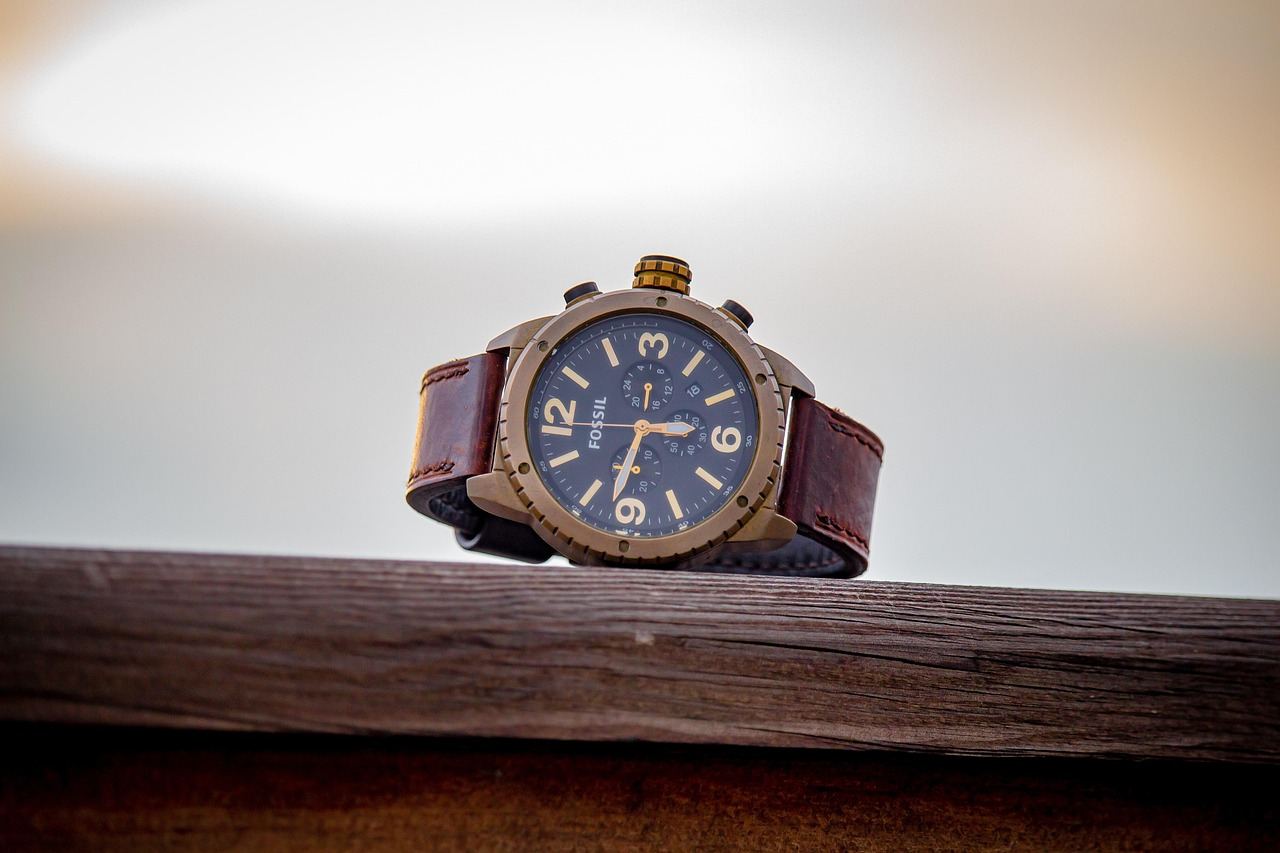
Accessory design is less about aesthetics and more about durability; a bag strap's comfort can make or break your design long before it hits the runway.
Learning accessory design as a beginner involves transforming simple materials into unique wearable art that reflects your personal style. Jewelry, bags, belts, and hair pieces are crafted from leather, wire, resin, or fabric.
You design it, prototype it, and work it until it checks every box.
A great piece balances both style and function. If it's beautiful but uncomfortable, it's back to the drawing board.
In accessory design, you gather materials like leather, beads, and wire, then sketch ideas, manipulate shapes, and prototype functional items like handbags or jewelry, engaging in hands-on processes from ideation to tangible creation.
Accessory design fosters a flow state through iterative shape manipulation and material exploration, while skill feedback loops and creative expression lead to a sense of accomplishment and novelty, keeping you engaged and connected to personal storytelling.
You think accessory design means making things pretty. A finishing touch on an outfit or room.
Quitters assume that design stops at aesthetics. But they're tackling the wrong issues from day one.
Accessories demand both form and function. A bag strap isn't about style if it digs into shoulders—it's a structural flaw.
A Brooklyn-based designer spent eight months on a minimalist leather card holder. The actual design took two weeks.
The remaining six months went to figuring out why the pocket failed after 60 uses. Pretty was the easy part.
Durability. Material behavior under stress. Repeatability across dozens of uses. Those are the problems that separate a hobby project from something you'd actually carry every day — and they're what you'll spend most of your time solving.
The materials you choose shape every one of those problems. That's where most beginners need to start thinking first.
Watch someone make a bracelet on YouTube and it looks like breathing. Then you sit down, wire in hand, and your fingers forget how fingers work. The piece you imagined — clean, symmetrical, something you'd actually wear — comes out lopsided and stiff. Nobody tells you how normal that gap is between what you picture and what your hands produce in the first few sessions.
The first week is mostly logistics. Untangling wire, rethreading needles, figuring out which pliers do what. Actual design happens in short bursts between small disasters. By week two, you'll finish something — it'll be clunky, probably uneven — but finishing it feels legitimately good.
Week three is where people quietly quit. You try to recreate what worked, realize you never tracked your steps, and it feels like starting from scratch. Narrowing down to one material and one technique is what turns week four into a breakthrough — not talent, not better tools, just focus.
Beading wire, leather cord, chain, memory wire — each behaves differently and exposes different beginner errors. Your first material choice matters more than your current skill level because switching too soon means you never build the muscle memory that makes any of it feel natural. Commit to one material long enough to know exactly how it fails before moving on.
Doubt usually shows up around week two. The urge to buy better crimping pliers or a nicer bead mat is strong — but gear doesn't fix the part of the skill that only comes from making ugly practice pieces. The next section covers the specific mistakes that keep beginners stuck in that frustrating phase longer than necessary.
When to start: Morning
Duration: 1 hour
Cost to try: $15
Success criteria: If you finish a beaded bracelet or necklace with a secure knot and a clear repeating pattern, do session 2.
Pieces often look straightforward after they're finished. Hidden elements like joins, structure, and tension are easy to miss until they fail.
Mentally deconstruct the design first. Pinpoint each connection point to understand load and flexibility before trying to reproduce it.
Beginners often choose fabric or leather based on appearance in photos. This skips how they wear, bend, or handle stress over time.
Select material weight for its intended use. A bag strap needs 4–6 oz leather minimum; a brooch backing needs enough stiffness so it doesn't sag.
Your body measurements don't represent the average. Using just your own wrist, neck, or waist sizes limits your design's versatility.
Start with mid-range measurements. Then create small and large versions to finalize the pattern.
Hardware choices often happen for aesthetics and get added last. Only then do you realize they're too weak or stiff, wasting prior efforts.
Test closures before you start. Buy three different weights, attach to your material, and eliminate two before building anything.
Seam rules from fabric don't apply universally. Materials like leather, resin, or waxed canvas behave differently under pressure.
Research specific seam tolerance for your material before cutting, since even a small error can be permanent in leather.
Accessory design thrives in home studios and local community centers. Maker spaces and craft centers often provide the perfect environment.
Admitting you're new gets you valuable help. A friendly introduction to fellow participants can snag you project guidance and feedback about which tools to prioritize.
This is where most people start — for good reason. Tactile work with a quick payoff, no torch required.
Basic wire-wrapping kits run $20–$40. If you want to move into metalsmithing with torches, that jumps to $300 or more — a different commitment entirely.
Leather takes more patience than most crafts here. The tradeoff is that what you make doesn't wear out in a season — belts, wallets, and bags from good leather last decades.
Starter kits cost $50–$80. Budget another $30–$60 for hides once you know what you want to make. Best fit for people who want utility, not decoration.
Scarves, headbands, woven bags — this track rewards rhythm. Perfect for meditative making, where the process matters as much as the result.
Already a knitter or crocheter? You're genuinely halfway there — the hand skills transfer directly.
Pour, wait, pop out. Embed flowers, glitter, or found objects. Every result looks slightly different, which is most of the appeal.
The one real requirement: resin fumes need ventilation. Work near an open window or grab a respirator — this isn't optional.
Salvaged hardware, spare buttons, broken jewelry — upcycling turns existing materials into new pieces. The lowest-cost entry point in this hobby, with no pressure to build a full supply collection before you start.
Good starting point if you want to test whether this hobby sticks before spending real money on materials.
If you want a related angle, Home Decor Styling is the natural next stop.
If you want a related angle, Woodblock Printing is the natural next stop.
If the texture of this appeals to you, Card Making is built on similar bones.
Most beginners obsess over materials — better beads, nicer wire, more expensive clasps. The materials aren't the problem. The proportions are.
Visual weight balancing is the key skill. It's about distributing mass, contrast, and negative space so the eye moves intentionally.
Symmetry isn't the goal. A chunky pendant on a delicate chain creates tension — and that tension is either intentional or a mistake, depending on whether the rest of the piece supports it.
A well-balanced piece doesn't have to be explained. It just reads.
Working on this skill transforms pieces that feel off. Even perfect wire wraps can't save a design that looks busy, flat, or accidental.
That shift — from stumbled upon to intentionally crafted — is what the next section gets into. Photograph finished pieces in black and white to see mass and contrast. Start from the focal point, re-add elements one at a time, and stop when it feels resolved — not just complete.
Eight sessions over 30 days — roughly twice a week. That cadence gives you enough space to move past early awkwardness without losing momentum between sessions.
If you're sketching ideas on napkins or eyeing hardware at thrift stores between sessions, the hobby has already moved into your downtime — that's the signal, not the sessions themselves. Start a simple idea log and look into one affordable tool upgrade before your next build.
If the sessions felt fine but flat, don't write off the craft yet. Neutral reaction to one material or style doesn't mean neutral reaction to all of them. Try switching your material or scale — wire instead of sheet metal, miniature instead of full-size — before drawing a conclusion.
If showing up felt like a tax you were paying, that's a clean answer. Friction this early, before skill even enters the picture, usually doesn't resolve with more practice. More spontaneous crafts — collage, hand-lettering, quick-build kits — tend to suit people who found this pace draining.
The reflex to watch for: you're out somewhere and you catch yourself mentally deconstructing a piece of jewelry or a bag strap without meaning to. That involuntary analysis — not enthusiasm, not excitement — is the thing that separates people who stick with this from people who don't.
For ideas that take five minutes instead of five weeks, see things to do when you're bored.
You can begin with basic supplies like beads, wire, leather scraps, and clasps—most available affordably at craft stores. As you progress, you'll explore metals, gemstones, fabrics, and resin depending on the types of accessories you want to create.
A basic beaded bracelet or simple earrings typically take 30 minutes to 2 hours depending on complexity and your experience level. More intricate pieces like statement necklaces or embellished bags may require several hours across multiple sessions.
Not at all—accessory design is highly accessible to beginners since many projects require just basic hand skills and no special tools. You'll develop technique naturally as you practice, and simple designs often produce impressive results that build confidence quickly.
You can start with a beginner kit for $20–$50, which includes essential tools and materials. A more comprehensive starter setup with quality supplies and tools ranges from $75–$150, and you can always expand your materials collection as your skills grow.
You can create jewelry (earrings, bracelets, necklaces, rings), bags, belts, hair accessories, shoe embellishments, and scarves—the options span nearly any wearable item. Many designers start with jewelry since it requires fewer materials and produces faster results.
Design experience isn't necessary—accessory design is more about exploring texture, color, and form through hands-on experimentation. Many successful accessory designers develop their eye for aesthetics by creating, not by having formal training beforehand.