BoredomBusted — Find Your Next Favorite Thing To Do
Discover hobbies, activities, places, and ideas that spark joy. Whether you're looking for something creative, active, social, or relaxing, BoredomBusted helps you find your next favorite thing to do.
Browse our hobby guides, things-to-do collections, and place ideas to never be bored again.
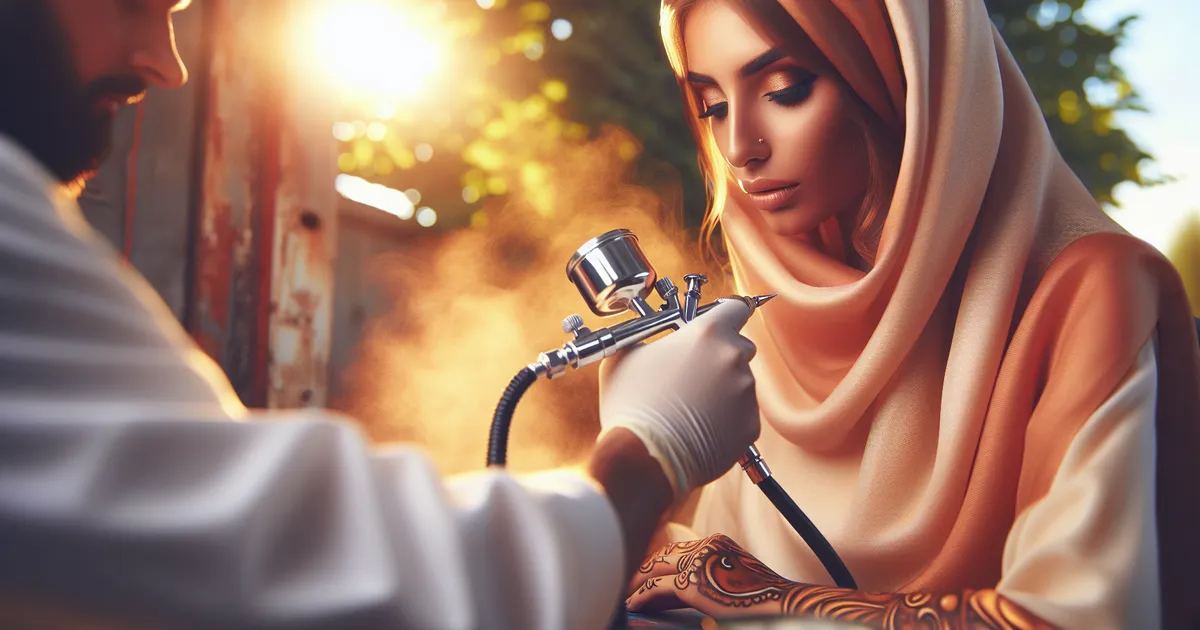
Airbrush painting isn't just for pros with million-dollar setups—most beginners can achieve impressive results after just one session and a modest $75 investment.
Learning airbrush painting as a beginner opens up a world of creative possibilities, allowing you to create stunning gradients, shadows, and blends with ease.
Unlike regular painting, the tool itself rewards precision over pressure, making it closer to drawing with light than slapping color on canvas.
In airbrush painting, hobbyists use a dual-action airbrush to apply thinned paint onto various surfaces, mastering techniques like creating gradients, drawing lines, and layering colors through precise control of air and paint flow while performing repetitive drills to build muscle memory.
This hobby induces a flow state through the focused control required for precise airbrush techniques, offering immediate visual feedback that reinforces skill mastery and fosters incremental creative expression, culminating in a sense of accomplishment as hobbyists progress from basic drills to intricate designs.
You think airbrush painting is for professionals with spray booths, compressors the size of refrigerators, and paint-stained fingers from twenty years of practice.
You've seen the hyper-realistic portraits. The custom motorcycle tanks. The competition-grade miniatures.
That's the ceiling, not the floor – and mistaking one for the other is exactly why you clicked away the last time.
The learning curve is about control, not talent – and control is just repetition with a trigger. Most beginners see usable results in a single session, not a single year.
The gear barrier is real but wildly overstated – a beginner-ready setup runs $60-$90, not the $400+ rig you've been quietly pricing on Amazon.
Airbrush isn't one skill, it's a family of techniques you pick up one at a time. You don't need all of them to make something worth keeping.
A hobbyist painter named Rachel picked up a dual-action airbrush to shade miniatures for a board game. No booth. Kitchen table, a $75 compressor, and a cheap splatter guard.
Six weeks in, she was painting gradient armor effects that brush painting genuinely can't replicate.
She didn't become a professional. She just stopped assuming it required one.
Curious about what your actual first session might look like? That's exactly what comes next.
When you first try airbrushing, it feels like you're directing a fire hose at your expectations. It's overwhelming, and not just about skill. It's about the physics of the tool that aren't intuitive yet.
Expect needle tip drying, spider-webbing, random spits, and paint so thick it clogs mid-stroke. You'll burn time Googling fixes instead of painting. The answer to most of it is the same: thin your paint to a skim-milk consistency before you do anything else.
Your first week involves more cleaning than painting — that's not failure, that's the job. Pressure control starts making sense by week two, but paint ratio will still catch you off guard. The thing that kills beginners in week three is overworking a fade that was actually good — one extra pass ruins it.
By week four, slower trigger pulls and a little more distance start feeling natural rather than forced. The airbrush punishes impatience at a microscopic level — and that's exactly what the next section is about.
When to start: Early morning
Duration: 1.5 hours
Cost to try: $20
Success criteria: If you spray a smooth 2-inch gradient from dark to light and keep your stencil lines crisp on paper, do session 2.
Airbrush paint looks fine until it clogs or spiders. Beginners often eyeball it, leading to inconsistent results. Start with a 1:1 paint-to-thinner ratio by drop count. Adjust one drop at a time until it flows like skim milk.
Holding the airbrush 2–3 inches away might feel right, but it leads to pooling. Back up to 6–8 inches and make multiple thin passes. This avoids flooding the surface while improving coverage.
Sputtering and spitting often come from dried paint on the needle tip. Keep a damp cloth handy and wipe the needle every 10–15 minutes.
Pressure settings can change with different paints or thinner batches. Spray on scrap paper for 10 seconds before your actual piece. Do this before every new color, not just when it feels off.
Most beginners pull air and paint together without knowing they can be separated. Practice "pre-spraying": press for air only, move the brush, then pull back for paint mid-stroke. Do this until it becomes muscle memory.
Airbrush painting is typically done at home, either in a studio or a dedicated workspace.
Consider using maker spaces or community art studios for testing gear. They often have ventilation setups and compressors available.
Introduce yourself by admitting you're new and figuring out issues like pressure settings and paint consistency. This can lead to hands-on demos from more experienced folks.
You're working with tiny surfaces—like gaming figures, model kits, and detailed projects. Use the airbrush for base coats and shading. A regular brush does the finer details. This is for those already into Warhammer, D&D minis, or scale models wanting fast, smooth base layers.
A 0.2–0.3mm needle tip matters here—your standard 0.5mm will blob all over a 28mm figure.
This is the big-league version—cars, helmets, and motorcycle tanks. You're creating freehand flames, portraits, and gradients on large surfaces. Ideal for those with art or body work experience seeking a serious, possibly paid craft.
Significant compressor requirements—higher PSI and a larger tank are needed over hobby setups.
Same airbrush, different canvas. You're using fabric-specific paints on clothing, sneakers, or canvas goods. Ideal for those into wearable art, custom apparel, or street-market-style work.
Textile medium or fabric paint is non-negotiable—regular acrylic will crack and flake off after one wash.
Airbrushing on paper, canvas, or illustration board offers a primary art medium with ultra-smooth gradients. Great for artists who already sketch or paint and want a different aesthetic.
This is the most skill-dependent variant—there's no texture to hide behind, so control must come first.
Yes, food-grade airbrushes exist. Spray edible color onto fondant, cakes, cookies, and chocolate. Perfect for bakers wanting professional finishes without hand-painting details.
Gear is cheaper and more forgiving here—a dedicated food airbrush kit runs $40–$80, making this the clearest beginner entry point.
If you want a related angle, Silk Painting is the natural next stop.
If this resonates, Mural Painting explores a similar direction.
Glass Painting is a sibling pursuit and often surfaces the same kind of curiosity.
Trigger control is the one skill that changes your airbrush painting game.
Most beginners focus on paint consistency and pressure settings. Those are important. But they're secondary to the real issue.
The true skill lies in mastering trigger control. This means developing the muscle memory to lead with air before adding paint, and stopping paint before killing the air. A dual-action airbrush requires this finesse.
Beginners often pull both triggers simultaneously. That's how you get blobs, spiders, and hard starts. Not from bad paint or poor pressure.
Once you differentiate air and paint motions, overspray and tip-dry drop dramatically. It's because you never begin or end with wet paint under pressure.
Without this control, you're always compensating by thinning paint more, dropping pressure, and moving faster. These adjustments only mask a timing issue that settings can't correct.
Six sessions over 30 days. That's roughly one session per week, plus an extra for the ones you might rush.
If you're already planning your next session before the current one is finished — thinking about what went wrong or how to push the technique further — that's not beginner's enthusiasm. Your mind is treating this as a puzzle worth solving. Get a second airbrush so cleaning one doesn't interrupt the other, and pick a single project to commit to for the next two months.
If the sessions feel like boxes you're ticking without thinking about them in between, take that seriously. Airbrush painting rewards people who can't stop tinkering — if that itch isn't there, the maintenance will feel like a tax. Try one more round with a different subject before walking away.
If setup and cleanup were the parts you actively dreaded, that's a clean answer. The prep-and-clean cycle is load-bearing in this hobby — it doesn't shrink as you improve.
If you've been quietly collecting photos of smooth gradients and perfect finishes, that folder is more honest about your interest than anything you'd tell yourself consciously. Those saved images are the real signal.
Looking for something lighter? Our boredom-busters guide is built for exactly that.
A basic starter kit with a compressor, airbrush, and hoses typically costs $100–$300, while quality paints and supplies add another $50–$100. If you want professional-grade equipment, expect to spend $500–$1,000 initially, but budget starter setups work well for learning fundamentals.
You can master basic techniques like spraying and blending in 4–6 weeks of regular practice. However, developing the precision and control needed for intricate details and professional work typically requires 3–6 months of consistent practice.
The learning curve is moderate—the fundamentals are straightforward, but mastering pressure control, distance, and technique takes patience and practice. Most beginners see noticeable improvement within the first few weeks with proper guidance and repetition.
Airbrushing works on canvas, plastic models, automotive panels, miniatures, wood, fabric, and ceramic surfaces. The key is using the right paint type for each surface—acrylic for canvas and miniatures, automotive paint for cars, and enamel for flexible materials.
Yes, a dedicated compressor is essential because airbrushing requires consistent air pressure (usually 25–40 PSI). Compressors range from quiet, lightweight portable models ($80–$150) to stationary tanks that eliminate moisture and pulsing for better control.
Single-action brushes control only air flow, while dual-action brushes let you adjust both air and paint simultaneously for better precision and control. Dual-action brushes are preferred by most hobbyists and professionals because they allow finer detail work, though single-action is simpler for beginners.