BoredomBusted — Find Your Next Favorite Thing To Do
Discover hobbies, activities, places, and ideas that spark joy. Whether you're looking for something creative, active, social, or relaxing, BoredomBusted helps you find your next favorite thing to do.
Browse our hobby guides, things-to-do collections, and place ideas to never be bored again.
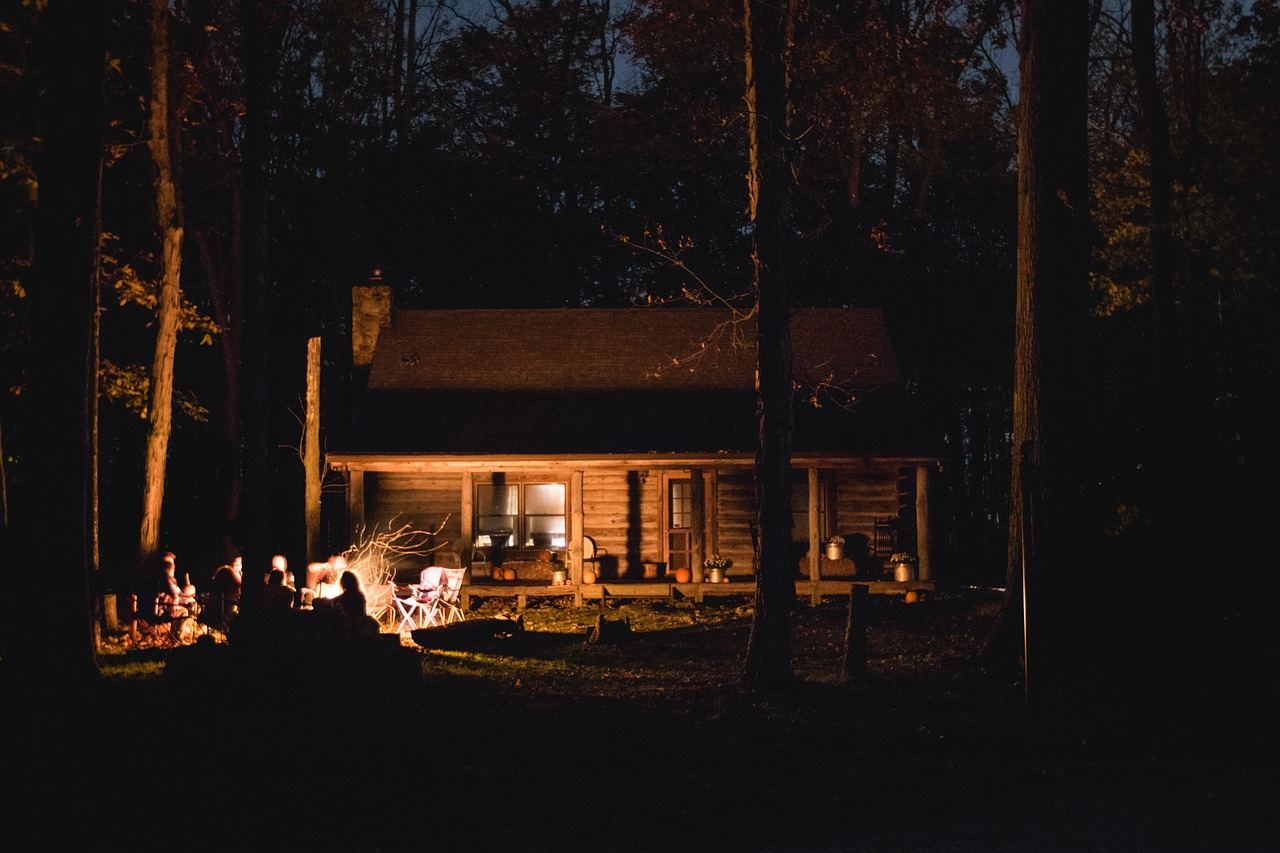
Most assume building a fire is simple — but it’s an intricate system, where airflow and moisture can turn a cozy night into a cold defeat.
Learning fire building as a beginner involves mastering essential techniques to create and sustain fire using only natural or primitive methods like friction, sparks, or focused light.
It's not about camping gear or bushcraft kits. This is mastering the basics: fuel, oxygen, and heat.
In fire building, you gather natural materials like dry tinder and branches, then construct fire lays such as teepees and A-frames, using various ignition methods like ferrocerium rods or bow drills to create and sustain a fire, observing its progression while managing the fire triangle: fuel, oxygen, and heat.
Fire building induces a flow state by presenting escalating challenges that require full concentration and skill application, while immediate feedback from successful ignitions and fire management reinforces competence and provides a tangible sense of accomplishment.
You think you already know how to build a fire. Lighter, kindling, log – done.
That assumption is exactly why most people are cold, frustrated, and blaming wet wood by minute ten.
Fire is a system, not an event – it needs the right fuel at the right size in the right order, and skipping any step means starting over, not pushing through.
Moisture kills fires before they start – wood that looks dry can hold enough internal moisture to smother a flame, and you won't know until it's too late to fix easily.
Airflow isn't optional – most beginner fires die because the structure traps heat instead of feeding oxygen to it, which is a geometry problem, not a luck problem.
Building a fire is like writing a sentence. You need the right words in the right order. Otherwise, it just doesn't communicate.
Stack the wrong structure and you're not cold because of the weather.
You're cold because of a decision you made four minutes ago – and the next section reveals which choice matters most.
The air is thick with smoke, stinging your eyes and obscuring your view. Tinder stubbornly refuses to ignite. You find yourself reaching for a lighter despite your intentions. Then there's the realization that the wood is wetter than you thought.
Most of your first efforts will feel like fights against uncooperative elements. You try again, adjusting and correcting, learning incrementally with each attempt.
The jump from creating smoke to creating fire is deceptive. The change is slow at first, and frustration can lead to blaming the wood or the weather. But it's the small adjustments that start to matter — selecting the right tinder, arranging it just so, tuning in to what the fire needs.
There's a moment when things begin to align, often catching you by surprise. You're thinking about fire-building mechanics during downtime — like in the shower — without realizing it. This marks progress.
When to start: Early morning
Duration: 1 hour
Cost to try: $0
Success criteria: if you finished without successfully lighting a fire, do session 2.
Larger logs seem like they should catch quickly, but without enough heat, they don't stand a chance.
Stay focused on building a solid bed of hot coals with kindling before adding logs.
Fresh cut or poor storage can leave wood feeling dry on the outside while hiding moisture inside.
Split the wood and feel inside for coolness or smell for a green scent before using.
Only go for seasoned hardwood to avoid frustrating build-ups.
Flat piles of wood seem stable but starve the fire of essential oxygen.
Arrange your logs in a log cabin or teepee form to let air flow upward through the stack.
It's natural to blow on the visible flame, but this effort is usually wasted.
Direct your breath low and slow at the embers, where the heat and action are happening.
Starting the fire from the top or side seems logical, but heat rises.
Light it at the bottom center to naturally guide heat and flame through your kindling.
Fire building happens wherever open flames are allowed and safe, like backyards, dispersed camping areas, and designated fire rings at campgrounds. Outdoor education centers offering survival skills courses also host events.
Checking Meetup.com for 'bushcraft' or 'primitive skills' in your area is the quickest way in. These groups regularly meet and often host fire-building sessions.
Look up the nearest Wilderness Awareness School affiliate or browse the Tracker School's event listings. Both have regional instructor networks in the US ready to guide you.
On Facebook, join groups like 'bushcraft [state]' or 'primitive skills community' for active, local meet-ups with fire-building opportunities.
The Society of Primitive Technology (SPT) is a hub for this. Their member directory and bulletin connect you to practitioners offering hands-on experience.
When joining a session, admit you've never made fire without a lighter. This signals genuine interest and can lead to personal attention and a loaner kit for the day. Experienced fire builders appreciate those eager to learn, not just show off.
Wood on wood, no lighters or matches involved. This method involves coaxing an ember to life through sheer friction, then carefully nurturing it to flame.
Ideal for those who want to master survival skills rather than just put on a campfire.
Strike steel against flint or quartz to spark char cloth to life. This method is a step back in time but skips the blisters of friction fire.
Perfect for reenactors or those seeking a balance between ancient and practical.
Cost: $15–$30 for a kit that lasts indefinitely.
Compress air in a small cylinder to ignite tinder, working like a diesel engine. It's a spectacle that intrigues many.
Great for beginners who want novelty without the tough learning curve.
Invest $25–$60 for quality; avoid cheap versions that break easily.
A ferrocerium rod creates hot sparks at 3,000°F, beating matches in the wind or rain.
Best for those looking for functional and reliable fire-starting skills.
Rods range from $10–$20 and are long-lasting.
Consider different fire lays like Log Cabin or Teepee. These affect burn duration and suit specific cooking or warmth needs.
Choose two layouts to experiment with before ditching fire-building altogether.
No special gear needed, just focus on wood stacking.
If you want a related angle, Wild Herb Foraging is the natural next stop.
If the texture of this appeals to you, Mixology is built on similar bones.
Some of the same instincts show up in Home Brewing — worth a look if this clicked.
Most beginners obsess over their lighter or their wood type – the fuel isn't the problem, the structure is.
You can have bone-dry tinder and still watch your fire choke itself out in 60 seconds.
The one skill: reading airflow before you build.
Not after the flame dies. Before you place a single stick – you identify where air enters, where it rises, and you design the gap structure around that movement.
When you understand airflow, your fire stops being something you react to and starts being something you architect.
Without it, you keep rebuilding the same collapsing pile – just with more expensive wood and growing frustration.
Six sessions spread out over 30 days. Aim for one or two each week, practicing fire-making from scratch every time.
If you constantly think about fire-making outside of sessions—analyzing your tinder, wondering about new techniques, debating the importance of fatwood—you're hooked. That's the sign to dive deeper. Consider learning another friction method or using more primitive materials.
If after six sessions, fire-building felt merely okay but didn't stick with you, that's telling. It often means fire is more of a tool for broader interests like camping or bushcraft, rather than the main attraction.
Actively dreading each session—whether it's dealing with cold fingers, smoke, or repeated failures—suggests this isn't your thing. Reflect honestly; blaming conditions won't change the core mismatch.
Finding yourself intrigued by the mechanics of someone lighting a campfire is a sign you can't ignore. If reading about bow drill techniques at midnight feels relevant, you're already in.
No outdoor access cuts this hobby off completely. Apartments with balconies don't work. You need open ground and legal clearance, and burn bans in dry areas can limit your chances.
If repetitive gripping or wrist rotation causes pain, proceed carefully. Friction fire methods will worsen it quickly. Flint and steel are gentler but still require hand strength and control.
Outcome-focused mindsets struggle here. If the goal is just warmth or light, a lighter can do that in seconds. The joy here is in the process. If you don't find the fire-building itself engaging, it might not be your hobby.
If nothing here clicks, our guide to what to do when bored covers shorter, lower-commitment options.
The bow drill method typically takes 15–30 minutes for beginners once you've collected proper materials like dry wood and tinder. As you practice and develop muscle memory, you can reduce this time to under 10 minutes. The most time-consuming part is creating friction hot enough to produce an ember, which requires consistent technique and pressure.
You'll need three main materials: tinder (dry, easily ignitable material like bark or leaves), kindling (small twigs and branches), and fuel wood (larger logs). Most beginners can find these in nature, though purchasing a fire-starting kit with ferro rods or flint is helpful to supplement found materials. A small knife or saw for processing wood is also practical.
Fire building has a learning curve, but it's achievable for anyone willing to practice basic techniques like the teepee or log cabin methods. The bow drill method is more challenging and requires proper form and patience, but simpler methods using matches or ferro rods give you quick wins while you develop skills. Most beginners can successfully build their first fire within a few attempts.
The teepee method involves arranging kindling in a cone shape around tinder and lighting it from below—it's simpler and works well for beginners. The bow drill method is friction-based, using a wooden bow and spindle to create an ember without any modern fire starters, making it more primitive and challenging. Both are valuable skills; start with teepee and progress to bow drill as your confidence grows.
Fire regulations vary by location, so check local laws and camp rules before building fires in the wild. Many areas require permits for open fires, while others restrict them during fire season or in specific zones. Your backyard may allow controlled fire pits, but always verify local regulations and prioritize safety—never assume it's legal without checking first.
You can start with zero cost by using found materials and natural fire starters, though quality will depend on availability. A basic investment of $15–$50 in tools like a ferro rod, striker, or small bushcraft knife significantly improves success rates and reliability. If you want premium gear or a proper fire pit setup, costs can reach $100+, but they're optional for learning the fundamentals.