BoredomBusted — Find Your Next Favorite Thing To Do
Discover hobbies, activities, places, and ideas that spark joy. Whether you're looking for something creative, active, social, or relaxing, BoredomBusted helps you find your next favorite thing to do.
Browse our hobby guides, things-to-do collections, and place ideas to never be bored again.
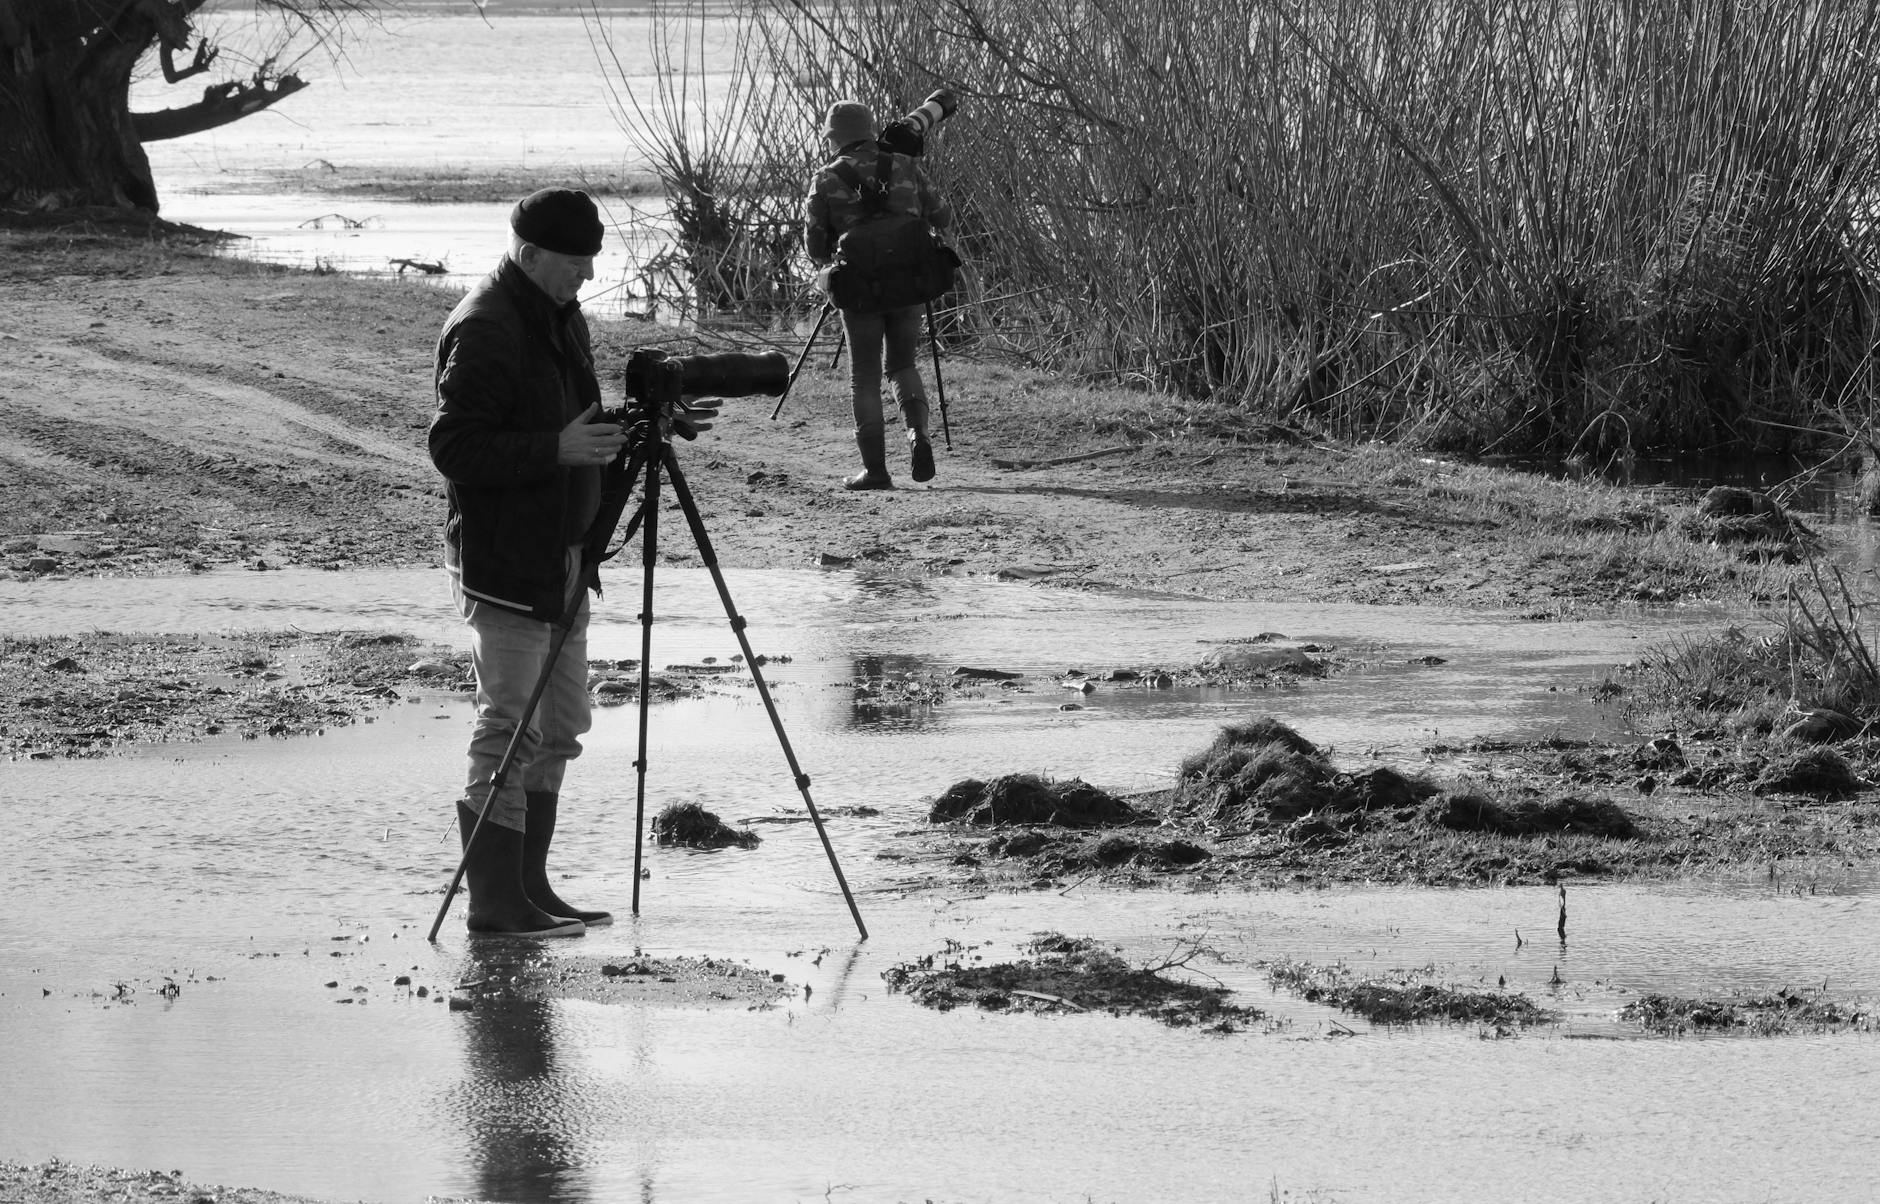
Wildlife photography isn't about expensive gear; it's mastering animal behavior and returning to the same spots until you know when and where to click the shutter.
Getting started with wildlife photography as a beginner involves learning to observe and anticipate animal behavior, allowing you to capture stunning images in their natural habitat – unposed, unpredictable, and entirely on their terms.
You're combining fieldcraft (knowing animal behavior) with camera technique to get one decisive moment before it's gone.
Unlike portrait or landscape photography, the subject actively works against you – which is exactly what makes the images mean something.
Wildlife photography involves scouting natural habitats, observing animal behaviors, and capturing images through precise camera operation. Hobbyists research species, plan visits, and spend hours in the field waiting for the perfect shot, often crawling or lying low to achieve intimate perspectives. They adapt to lighting conditions and animal patterns, using equipment like telephoto lenses to d…
Wildlife photography immerses individuals in a flow state by demanding complete focus on the synchronization of light, animal behavior, and technical skills. This hobby offers immediate skill feedback through reviewing shots, fostering a sense of accomplishment as practitioners refine their techniques. The unpredictability of wildlife keeps the experience novel, while creative expression emerges …
Many believe wildlife photography requires a $10,000 telephoto lens and luck, like standing next to a bear on a random stroll.
This assumption flips reality on its head.
It's all about behavioral prediction. You're honing your ability to read animal movements, lighting, and habitat patterns to be ready before nature cooperates.
Take those photographers capturing breathtaking shots. They don't rely on serendipity. Instead, they've revisited the same spots dozens of times. They know the precise tree branch where a kingfisher lands every morning at 7am.
Chris Packham spent three days in a hide for a fleeting 40-second glimpse of a bittern breaking cover. The photograph looks spontaneous. But the reality? That required immense patience.
You think gear is the key. Quiet movement, wind reading, staying still – none of these cost a dime. And they're what truly matter.
Next, we'll tackle the gear essentials, so you're not weighed down by unnecessary extras.
The reality hits when you find yourself staring at empty branches and blurry grass. You snap a shot, but the animal is already gone.
This gap between the dream and the reality is where most give up. It's not the golden hour fantasies; it's two hours in the cold trying not to miss what's never there.
Your first week? 200 shots, two barely decent ones. Motion blur, rogue branches, it's all part of it. By the second week, you realize spotting wildlife is as tricky as photographing it, and you're struggling with both.
The breakthrough arrives in the third week with a single accidental good frame. This moment reignites your drive. In the fourth week, you start to learn patience, focusing on quality over quantity.
Set your shutter speed first, not last. Beginners often tinker with settings while their subject is in motion. Wildlife won't pause for you, so lock in a minimum shutter speed of 1/1000s before stepping out.
A quiet day, no action, just nature and an empty memory card. It seems like a setback, but remember that this is the tuition every photographer pays. Next, we'll explore common mistakes that lengthen this learning curve.
When to start: Early morning
Duration: 1.5 hours
Cost to try: $15
Success criteria: If you finished without capturing at least one usable photo, do session 2.
New photographers often chase after moving animals, which spooks them and drains your energy. Instead, study an animal's habits at your chosen location. Learn their golden hour feeding spots or water sources at dusk, then arrive early and stay still, ready for the perfect shot.
It's tempting to shoot from where you stand. But to capture the animal's perspective, lower yourself to its eye level. Try kneeling or lying on your stomach. This simple angle change transforms snapshots into engaging, lively images.
Zooming to the max for a close-up sounds smart until motion blur wrecks your shot. Prioritize setting your shutter speed first: 1/1000s or faster for birds, 1/500s for larger animals. Then adjust other settings around it.
While midday might seem convenient, its harsh light does your photos no favors. Reserve the hours right after sunrise and before sunset for shooting. This period offers rich lighting that adds depth to fur and feathers.
Single-point AF is great for still portraits but useless for fast-moving subjects. Switch to continuous tracking mode (AI Servo on Canon, AF-C on Nikon/Sony) to let your camera handle focus while you capture the moment.
To find wildlife, start with your
backyard for birds. National parks, nature reserves, and local wetlands are top spots too. Don\u0027t skip places like birding trails.
Botanical gardens and wildlife refuges have the bonus of being more accessible while offering plenty of subjects.
Start by searching Facebook Groups for wildlife photography clubs in your city. They\u0027re active and meet up for shoots often.
Meetup.com is a good option too. Search for nature photography, as many wildlife groups list under it.
The North American Nature Photography Association, found at nanpa.org, has a member directory and group listings.
Flickr Groups like "Texas Wildlife Photography" can offer regional outings and advice.
Mention you\u0027re a beginner. You\u0027ll gain spot and subject tips, often with someone to show you how to use the light.
Experienced photographers are keen to share tips. They understand a good spot doesn\u0027t lose its charm through sharing.
You don't need a forest. Birds, squirrels, and insects in your yard are real subjects. Shooting familiar animals helps you learn composition and timing quickly.
Perfect for absolute beginners. Start with a basic feeder setup and a 300mm lens.
Big animals, open plains, golden-hour light. This is what people picture. The challenge is nailing exposure and focus under pressure.
Ideal for those with field experience. Costs range from $3,000–$15,000+, and a 500mm+ lens is recommended.
This is a completely different discipline. Manage buoyancy, housing, and water contrast simultaneously, while your subject swims away.
Best for divers comfortable underwater. Housing rigs start at $1,500 before adding strobes.
Focuses on insects, spiders, and small creatures. These subjects are everywhere and free, making it accessible for anyone without travel gear.
Great for beginners seeking a challenge. A macro lens costs $300–$500; cheaper options include extension tubes.
Set your camera, and the animal triggers it. Front-loaded patience is key, which suits those who dislike waiting but enjoy problem-solving.
Best for hobbyists interested in animal behavior. Requires a motion-triggered trap unit ($100–$400) and weatherproofing.
For something adjacent, see Astronomy.
Bass Fishing lives in the same world — different mechanics, similar appeal.
Many start by chasing sharpness – fast autofocus, quick shutter speeds, and perfect lenses.
Yet these shots lack soul if the animal is simply staring into space. They're technically fine, but miss the moment.
Capturing the essence of wildlife means sensing behavior before it happens.
Not waiting for the deer to bolt, but knowing when it's about to. Spotting the heron's poised wing moments before flight. Recognizing the signs shifts you from chasing to predicting.
Anticipating movement lets you pre-focus where the magic happens. Your shots frame the action before it even starts.
Without this knack, all you get is sharp images of what's already gone. Thousands of photos missing the key moment, leaving your gear feeling inadequate.
Review your shots backwards. Pinpoint the moment missed by seconds. Next, we'll walk through practical exercises for honing this predictive ability.
Eight sessions over 30 days—aim for twice a week, camera in hand, outside.
If dawn becomes your favorite part of the day and you're out there before the world wakes up, you're in. It's about more than just getting the shot; it's about the pursuit. Your next step is to invest in quality lenses and study animal behavior beyond just technical skills.
You completed each outing but didn't dwell on it afterwards. This is usually your signal to evaluate. If you're still ambivalent, try extending to another month's worth of sessions. But don't expect a drastic change—indifference at session eight is unlikely to shift to obsession later.
If the hours felt long and you found yourself checking the time, be straightforward about it. The solitude and quiet moments are central to this hobby. If these elements feel more like monotony than meditation, then it's a sign this isn't for you.
Animals become part of the scenery when you least expect it. The hawk on the power line, the heron by the water. When outdoor spaces start feeling like destinations, that's your signal.
For quicker fixes, see our roundup of things to do when you're bored.
You'll need a DSLR or mirrorless camera with a telephoto lens (at least 200mm to 400mm) to capture distant subjects without disturbing animals. A tripod, remote shutter release, and neutral density filters are helpful but not essential for beginners. Many photographers start with mid-range gear and upgrade as they develop their skills and identify specific wildlife interests.
Most photographers see meaningful progress within 3–6 months of regular practice, though mastering animal behavior prediction and lighting takes 1–2 years. The timeline depends on how frequently you practice and how quickly you learn to anticipate moments. Patience is more important than speed—wildlife photography rewards persistence over time.
A beginner setup (used DSLR, telephoto lens, and tripod) costs $500–$1,500, while a mid-range professional setup runs $2,000–$4,000. You can start with less expensive gear and upgrade gradually as you commit to the hobby. Travel and location fees for wildlife viewing spots will be your biggest ongoing expense.
Wildlife photography has a steep learning curve because you must master camera settings, composition, and animal behavior simultaneously—but it's absolutely achievable for beginners. Start in accessible locations (local parks, nature reserves) with more predictable animals rather than remote or rare species. Your first few shoots will be challenging, but each outing teaches you practical skills.
You'll need patience to wait for the right moment, keen observation to predict animal behavior, and physical endurance for long shoots in various weather conditions. Understanding light, composition, and basic ecology helps you anticipate where and when animals will appear. Many successful wildlife photographers also develop stealth and field awareness to avoid disturbing their subjects.
Start at local nature reserves, zoos, bird sanctuaries, or parks where animals are accustomed to people and more predictable. These locations let you practice camera settings and composition without the expense of traveling to remote areas. As you improve, you can explore more challenging environments like national parks or specialized wildlife destinations.