BoredomBusted — Find Your Next Favorite Thing To Do
Discover hobbies, activities, places, and ideas that spark joy. Whether you're looking for something creative, active, social, or relaxing, BoredomBusted helps you find your next favorite thing to do.
Browse our hobby guides, things-to-do collections, and place ideas to never be bored again.
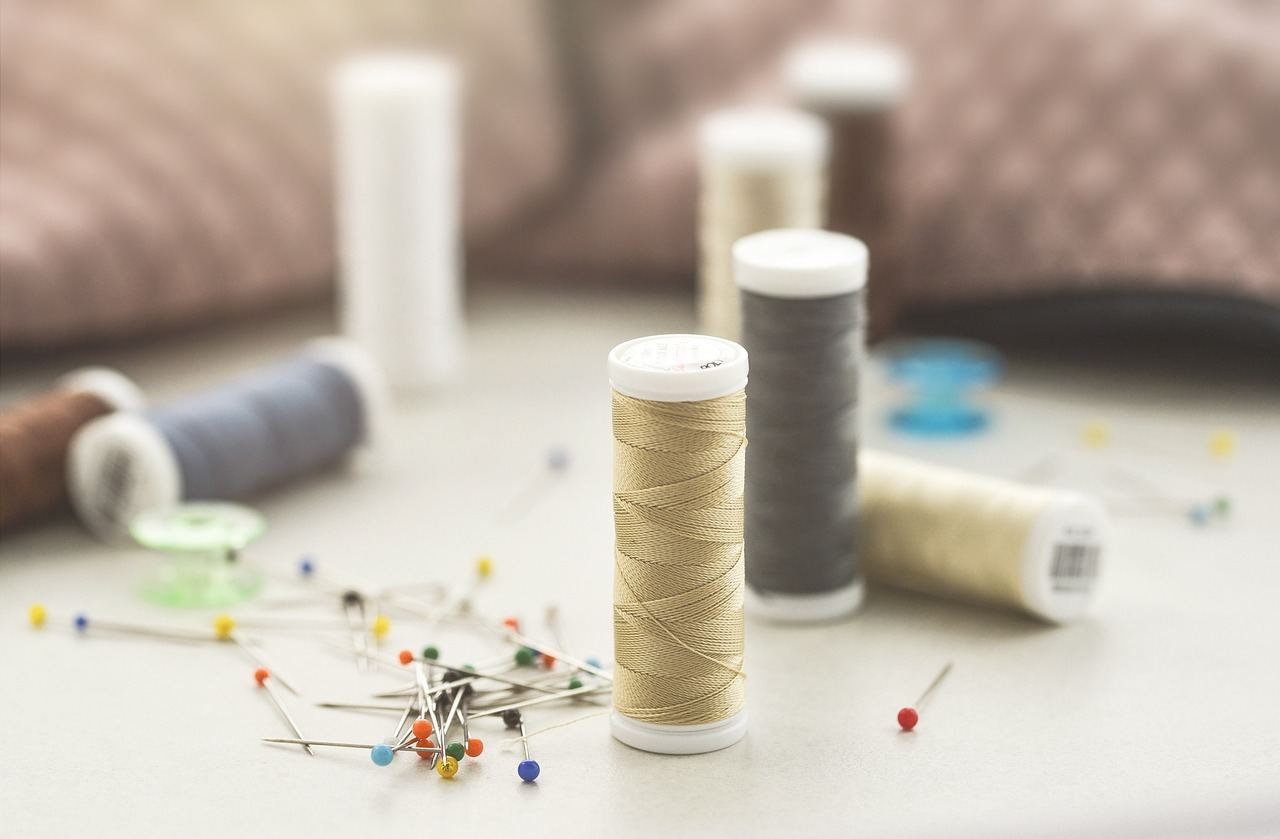
Appliqué isn't just for dish towels; it's a design skill that shapes how you see fabric, layering bold elements for striking visual balance.
Learning appliqué as a beginner is an accessible way to create beautiful layered designs using cut fabric shapes. Appliqué is the craft of layering cut fabric shapes onto a base fabric to build up a design, then securing them by stitching – by hand, machine, or fusible adhesive.
Unlike embroidery, which creates images with thread alone, appliqué uses fabric as the medium.
The stitching is structural, not decorative – it's what keeps the whole thing from unraveling.
In applique, you manipulate fabric by tracing and cutting patterns from freezer paper, then adhering and layering fabric shapes onto a background using an iron and sewing machine, ultimately stitching them down to create intricate textile designs for quilts, pillows, or wall art.
Applique fosters a flow state through rhythmic stitching and focused attention, providing immediate skill feedback as you see tangible progress with each layer, while also encouraging creative expression and a sense of accomplishment by turning scraps into art, combating feelings of monotony.
You think appliqué is just something your grandmother did to dish towels. Fabric scraps, a hot iron, maybe a duck silhouette on a tote bag.
That assumption is costing you a genuinely versatile skill.
Appliqué is a composition challenge. You're learning how shapes, color, and layering interact before committing needle to fabric — closer to graphic design than craft-fair decoration.
The technique scales from a quick 20-minute patch repair to large textile art displayed in galleries. The same skill covers both ends of that range.
Handling raw edges, negative space, and contrast simultaneously builds visual instincts that sharpen every other textile skill — quilting, embroidery, garment work, all of it.
Consider a quilter in Portland who over-pieced a quilt top into visual chaos. She didn't add more — she cut bold solid shapes and layered them over the busy sections. The result read as intentional.
That's not a rescue job.
That's design thinking.
The tools that make this possible are simpler than you'd expect. It's less to gather than you think.
Appliqué looks simple after a few tutorials. Then you're surrounded by fabric, fusible web, and scissors that won't cooperate — and the gap between watching and doing becomes obvious fast.
The hidden battle isn't skill. It's fabric that shifts mid-press, edges that fray on contact, and fusible web bonding to everything except where you need it. Most of your first sessions will be spent re-checking the tutorial, not actually building the piece.
By the third or fourth session, small things start clicking. You start reading iron temperature by feel. You prep pieces before they ever touch the fabric. Misalignment stops catching you after the fact.
The pressing step is where most beginners rush — and a bad press means re-cutting, re-fusing, and losing 20 minutes to fix a 10-second mistake. Slow down there specifically.
Get a Teflon pressing sheet before your first project. Fusible web migrates onto the iron plate silently, then transfers onto your fabric in ways that are hard to diagnose. A $6 pressing sheet prevents the kind of damage that makes beginners think they did something wrong when the iron did. The next section covers the mistakes that slow people down most — even after the basics feel solid.
When to start: Morning
Duration: 1 hour
Cost to try: $10
Success criteria: If you cut one fabric shape, fuse it flat, and stitch a smooth border all the way around it, do session 2.
Beginners think the base fabric alone will keep everything together. It won't. Your appliqué will pucker and shift as soon as you start stitching.
Use tear-away or cut-away stabilizer. Match it to your fabric, pin to the wrong side, then sew.
Iron-on adhesive seems like a quick fix but won't last. Edges bonded by heat will fray and lift after a few washes.
Secure edges with a zigzag or blanket stitch. This locks them down even after washing.
Craft scissors are fine for straight cuts, but they fail on curves. You end up with jagged, choppy edges that stand out.
Use sharp embroidery scissors for curves under three inches. The shorter blades offer the control you need.
A wide satin stitch looks great on big shapes. But on small or intricate pieces, it overwhelms the design completely.
Keep stitch width at 2–2.5mm for small pieces. Increase it only for shapes that can handle it.
It's tempting to position everything and sew all at once. But overlapping pieces need proper sequencing, starting from the bottom.
Sketch your layering order beforehand. Number each piece, then stitch the bottom layers first.
Here's the thing about appliqué: you can do it right at your kitchen table. But heading to a quilting studio or fabric arts center gives you an edge. The lighting is better, you have access to shared tools, and you get key feedback from others.
Letting the group know you're a beginner can open doors for mentorship, a scrap fabric donation, and placement next to the most patient person in the room.
Raw Edge Appliqué means cutting your fabric shape and stitching it down without folding or finishing the edges. Fraying isn't a flaw here — it's the whole aesthetic.
No special tools, no prep steps. The fastest way into appliqué if you want real results without a technique investment.
Needle-Turn Appliqué skips the iron entirely. You fold the seam allowance under with the tip of your needle as you stitch, one small section at a time.
Controlling the fold and the stitch simultaneously is the challenge — this rewards people who already have confident hand-stitch control, not a good starting point if you're still building that muscle memory.
Fusible Web Appliqué uses an iron-on adhesive — products like Heat'n Bond run $5–$15 — to bond the fabric shape before you stitch, or instead of stitching entirely.
Cuts out pinning and basting entirely, which makes it the go-to for kids' projects or anyone who wants to skip straight to the fun part.
Reverse Appliqué flips the logic: instead of adding a shape on top, you cut through the top layer to reveal fabric underneath. The design sits inlaid, flush with the surface.
Every cut is permanent and visible — there's no hiding an unsteady hand, which is why this suits intermediate crafters who already trust their cutting accuracy.
Machine Appliqué finishes edges with a sewing machine — typically a satin stitch or tight zigzag. It's significantly faster than any hand method.
The real tradeoff is that your machine does the heavy lifting — so this only works if you're already comfortable with machine tension and stitch width settings. Best for repeating the same piece in multiples or working at larger scale.
For something adjacent, see Felting.
If you want a related angle, Punch Needle is the natural next stop.
Most beginners focus too much on fabric choice and stitch length. Those matter, but they don't cause appliqué to bubble or peel.
Aligning grain lines is what separates appliqué that holds from appliqué that lifts. Get it right before you iron anything.
Learn to match grain lines by gently pulling the fabric in both directions. Find the true grain, align it precisely with your background, and only then pin or fuse it.
Mismatched grains make fabric shift during stitching. Edges lift after washing. Curves pucker despite perfect stitches.
They move together. Appliqué stays intact through washing, wearing, and pressing.
Without aligned grains, stitching fights against physics. Even the densest stitches can't entirely fix this.
Circles are the hardest test of this. The tension that makes them pucker comes from misaligned fabric — fix the grain first, and the curve follows.
Six sessions over 30 days — roughly one every five days — is enough to tell you whether you're drawn to the process or just the idea of it.
If you're already planning your next design before the current one is finished, that's not excitement about the finished object — that's the hobby itself pulling you in. Start building a small fabric stash and pick your next project one level harder than what you just made.
If the sessions felt fine but forgettable, the medium may not match how you like to make things. Try one project you'd genuinely want to hang or give away before writing it off — quilting changes register when the work has a real destination.
If you were watching the clock through every session, that's a clean answer. The prep, the precision, and the pace are the hobby — they don't shrink once you get better at it. A different making craft with faster feedback loops will serve you better.
The sign that it's already working: you're stopping at fabric displays in stores or saving quilt images to your phone without a specific project in mind. That's the material calling to you before your brain has caught up.
Sometimes you just need something for the next ten minutes — that's what things to do when bored is for.
You'll need fabric scraps or pre-cut shapes, a base fabric, thread, a needle or sewing machine, scissors, and a pencil or chalk for marking designs. Many beginners start with an applique kit that includes pre-cut pieces and patterns, making it easier to learn the technique.
Applique is beginner-friendly because it focuses on basic stitching and layering rather than complex techniques. As long as you can thread a needle and make straight stitches, you can create beautiful designs—though hand applique requires patience while machine applique is faster.
Simple applique projects like decorating a pillow or small wall hanging can take 2–5 hours, while larger quilts or garments may take several weeks depending on complexity and whether you sew by hand or machine. Machine applique is significantly faster than hand stitching.
Yes, hand applique is a traditional method and doesn't require a machine—just needle, thread, and fabric. Hand stitching takes longer but gives you more control over intricate details and is often preferred by quilters for its handmade quality.
Hand applique uses small hidden stitches to attach fabric shapes and creates a subtle, elegant finish, while machine applique uses visible stitches (typically zigzag) that are faster to complete. Machine applique is better for bold designs and functional items, while hand applique suits decorative, heirloom pieces.
You can start with just $15–30 for basic supplies like fabric scraps, thread, and needles if you already have scissors and a workspace. If you need to buy a sewing machine, costs range from $100–500 depending on features, but many libraries and craft studios offer machine access for a small fee.