BoredomBusted — Find Your Next Favorite Thing To Do
Discover hobbies, activities, places, and ideas that spark joy. Whether you're looking for something creative, active, social, or relaxing, BoredomBusted helps you find your next favorite thing to do.
Browse our hobby guides, things-to-do collections, and place ideas to never be bored again.
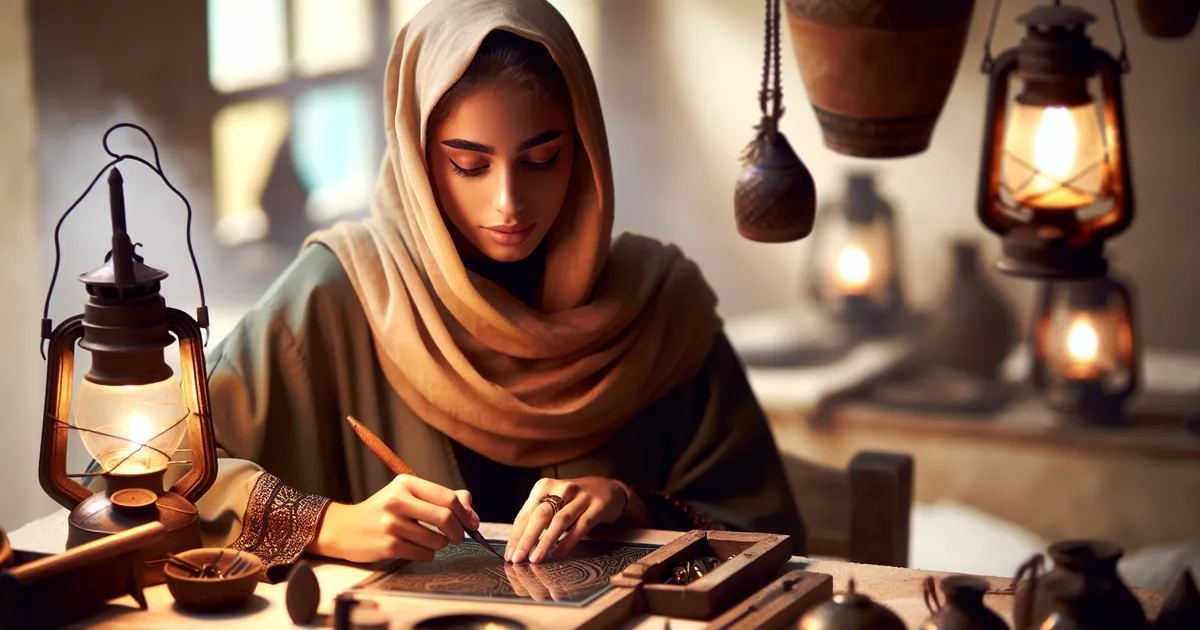
Glass etching isn't a mere craft project—it's a pathway to advanced design that leads to professional commissions if you explore beyond basic kits.
Learning glass etching as a beginner is a rewarding way to create stunning designs on glass that can enhance your home décor. The process involves permanently frosting a design onto glass by abrading or chemically treating its surface.
Most beginners use etching cream – a compound containing acid that eats into the top layer of glass in minutes.
Unlike painting or vinyl decals, the result is fused into the glass itself – it won't peel, fade, or wash off.
In glass etching, you select a glass item as your canvas, clean it, and apply an adhesive stencil or painter's tape to create a design. Then, you spread etching cream over the stencil with a brush or sponge, wait for it to frost the glass, rinse it off, and peel away the stencil to reveal your frosted pattern.
Glass etching induces a flow state through the precise actions required for stencil alignment and cream application, offering instant feedback as the etched design emerges, satisfying both creative expression and the desire for accomplishment with visible results in a short time frame.
You think glass etching means buying a kit, making a quick gift, and moving on. That assumption is costing you a genuinely versatile skill.
Glass etching changes the surface of the glass forever – it doesn't peel or fade like other DIY projects. It's about engraving, not painting.
Stencils are just a start. You can explore freehand resist work, layered depth etching, and sandblasting. Each adds a new level of detail and control.
Design is where it gets complex. Learning how light interacts with etched surfaces turns you into a material artist, not a kit follower.
A friend began with a $12 Armour Etch kit on a wine glass. Now, two years on, she's etching architectural panels for a restaurant. She kept pushing the material's limits rather than sticking to kit instructions.
The technique is the easy part. What you choose to put on the glass is where this gets interesting – and that starts with understanding what you actually need to get going.
Steady hands, a little cream, and a clean reveal can make glass etching look easy. Yet,
the stencil does most of the work. You go in thinking it's about your steady hands, but really, the stencil is the star.
Blurry edges and ghostly designs are common for beginners. After ruining a couple of wine glasses, reality sets in—
everything hinges on clean edges. If the stencil isn't pressed down perfectly, the etch won't work.
Blurry designs often result from lifting stencils caused by oils on the glass. No tutorial tells you that.
Rubbing alcohol is your secret weapon. Use it before applying the stencil to ensure those crisp lines you admire.
When to start: Early morning
Duration: 1.5 hours
Cost to try: $25
Success criteria: If you finished without damaging the glass or cutting corners on safety, do session 2.
Skipping the Degreasing Step
Glass looks clean – it isn't, and finger oils will make the cream etch unevenly in patches you won't notice until you peel the stencil. Wipe the surface with rubbing alcohol right before you apply the vinyl, not an hour before.
Applying Armour Etch Cream Too Thin
The instinct is to spread it like paint, which leaves you with a faint, streaky frost instead of a crisp etch. Apply a thick, opaque layer – you should not be able to see through it to the glass beneath.
Using Cheap Adhesive Vinyl Instead of Stencil Vinyl
Regular craft vinyl lifts at the edges during the etching window, and cream migration under the stencil ruins the design completely. Use either dedicated etching stencil material or at minimum 651 permanent vinyl, burnished hard at every edge with a scraper tool.
Pulling the Stencil Off Before Rinsing
Beginners peel first, then rinse – the cream smears across unetched areas and leaves ghost marks that don't wash off. Rinse the glass under running water for a full 30 seconds before the stencil comes anywhere near your fingers.
Rushing a Complex Design as the First Project
Intricate overlapping lines demand that your vinyl application is already clean and bubble-free – that skill takes two or three simple projects to build. Start with a bold single-layer shape, a monogram or a simple geometric, where a slightly imperfect cut still reads as intentional.
Glass etching happens mostly at home. Use a kitchen table, garage workbench, or craft room.
Some maker spaces and craft studios offer etching nights. They provide shared supplies and ventilation.
Glass etching has no national governing body. Join the community through craft networks and local guilds. The Glass Etching Forum at glasscommunity.com is also a key online space.
At new meetups, mention your experience with Armour Etch and your interest in trying sandblasting. That signals your level to experienced etchers so they can guide you better.
Apply acid cream using a vinyl stencil, wait, rinse.
The results are a frosted, matte finish perfect for beginners.
Sandblasting uses pressurized abrasives for deeper, high-contrast designs.
Suitable for sellers or those seeking professional results. Expect equipment costs of $200–$600.
Dremel engraving uses a rotary tool to cut designs directly into glass.
Ideal for detailed work and free-form designs. Perfect for those with steady hands and a Dremel.
Stage etching involves using and removing stencils in sequences for layered effects.
Requires planning and patience, but adds depth with no extra cost.
Glass painting with etched areas combines color with frosted designs.
Etching gives the paint a grip, creating standout decorative pieces.
If the texture of this appeals to you, Lacemaking is built on similar bones.
For something adjacent, see Bowl Carving.
Another variant that pulls from the same roots is Clay Sculpture.
It's not about cutting vinyl more precisely or getting cleaner edges.
The real shift is mastering the cream contact time on glass surfaces.
The art is reading your glass and adjusting dwell time. Not by following bottle instructions, but by sensing when each glass needs more or less time.
With this skill, your etches transform from flat and foggy to crisp and deep.
You're reacting to the glass you hold, not a generic label's guidance.
Without this, the stencil gets blamed again and again.
Two identical-looking glass pieces can etch very differently.
It's not a flaw, but the overlooked variable you can learn to control.
Next, let's explore practical ways to build this skill through experimentation.
Try committing to four sessions over 30 days — essentially one session per week.
If you're mentally sketching your next design between sessions, that's the sign. Not that you're instantly talented, but that your mind is hooked on creating patterns. At this point, it's wise to purchase a vinyl cutter and set up a dedicated space.
If you completed all four sessions but felt indifferent, it signals that the process may not captivate you. However, you might engage differently if there's an intent behind your work. Attempt one final session with the aim of crafting a specific gift.
If attending each session felt like a struggle, glass etching's details might not be your thing. The hands-on element is essential, involving preparation, waiting, and precise work. If this process felt burdensome, the hobby's framework likely doesn't suit you.
You're captivated when you linger on handmade etched glass items online and think, 'How did they do that?' instead of 'I should buy that.' This curiosity about the method indicates a genuine interest.
For ideas that take five minutes instead of five weeks, see things to do when you're bored.
You'll need etching cream (the most beginner-friendly method), glass pieces, stencils or vinyl designs, a brush or sponge applicator, and protective gloves and eyewear. Many beginners start with a basic kit that includes etching cream, brushes, and pre-made stencils, which cost $20–$50. Safety equipment like gloves and eye protection is essential since etching cream is caustic.
You can create your first basic etched piece in 1–2 hours, including design application and etching time. Developing intermediate skills and mastering more complex designs typically takes a few weeks of regular practice. Most hobbyists are comfortable with the process after completing 3–5 projects.
Glass etching with cream is beginner-friendly and has a low skill barrier compared to other glass arts. The key is following safety guidelines carefully and allowing proper etching time without rushing. With stencils and simple designs, first-time etchers usually achieve professional-looking results.
You can etch most clear, smooth glass surfaces including windows, vases, drinking glasses, mirrors, and picture frames. Textured, frosted, or colored glass may produce different results or require adjusted etching times. Avoid thin or antique glass, as they may be too fragile for the etching process.
Initial investment ranges from $25–$75 for a starter kit with etching cream, stencils, and tools. Ongoing costs are minimal—etching cream, replacement stencils, and glass blanks cost just a few dollars per project. You can significantly reduce costs by sourcing free or low-cost glass items from thrift stores or recycling.
Etching cream is safer, quieter, and requires no special equipment—ideal for home hobbyists working in small spaces. Sandblasting creates deeper, more dramatic effects and handles larger projects faster, but requires expensive equipment and ventilation. For beginners, cream etching is far more accessible and affordable.