BoredomBusted — Find Your Next Favorite Thing To Do
Discover hobbies, activities, places, and ideas that spark joy. Whether you're looking for something creative, active, social, or relaxing, BoredomBusted helps you find your next favorite thing to do.
Browse our hobby guides, things-to-do collections, and place ideas to never be bored again.
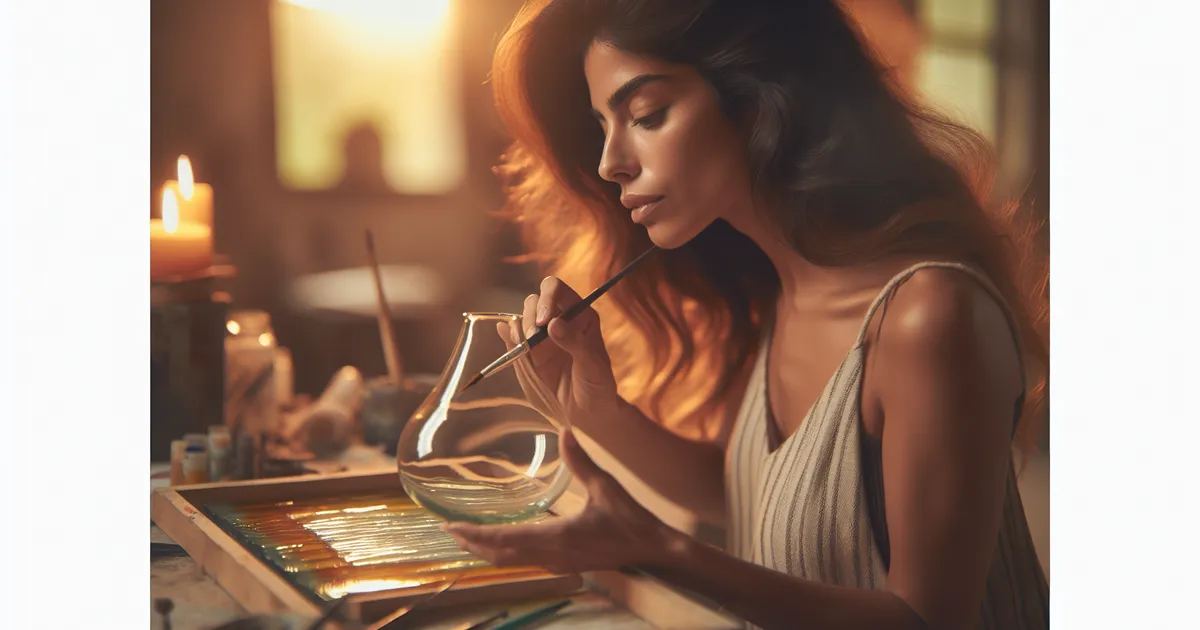
Glass painting isn't just for crafts — it transforms with light, rewarding patience and a new way of thinking about art that reveals surprises in every glance.
Learning glass painting as a beginner offers a unique opportunity to create stunning designs on various glass surfaces, including bottles and windows. Glass painting lets you apply paint directly to glass surfaces like bottles, windows, frames, or panels to craft both transparent and opaque designs.
Unlike canvas painting, light influences your work by passing through it, altering how color and layers appear.
Think of it as similar to stained glass, but without the need for cutting or soldering.
In glass painting, you clean a glass object, apply stencils, and use specialized paints to create designs, focusing on precise application and layering techniques to bring your artwork to life on a smooth, non-porous surface.
Glass painting induces a flow state through sustained focus on intricate painting tasks, providing immediate feedback through rapid error correction and fostering a sense of accomplishment as you transform inexpensive glass into unique, functional art pieces.
You think glass painting is something people do at hen parties. Flowers on a wine glass, maybe a sun-catcher for the kitchen window – cute, forgettable, done.
This idea is holding you back from a truly deep craft.
Glass changes everything because it's more than just a surface. Light passes through your work, shifting with the day and creating effects you didn't plan. There's no other medium like it.
Techniques range from basic outlining to faux-stained glass, each with its own challenges.
It demands patience, planning around transparency instead of covering mistakes.
A hobbyist in a Reddit thread painted a simple geometric panel for a bathroom window. Plain shapes, nothing complex. But the first morning the sun hit it, colors moved across the wall like a projection. She never expected that because no one mentioned it would happen.
If you're ready to see what happens the first time you pick up that paint, you're about to get the real story.
Painting on glass might seem calming from afar.
Your first attempts will likely look like a mess. Think: wobbly outlines, paint bleeding, and colors that don\u0027t match the bottle. Beginners often find their liners clogging for no apparent reason.
By session two, you\u0027ll start to handle the liner better. The lines still won\u0027t be perfect, but drying sections before adding more paint helps. Expect bubbles and uneven fills until you learn to inspect closely before the paint sets.
By week three, small panels will begin to look intentional. Larger pieces will expose gaps in your control. Glass paint stays wet longer than acrylic, so plan your hand positions carefully.
Almost everyone wants to quit by week two. Lines feel wrong, and nothing looks like the reference photo. This frustration is typical but signals that muscle memory is forming.
When to start: Early morning
Duration: 1 hour
Cost to try: $15
Success criteria: If your painted glass shows clean base color, visible details, and a clear light-through effect when held to a window, do session 2.
Glass appears clean, but invisible oils and dust create a barrier. These prevent paint from adhering, causing it to bead, lift, or peel within days.
Clean with rubbing alcohol right before painting. Use a lint-free cloth just before applying paint to ensure maximum adhesion.
Standard acrylics don't adhere to glass. They aren't meant for non-porous surfaces and tend to scratch off easily.
Mix a glass-and-tile medium into your paint. Alternatively, use paints labeled specifically for glass. Look for products with clear packaging instructions.
Outliner looks dry before it really is. This tempts many to move ahead too soon, causing collapse in designed areas.
Wait a full 24 hours for the outliner to cure. Patience prevents structural breakdown and ensures your design stays intact.
More paint seems like a safe bet. But on glass, it leads to pooling, bubbles, and uneven drying.
Apply thin, even layers. Let each coat dry before adding more. Two thin layers work better than one thick one on glass.
Oven-curing can boost durability, but not all items are oven-friendly. Using heat indiscriminately can ruin the finish.
Check your paint brand's cure instructions before baking. Some paints cure at room temperature and don't need additional heat.
The heart of glass painting is your home studio. All you need is a well-lit table and some ventilation.
Walk into any workshop and say, "I'm brand new – I've never worked with glass paint before." That sentence alone will guide you to the right beginner materials and a quick demo of the outliner technique.
Solvent-based glass paints provide an oil-like finish that dries to a hard, glossy surface. They offer more durability than water-based options but require ventilation due to fumes. Go this route if you're after long-lasting pieces, but expect longer dry times up to 24 hours.
Water-based glass paints are easier for beginners, with simple cleanup and no strong fumes. Available at craft stores, they're convenient but less durable. Ideal for trying out glass painting without much commitment.
Faux leading with adhesive strips or liquid allows you to mimic stained glass effects without cutting glass. Perfect for creating striking visuals while avoiding heavy equipment.
Reverse glass painting means working backward—details first, then backgrounds—viewed through the glass. For painters who enjoy careful and luminous effects, this technique offers both complexity and beauty.
Glass etching involves using a cream to remove layers before painting, creating a textured finish that holds color differently. Offers depth standard painting lacks, but requires care due to the caustic nature of etching materials.
For something adjacent, see Airbrush Painting.
If you want a related angle, Fabric Painting is the natural next stop.
If you want a related angle, Silk Painting is the natural next stop.
Shaky lines aren't why beginners struggle with glass painting. The real issue is not understanding how light travels through layered glass color.
The magic skill here is knowing what order to lay down your colors. This isn't just about picking shades, but ensuring the layers beneath glow instead of muddy.
Glass paint isn't like canvas paint. It interacts with light. Each color you add can either enhance what's underneath or dull it entirely.
Correctly sequence your colors. Darker, opaque tones should anchor the piece. Lighter transparents then create luminosity. Otherwise, you end up with something resembling colored paper, not stained glass. The glow of glass painting comes from sequencing, not technique.
Understanding your color sequence changes everything, making future projects both easier and more vibrant.
Try 6 sessions over 30 days — about one and a half per week. It's enough to push past early hesitation and hit a challenging point, giving you a chance to see if you enjoy pushing through.
If you're caught thinking about colors while running errands, or feeling a twinge of irritation when a session wraps up, you're hooked. Dive into intermediate techniques like shading with glass paints or experimenting with layering different opacities.
If those 6 sessions left you feeling indifferent, you might be missing the tactile or visual payoff. This isn't about needing more time. It's an honest sign that it's not resonating. Let it go without a second thought.
If you dreaded each session due to bothersome fumes or the patience required for precision, that's telling. Don't take it as a failure—just a preference. Consider exploring different creative outlets that align better with your natural rhythm.
You won't ignore this sign: you pause to study how light plays through stained glass. That's beyond noticing — it's an obsession stirring within you, showing the hobby's grip.
Looking for something lighter? Our boredom-busters guide is built for exactly that.
You'll need glass-specific paints (acrylic or oil-based), brushes, a clear glass surface, and a palette for mixing colors. Most beginners start with a basic kit that includes these essentials, plus primer or base coat if needed. Optional but helpful items include sealers, paint markers, and stencils for added detail.
Drying time depends on the paint type: acrylic typically dries in 15–30 minutes, while oil-based paints can take 24–48 hours. For a fully cured finish that's durable, most pieces need 1–2 weeks before handling regularly. Always check your specific paint manufacturer's instructions for exact timing.
Glass painting is very beginner-friendly with minimal technical skill required—the learning curve is forgiving since mistakes are easy to fix with rubbing alcohol or a fresh coat. Starting with simple designs and flat glass surfaces builds confidence quickly. Most beginners create satisfying results in their first session.
A basic starter kit with paints, brushes, and glass costs $15–$40, making it one of the most affordable hobbies to begin. Individual supplies can be expanded gradually, and glass pieces themselves range from $2–$20 depending on size and style. You can start cheaply and invest more as your skills and ambitions grow.
You can paint on mirrors, glass jars, windows, glass ornaments, photo frames, and frosted glass—any glass surface works. Textured or frosted glass creates interesting visual effects as light interacts differently with painted layers. The variety of available surfaces means unlimited project possibilities.
A protective sealant or varnish extends the life of your work, especially for pieces that will be handled or exposed to moisture. Many glass painters use clear polyurethane or polycrylic sealants applied after the paint fully cures. Sealed pieces are more durable and resistant to fading over time.