BoredomBusted — Find Your Next Favorite Thing To Do
Discover hobbies, activities, places, and ideas that spark joy. Whether you're looking for something creative, active, social, or relaxing, BoredomBusted helps you find your next favorite thing to do.
Browse our hobby guides, things-to-do collections, and place ideas to never be bored again.
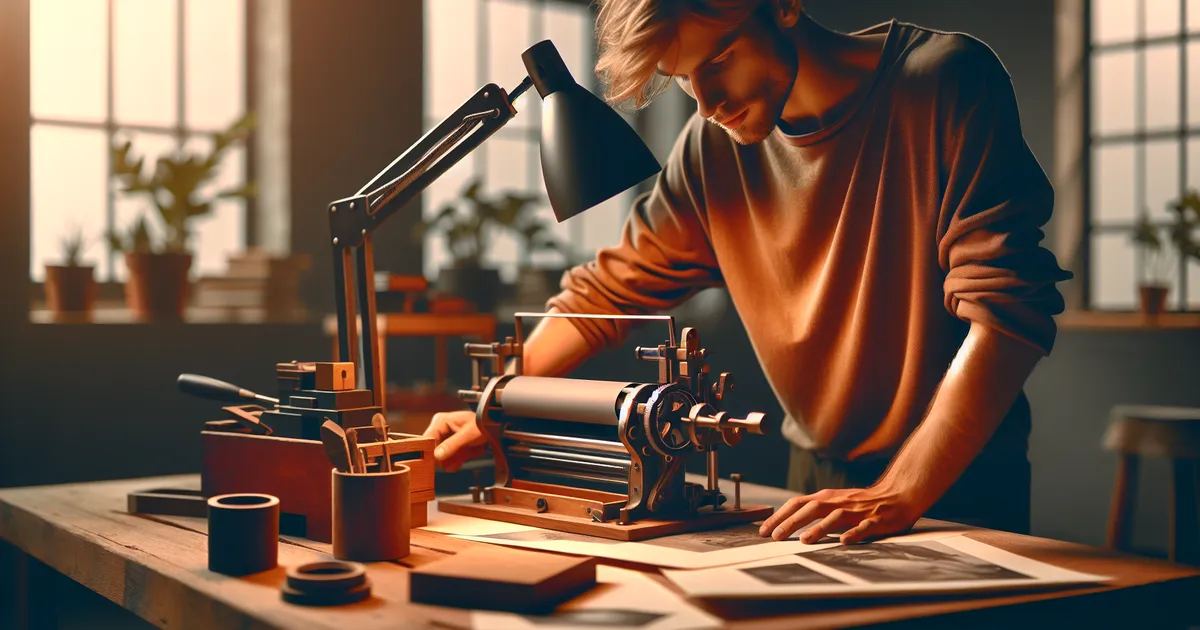
Lithography isn't just for museums; you can create professional prints from your kitchen with simple tools, as the process thrives on drawing and chemistry, not costly gear.
Getting started with lithography as a beginner involves learning how to draw directly on a stone or metal plate using a specialized greasy material. The process uses water and ink to transfer your image onto paper.
No carving or cutting needed—unlike woodcut or etching, the chemically treated surface captures every drawn mark in the final print.
In lithography, hobbyists grind and polish limestone or marble slabs, draw images using greasy materials, and chemically etch the designs before inking the stone and manually pressing it to transfer the image onto paper, all done without industrial equipment.
This process engages users in a detailed, hands-on activity that fosters a flow state through focused attention and tactile involvement, while the intricate steps offer incremental skill feedback and a tangible sense of accomplishment as each print emerges.
You think lithography is a museum thing. A dead craft. Something you need a printing press the size of a Buick and a fine arts degree to even touch.
Lithography thrives on simplicity, not complexity. It's an art form directly tied to drawing – if you can sketch on paper, you're doing its core action. Yes, you draw images to print rather than carve them out. The chemistry makes everything accessible by doing the complex work for you.
Picture this: a printmaker in a spare room, not a wide studio. She's working with a 12x16 aluminum plate and a borrowed etching press. Water, grease, and ink dance perfectly. She produces twelve prints in an afternoon – these aren't trial runs. These are real, finished editions.
The real barrier? It's not skill. It's patience. The chemistry handles precision, rewarding those who can wait, not just those who can draw.
You're already wondering what equipment you actually need – that's exactly where we're going next.
Watching lithography from the outside is tranquil. Ink on stone, pressure, paper, done. Then you try it yourself and realize it's anything but simple.
Litho ink isn't forgiving. It's relentless if your stone is dry. Every roller pass must meet a damp stone to avoid ink dragging and transferring in unwanted places.
Session one feels like failure. You're excited about the stone, then confused by the chemistry. Ink does the unexpected, prints come out muddy, and you won't know why.
Expect more than one problem during those early sessions. But you'll start to see which issue needs fixing first. By session two, you'll feel confused but directed.
The ink-to-water balance begins making theoretical sense by week two, even if your hands haven't caught up. Week three surprises with a cleaner print, though you won't be sure why. By week four, seeing the stone as a variable, not just a surface, becomes pivotal. It's a shift that matters more than any print you've made. Session three is where many quit. Right before the chemistry turns from something to react to into something controllable.
When to start: Morning
Duration: 2 hours
Cost to try: $40
Success criteria: if you finished without adequate print quality, do session 2.
Many new printmakers believe a smooth surface is enough. Then they end up with ghost images from past prints.
Use the right sequence to grain the stone: start with 180, move to 220, and finish with 320 carborundum. Do a final light pass with water before drawing.
Beginners think thick, confident strokes with tusche are best. But the etch will deepen these strokes, risking over-darkened areas.
Always test your tusche on a scrap stone first. Aim to work two tones lighter than you think looks right.
The assumption is more acid holds the image better, but it actually damages fine lines. Your drawing suffers permanent loss this way.
Use a weaker etch—10 to 14 drops of nitric acid per ounce of gum arabic—and time it for 90 seconds.
Without understanding why, beginners skip rosin and talc. As a result, the acid does more harm than good.
Dust with rosin to harden the grease, then talc to remove shine. Always use both in that order before any acid or gum.
Some printmakers sponge and instantly roll ink, causing uneven patches. This leaves the stone grabbing ink where it's not wanted.
Wipe with a damp sponge, then wait until the sheen is matte but not chalky before rolling ink.
Lithography needs a press, and you'll find presses in printmaking studios, art centers, and university open-access labs.
Community college continuing education programs really are a hidden gem, offering affordable, beginner-friendly access to well-equipped facilities.
Walking in with, "I've never pulled a print before – do you do orientations for the litho press?" will often get you a safety walkthrough, a materials list, and someone to guide you on your first print.
This involves the classic method using limestone slabs, similar to techniques from the 1790s. The chemistry is forgiving, offering results with a unique warmth. Great for true lithography enthusiasts, but requires a communal print studio due to the cost and weight of stone.
Swap stone for thin aluminum plates for a user-friendly approach. Ideal for beginners without stone access as it's often taught in modern studios.
Plates are cheap (often under $5), so you can experiment freely.
Offset lithography is for commercial use in books and magazines. Skip unless you're in the print production industry.
Transfer images using light-sensitive emulsion instead of drawing by hand. Best for photography enthusiasts craving physical, unique outputs. Challenging start with unforgiving chemicals.
Pronto plates allow drawing with a laser printer or crayon and don't need advanced equipment. Perfect for hobbyists wanting the look without a studio setup.
Results are less polished but great for low-cost experimentation.
If the texture of this appeals to you, Woodblock Printing is built on similar bones.
If this resonates, Screen Printing explores a similar direction.
A close neighbor worth considering: Linocut Printing.
Most beginners obsess over their inking technique—pressure, roller weight, coverage. The real bottleneck is almost never the ink. It's the stone.
The one skill is reading stone moisture—knowing exactly when your limestone is damp enough to repel ink from blank areas, but not so wet it's killing the grease in your image. External factors like humidity, room temperature, and duration of press work affect this narrow window.
When you nail the moisture balance, your image holds crisp detail and your margins stay clean—almost automatically.
Without it, you're chasing ghosts: adding more ink to fix a fading image fills in your halftones, which makes you wipe harder, which lifts the image you spent hours drawing.
The whole process starts making sense once moisture is under control. Before that, you're just guessing.
You're feeling for "cool but not slick"—that's your green light to ink.
Experience lithography through four sessions over 30 days. Spread these out to capture more than just first impressions.
If you can't wait to get back to the studio, you're in the right place. Rearranging your schedule for studio time or lying in bed sketching in your mind are clear signs. Go deeper: invest in longer workshops or consider owning a stone to further dive into the craft.
Feeling neutral after four sessions isn't uncommon. Extend your trial by two sessions. Lithography often clicks when you print your first clean edition. If seeing multiples of your work doesn't excite you, it might be time to move on.
Dreading studio time signals more than just a bad day. If prepping versus payoff feels skewed even early on, it won't magically balance out later. This hobby demands patience and a love for process.
Notice yourself examining texture in everyday items. You're already looking through a lithographer's lens, catching print details lurking in mundane places. That was never accidental.
Looking for something lighter? Our boredom-busters guide is built for exactly that.
You'll need lithographic stones or metal plates, greasy crayons or ink, chemical etch solutions, rollers, and printing paper. Many beginners start with pre-prepared stones or polymer plates to reduce costs and complexity. A complete starter kit typically runs $100–$300, though a full dedicated printing press adds significantly to that investment.
Most people grasp the fundamentals in 4–8 weeks with regular practice, but mastery takes months or years. You'll create your first successful print within the first few sessions, though refining your ability to control tone, contrast, and image quality requires ongoing experimentation and feedback.
The core concept is straightforward—oil and water don't mix—but the process requires precision and patience. The main challenge is understanding the chemistry and achieving consistent ink distribution, not artistic ability. Most hobbyists overcome the learning curve by taking a workshop or following structured guides carefully.
Stone lithography uses natural limestone, which provides superior ink receptivity and is preferred for fine art but is heavy and fragile. Plate lithography uses metal or polymer alternatives that are lighter, more durable, and easier to store, making them more practical for home use and beginners.
A professional press produces the most consistent results, but you can print small editions by hand using a leather roller and even your own arm pressure—a method called hand-printing. This makes lithography accessible without expensive equipment, though a press becomes worthwhile once you're committed to larger runs or professional-quality output.
Entry-level tabletop presses start around $400–$800, while high-quality professional presses can exceed $3,000. Many hobbyists begin without a press using hand-printing methods, then invest in equipment as their practice grows and demand for consistent output increases.