BoredomBusted — Find Your Next Favorite Thing To Do
Discover hobbies, activities, places, and ideas that spark joy. Whether you're looking for something creative, active, social, or relaxing, BoredomBusted helps you find your next favorite thing to do.
Browse our hobby guides, things-to-do collections, and place ideas to never be bored again.
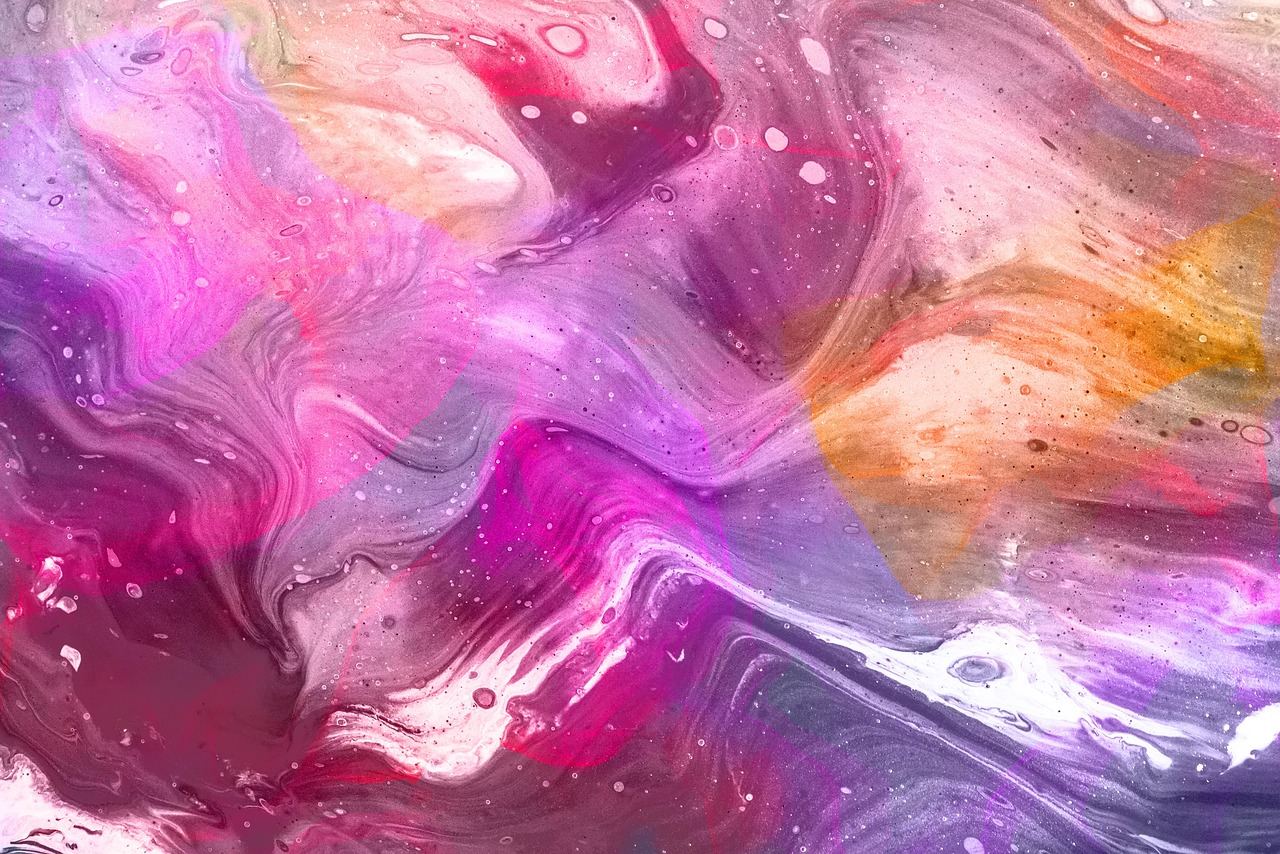
Marbling art isn't about random swirls; it's a meticulous science of water tension and color order that takes years to master, much like chess.
Learning marbling art as a beginner is an exciting way to create unique designs by floating paint on water or size before transferring the swirls onto paper or fabric.
You shape the paint before it touches the material – which means every piece is finalized in seconds and impossible to exactly repeat.
Unlike painting or printing, you're not applying color directly; you're capturing a moment of controlled chaos.
In marbling art, you fill a shallow tray with water or a soapy mixture, then drop or pipette specially formulated paints or inks onto the surface. Using tools like toothpicks or straws, you manipulate the floating colors to create unique patterns before laying absorbent paper or fabric onto the design. After a brief wait, you lift the material to reveal your creation, rinse off excess, and allow …
Marbling art fosters a state of flow through the unpredictable generation of patterns, which keeps practitioners engaged and allows for immediate visual feedback. This process encourages creative expression and experimentation, leading to a sense of accomplishment as you refine your techniques and create increasingly complex designs. The mindful focus required for manipulating delicate patterns c…
You think marbling art is that thing from fifth grade. Shaving cream, food coloring, a vaguely swirly paper you didn't know what to do with.
That's not marbling. That's a science demo wearing a craft's clothing.
Marbling is about mastering fluid dynamics. Your stylus drives patterns, but it's physics that truly guides them.
Imagine water tension as a canvas. Surfactants, temperature, and color sequence sculpt it before tools even touch.
Professional marblists don't just drag a comb. They choreograph strokes like chess moves. One wrong pull unravels an entire design; a single drop in ox gall makes patterns collapse.
Transforming happy accidents into predictable artistry requires a true setup.
Marbling art is mesmerizing on video. The ink flows like magic, and patterns seem to appear with no effort. But those videos skip the moment when everything swirls into a brown mess.
Beginner marbling is a damp, ink-stained struggle. You'll come away with one good corner amid chaos, fueled by a quiet determination to improve.
It's not about getting it right immediately; it's about mixing and adjusting. Most of the first week involves figuring out ink viscosity and mixing size.
By the second week, you'll notice how temperature impacts the spreading of drops, something tutorials gloss over. The third week might deliver your first satisfying pull, the one that shows you what marbling can be. By the fourth week, you shift from battling the ink to making deliberate choices.
Ox gall is crucial for success. It helps ink float and spread instead of sinking. Beginners often find kits lacking, so get extra before you start.
Feeling lost isn't failure. It's part of learning how each element interacts, and when that clicks, the ink starts behaving.
When to start: Early morning
Duration: 1 hour
Cost to try: $10
Success criteria: If you lifted one print with clean swirls visible on the paper and no major tears or smears, do session 2.
Tap water's chlorine and minerals mess with paint. They break tension unevenly, causing paint to sink.
Opt for distilled water, or let tap water sit uncovered for 24 hours to settle.
Holding your dropper too high makes paint sink rather than spread at the surface.
Keep drops within half an inch of the water. This way, paint lands softly and spreads out.
Over-skimming removes conditioner, leading to paint beading up or not spreading well.
Fast movement turns patterns into muddy streaks.
Draw slowly and steadily – imagine moving through cold honey, not water.
Pressing down traps air bubbles and smears designs.
Hold the paper by its short ends, bow it slightly. Lower it center-first so contact rolls outward smoothly.
Most marbling art happens in the comfort of people's homes. Whether it's the kitchen table or a craft room, it's easy to get started in your own space.
For more structured learning, check out local art studios, community centers, and makerspaces that offer weekend workshops.
While no official national body governs marbling, the Decorative Arts Trust and the Guild of Book Workers are strong points of contact.
Ask to learn the basics – it shows respect for the craft. Most seasoned marblers will gladly teach you essentials before you dive in.
Ebru involves floating pigments on a carrageenan-sized water surface, shaped with styluses and combs. Then, paper is laid on top to transfer the design. Ideal for those who value centuries of documented technique.
Carrageenan sizing powder costs around $10–15 and lasts a long time.
Acrylic pour marbling skips the water bath—pour thinned acrylic paint directly onto surfaces or dip objects into a paint layer. Perfect for those who prioritize bold and quick results over traditional methods.
Use craft acrylics to keep costs low; you probably have them already.
Suminagashi is the art of placing ink drops on plain water, forming soft concentric rings. Suited for minimalists seeking calm and abstract designs.
Sumi ink costs about $8–12 per bottle.
Fabric marbling transfers floating paint patterns onto fabric with textile paints or dyes. Best for turning art into wearable or functional items.
Plan on an extra $10–15 for textile medium and alum.
Nail polish marbling uses polish floating on water, making setup a breeze. The ideal choice for beginners wanting results in under 30 minutes.
Just grab a bowl, water, and some polish you don't mind sacrificing.
Etching lives in the same world — different mechanics, similar appeal.
Readers who enjoy this often gravitate toward Sketching next.
Pencil Drawing is a sibling pursuit and often surfaces the same kind of curiosity.
Most beginners focus too much on color choices. They spend hours on palettes while patterns turn out muddy and alike.
The colors aren't the problem.
It's all about matching the viscosity.
The essential skill is matching your paint's float weight to your size. Different paints and inks behave uniquely on the surface. Some sink, some clump, and others spread aggressively, disrupting nearby areas.
Recognizing when a color sits properly rather than fights the size is the key.
Matched float weights let you control color movement. The marbler who masters this can repeat patterns. Without matching, colors misbehave—sinking, swallowing others, or leaving gaps.
Next, learn how to test your colors' float weights effectively before your session begins.
Six sessions over 30 days. Aim for one session every five days, keeping each under an hour.
If you're eagerly starting sessions before they're scheduled, marbling has caught you. You might already be dreaming up color combinations or saving beautiful patterns on your phone. The next step is to dive deeper into specific techniques like stone marbling or nonpareil patterns.
If finishing each session leaves you unmoved, it's a sign to shake things up. Consider swapping paper for fabric, or try switching from acrylic to oil-based paints for a different experience. If that doesn't click, marbling might not be your craft.
By the fourth session, if you're forcefully resisting the process, it's telling. You might find the unpredictability and cleanup more frustrating than calming. Crafts with more control, like linocut or pen illustration, could suit you better.
You're watching marbling videos just to see the paint flow. Even without supplies, that fascination signals this hobby is a fit for you.
For quicker fixes, see our roundup of things to do when you're bored.
You'll need marbling paints (or oils), water, a shallow tray or pan, a mixing stick, paper or fabric, and a drying surface. A basic starter kit costs $20–$50 and includes most essentials. Optional tools like combs or styluses help create finer patterns, but aren't required for beginners.
Most marbled pieces take 5–15 minutes to complete, from dropping colors into water to pulling your paper through. The drying time depends on your material—paper typically dries within a few hours, while fabric may take longer if using certain paint types.
No—marbling is one of the most beginner-friendly art forms because results look impressive from your first attempt. Since each piece is unique and unpredictable, there's no 'wrong' outcome, making it perfect for learning without pressure or frustration.
Regular acrylic or watercolor paints don't work well because they sink instead of float on water. Marbling-specific paints, oil paints thinned with solvents, or acrylic inks designed for water are necessary for the swirling effects that define the technique.
Marbled pieces work beautifully as bookmarks, greeting cards, wall art, or journal covers. You can also apply them to fabric for scarves, bags, or decorative home items, making marbling both decorative and functional.
A small table or flat surface roughly 2–3 feet wide is sufficient for a basic marbling setup. You'll want easy access to water, paints, and a drying area, but the entire operation takes up minimal space compared to many other art hobbies.