BoredomBusted — Find Your Next Favorite Thing To Do
Discover hobbies, activities, places, and ideas that spark joy. Whether you're looking for something creative, active, social, or relaxing, BoredomBusted helps you find your next favorite thing to do.
Browse our hobby guides, things-to-do collections, and place ideas to never be bored again.
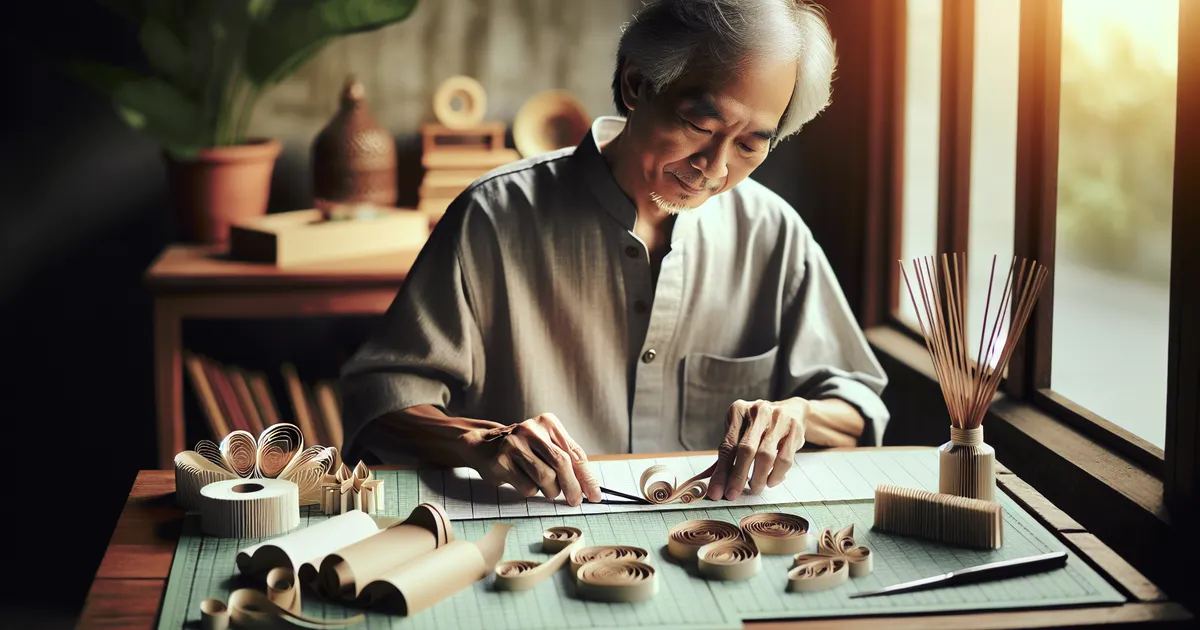
Paper quilling isn't just a grandma's craft; it's a serious art form that can lead to intricate 3D structures and even gallery-worthy sculptures.
Learning paper quilling as a beginner involves mastering the basics of rolling and shaping strips of paper to create beautiful decorative designs.
You coil a strip around a tool, release it slightly, then pinch or curve it into a shape – tight coils, teardrops, marquises – and arrange them into patterns.
Unlike origami, nothing gets folded. Unlike scrapbooking, the paper itself is the art.
In paper quilling, adults roll thin strips of paper into coils using a slotted tool, then manipulate these coils into various shapes like petals and leaves. They glue these formed shapes together to create intricate designs on a base material, using minimal tools such as scissors and glue, while engaging in precise hand movements.
The repetitive, skill-based nature of quilling fosters a flow state, allowing for focused attention and deep absorption in the task, while the tangible output of finished pieces provides a sense of accomplishment that boosts self-esteem and satisfaction.
You think paper quilling is something your grandmother did at a church craft fair. Tiny rolled paper strips glued into flower shapes – cute, maybe, but hardly a skill. That assumption is exactly why most people never find out what it actually is.
Sahar Quilling, a Tehran-based artist, used standard 3mm paper strips to recreate a large-scale cityscape that took six months and over 40,000 individual coils. Not decorative. Structural. Engineered.
The reason people underestimate it is the same reason they end up obsessed by week three. The entry point is easy. The ceiling is basically invisible. What seems simple quickly reveals deeper layers as you explore tension systems, 3D portraits, and more.
Next up: what your first real session actually looks like, and why the first thing you make will probably frustrate you in the most useful way possible.
Watching someone quill is like watching magic—smooth coils, perfect shapes. Your first session won't feel that way. The paper slips. The coil unravels. You might wonder if your fingers are somehow the problem.
You'll spend your first hour mostly redoing work. The coils keep springing open before you can glue. But instead of feeling discouraged, remember: The mess is part of learning, not a sign you're doing it wrong. The more you roll, the more your hands will remember the tension needed.
By your third session, things start to shift. Your coils are still uneven, but you complete a simple design. It's not perfect, but you'll still want to display it. This is when the tool stops feeling like a foreign object, and you start seeing the shape before you make it.
The moment you almost quit because nothing sits flat? That's when your hands are ready to get it. Instead of giving up, remember to slide the paper strip a quarter inch onto the quilling tool before rolling. That way, your coils won't have those annoying bent creases.
Let's talk about the common mistakes that stretch this learning curve, making your quilling path longer than it needs to be.
When to start: Morning
Duration: 1 hour
Cost to try: $10
Success criteria: If you roll, shape, and glue at least 5 quilled coils into one flat design on cardstock, do session 2.
Beginners often release the coil, assuming it'll stay put, but it won't. The result is a messy, lopsided shape before you've even started.
Apply a tiny dot of glue to the coil center before releasing. This locks tension so your coil holds its shape.
Standard printer paper is too thick, which fights you at every curl and fools beginners into thinking they're the problem when it's really the material.
Switch to 1/8-inch quilling strips. The lighter weight helps your designs come together effortlessly.
Covering the entire edge of the strip with glue seems smart until it oozes out the sides, drying as an unwanted crust.
Use a fine-tip applicator and glue just the last 2–3mm. This minimalist approach gives all the security you need.
Most beginners pinch too soon, resulting in shapes that spring back awkwardly instead of holding firm.
Let the coil rest in the mold for 30 seconds before pinching. This pause helps your shapes hold better.
Eyeballing feels natural until your design looks off-center and unbalanced. It's disheartening but common.
Trace your pattern onto paper and use it beneath a plastic sheet. This transforms alignment from guesswork into a precise system.
You don't need much for paper quilling. Just a table and some good lighting.
Craft studios and community centers often host sessions. While many people practice at home, these sessions can be a great way to connect with other quillers.
Walk in and share that you're new but eager. Mention your slotted tool and ideas you're exploring. You'll likely find someone willing to help rather than just offering a beginners' brochure.
Mosaic quilling involves keeping all coils tightly packed. This creates a dense, pixel-art look. Slower and more repetitive than standard quilling, it appeals to those who enjoy methodical crafting.
3D quilling moves beyond flat designs to create flowers and miniature figures. Great for those who need more structural challenges and have the patience for glue.
Husking or loop quilling uses pins and a foam board to shape loops. Ideal for making feather and petal shapes that hand-rolling can't achieve.
Quilled typography forms letters and words, perfect for signage and framed quotes. Looks stunning but requires precise alignment, so it's best for those with a steady hand for consistency.
Comb quilling uses a hair comb to wrap paper and create wave patterns. Quick and offering unique textures, it suits beginners looking for complexity without difficult techniques.
Readers who enjoy this often gravitate toward Etching next.
Another variant that pulls from the same roots is Pencil Drawing.
Sketching lives in the same world — different mechanics, similar appeal.
The single skill that changes everything is tension control. Beginners focus on even coils, chasing perfect uniformity. But uniformity isn't the real goal here.
The true craft lies in the tension release, the ability to control how much you loosen the coil before gluing.
Many either glue too quickly or release completely, resulting in stiff or shapeless coils.
Master holding the coil at a chosen tension point. Feel the difference between 8mm and 12mm in your fingers and make a deliberate choice each time.
When you gain this skill, your shapes become intentional. A marquise looks like a marquise, not a vague shape.
Without mastering tension, you're aimlessly rolling paper. Every advanced technique builds from this foundation.
Nail this skill, and more advanced pursuits like dimensional doming will follow. Here's how to get started:
Try eight sessions over 30 days. Two short 45-minute sessions each week.
If you're constantly finding reasons to quill, this is your hobby. You enjoy the quiet concentration and tangible results. Keep going and consider investing in higher quality paper.
If you completed the sessions but feel indifferent, it might not be engaging enough. Experiment with more complex designs before deciding it's not for you.
If you hated sitting down to quill, it's time to stop. Not every solitary hobby suits everyone. Look for activities with more interaction or movement.
You've saved images of quilled art for months. Mandalas, portraits, typography — this shows a deeper interest.
If paper quilling feels like too much to commit to right now, browse what to do when you're bored for lower-stakes ideas.
You'll need quilling paper strips (or you can cut your own), a quilling tool or slotted pen, glue (typically white or craft glue), and a ruler or measuring tool. Most beginners find pre-cut paper strips easier to work with, and a basic quilling pen costs under $10. A small investment in a starter kit (usually $15–25) gives you everything needed to begin.
You can learn the fundamental techniques—rolling, shaping, and gluing—in 1–2 hours of practice. Most beginners create their first recognizable designs within a few sessions, though developing speed and precision takes a few weeks of regular practice. Simple projects like greeting cards are achievable on your first day.
Paper quilling has a low barrier to entry—the basic rolling technique is straightforward and accessible to most people regardless of prior artistic experience. The difficulty comes from patience and precision rather than complex skills, making it ideal for people who enjoy meditative, detailed work. You'll improve quickly with consistent practice.
Initial startup costs are minimal, ranging from $15–40 for a beginner kit with tools and paper. Ongoing costs depend on project frequency; a single project uses only a few dollars' worth of materials. Since paper is inexpensive compared to many crafts, this hobby remains budget-friendly even for regular practitioners.
Yes, many quillers sell their work as handmade gifts, framed art, greeting cards, and custom pieces on platforms like Etsy or at craft fairs. The handmade nature and personalization potential make quilled items popular for weddings, anniversaries, and special occasions. Your earning potential depends on your time investment, design complexity, and marketing effort.
Beginner projects include simple greeting cards, small framed designs, bookmarks, and decorative ornaments. As you build confidence, you can progress to more intricate wall art, jewelry, and custom gifts. Most beginners achieve satisfying results within their first few sessions.