BoredomBusted — Find Your Next Favorite Thing To Do
Discover hobbies, activities, places, and ideas that spark joy. Whether you're looking for something creative, active, social, or relaxing, BoredomBusted helps you find your next favorite thing to do.
Browse our hobby guides, things-to-do collections, and place ideas to never be bored again.
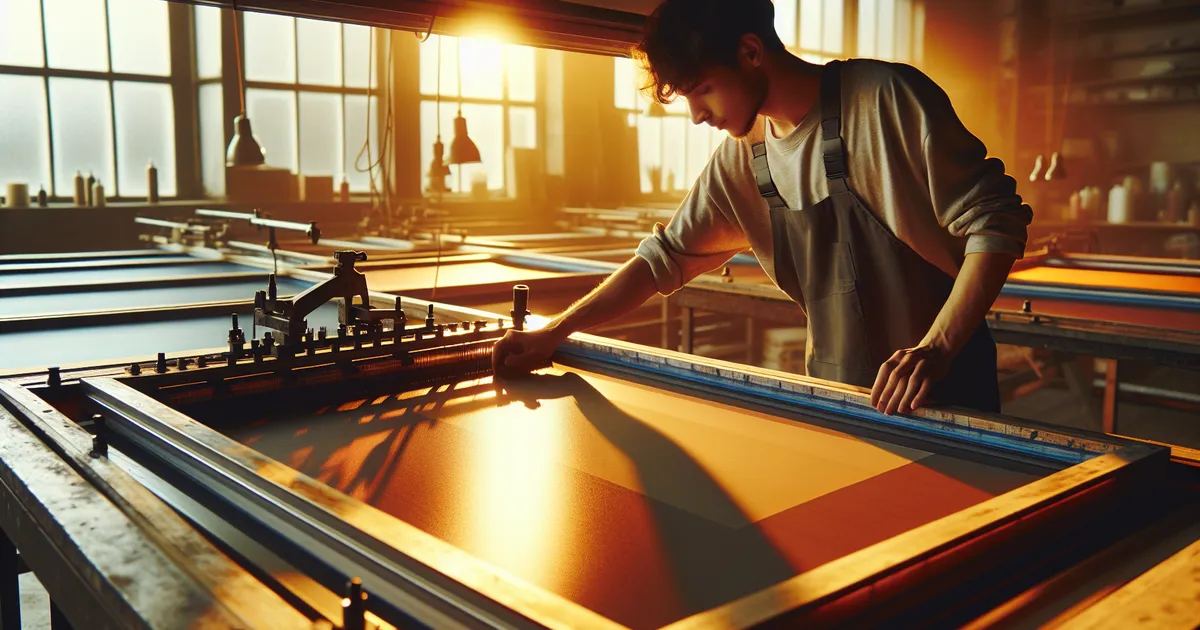
Screen printing isn't just about creativity—it's a rhythmic challenge that sparks a flow state with instant feedback and a true sense of mastery.
Getting started with screen printing as a beginner involves understanding how to force ink through a mesh stencil onto fabric or paper—one color at a time, one layer at a time.
Unlike iron-on transfers or vinyl cutting, every print is built by hand, chemically and physically, which is why results feel different and last longer.
In screen printing, you design or select images, create stencils by cutting or using photo emulsion, and print custom designs onto fabrics or paper by applying ink through a mesh screen using a squeegee, repeating the process for multi-color prints while experimenting with various substrates and textures.
Screen printing induces a flow state through its rhythmic, skill-matched challenges, providing immediate visual feedback and fostering mastery, while also offering creative expression and a sense of accomplishment from producing unique, functional items.
You think screen printing is about buying a $400 kit, setting up a darkroom, and ruining shirts before you finally quit.
Actually, the skill lies in knowing ink and pressure. This clicks surprisingly fast once you've tried pulling ink across a screen yourself.
A shop setup isn't necessary. A spare corner, a $30 squeegee, and quality photo emulsion get you surprisingly far.
The mess is from skipping prep, not the craft. Get exposure time and mesh count right from the start for consistent results.
A friend printed custom tees for her entire band using a secondhand frame, a clamp-on screen hinge, and a heat gun. Not perfect. Completely legible. Sold at shows within two months.
You're already thinking about which gear matters and what's just intimidating noise.
Screen printing seems effortless in tutorials. A quick swipe of ink over the screen and a perfect print emerges, all in just seconds. In reality, your first try will feel more chaotic. Expect ink everywhere, squeegee mishaps, and wet emulsion. You might end up with a print that looks drenched.
The real challenge for beginners is nailing down the basics. By week one, cleaning stray ink may take priority over printing. Week two involves battling inconsistent squeegee pressure, leading to unpredictable prints.
Week three is pivotal; you'll start getting six decent prints in a row. By week four, you notice errors before they happen. But getting there requires practice, focus, and patience.
A simple tip to improve your first session: get a scoop coater. Practice with it before your emulsion shows up. The scoop coater's motion should be second nature, especially because you'll eventually work with light-sensitive chemicals.
Your initial prints might be disappointing. But by the eighth, something clicks, even if you can't identify why. This isn't a flaw in your ability—it's part of the learning curve.
When to start: Morning
Duration: 1 to 2 hours
Cost to try: $20
Success criteria: if you finished without damaging the workspace, do session 2.
Beginners often rush the scoop coater across the screen. This uneven pressure leaves thin spots that expose during printing and thick edges that never fully cure.
Move slowly and steadily. Use two passes: one pulling up, one pulling down. Keep the coater at a 45-degree angle the whole time.
It's tempting to work under regular room lighting, but this hardens your emulsion too soon, ruining the burn.
Use yellow-tinted or sodium vapor bulbs. These won't trigger the photo-sensitive chemicals in your emulsion.
Beginners mistakenly apply pressure during the flood stroke, which is only for positioning ink, not printing.
A loose mesh can lead to ink problems, especially with screens inherited from heavy use.
Check tension by tapping the center of the screen. It should feel like a taut snare drum. If it's soft, restretch it before using.
Pulling the screen from exposure too early causes stencil breakdown. The chemistry needs time to complete.
Use the coin test if unsure. A glossy surface means full cure; tacky or matte needs more light.
Screen printing starts in one of three spots. Your garage, a nearby makerspace, or a rented print studio. Serious hobbyists often hit up makerspaces first – the gear costs a lot. At $500+ before a single shirt's printed, it's smart to borrow access.
Start with Facebook Groups: search "screen printing [your city]" or "DIY print studio [your state]". They're full of locals who will share their favorite spots.
The Screenprinting Association International (SAI) directory is also a great bet. Connect with professionals hosting open studio nights.
Show up and say, "I'm brand new – do you have open studio time where someone can walk me through the first exposure?" That line often gets you a tour, rate sheet, and sometimes a quick demo on the spot.
This method is all you. A squeegee, a screen, and ink. Nothing automated.
No shortcuts here—just the joy of making it yourself. Perfect for beginners wanting to learn the core skills.
This process pulls dye out, replacing it with new color.
Ideal for dark garments where you want a soft, integrated feel.
Requires special ink and setup, so leave it for later if you're just starting out.
Turn full-color images into halftone dots on multiple screens.
For advanced printers eager for a challenge. This setup is tricky, but the results are worth it.
Move beyond standard confines to print edge-to-edge on garments.
Uses specialized equipment and often pre-cut panels. Don't attempt until you're very confident with basic techniques.
Uses UV-curable inks that solidify quickly under UV light.
Best for those setting up a production line, as equipment costs are higher.
Another variant that pulls from the same roots is Woodblock Printing.
If you want a related angle, Monotype Printing is the natural next stop.
If the texture of this appeals to you, Lithography is built on similar bones.
Many beginners focus on squeegee pressure—pushing harder, going slower, trying desperately for a clean print.
The real issue is screen tension, not the ink.
Mastering the art of emulsion-to-substrate contact makes the difference. You need to know exactly how close your screen sits to the fabric before you pull that squeegee.
A screen that peels cleanly after each stroke ensures sharp edges and precise ink placement. Without this distance dialed in, your screen drags against the fabric, blurring edges beyond what any squeegee skill can fix.
Those blurry lines you blame on mesh count? Probably this issue. Let's look at setting it right.
Commit to 6 sessions over 30 days – roughly one and a half per week.
Six sessions make it clear whether screen printing suits you. Fewer sessions mean you're only grappling with the learning curve.
If you find yourself planning your next print before the ink dries, you're hooked. This isn't merely a passing interest; it's a genuine draw.
If six sessions leave you feeling neutral, the printing itself might not be your passion. Try refocusing on creating designs or exploring different techniques before deciding.
If you couldn't wait for each session to end, it's a clear sign. Some enjoy the concept but not the actual process. That's a straightforward conclusion.
You're on the right track if you catch yourself studying ink colors on merch or mentally dissecting printed designs. That curiosity is a solid fit indicator.
For a wider menu of options, see our list of hobbies.
If screen printing feels like too much to commit to right now, browse what to do when you're bored for lower-stakes ideas.
At minimum, you'll need a screen (mesh stretched over a frame), squeegee, ink, a flat work surface, and the item you want to print on—usually fabric. Many beginners start with affordable starter kits that include these essentials, though more advanced setups include exposure lamps and press tables for larger projects.
Most people can learn the fundamentals in 1–2 sessions and produce a decent print within a few hours. However, mastering techniques like layering colors, achieving consistent pressure, and troubleshooting common issues typically takes 4–6 weeks of regular practice.
A basic DIY setup costs $50–150, while mid-range kits range from $150–400. Professional-grade equipment or studio access membership can run $500+. Initial costs are mainly equipment; ink and screens are inexpensive to replace once you're practicing regularly.
The core technique is straightforward—squeegee ink across a screen onto fabric—but it requires steady hands, attention to pressure, and practice to get clean, consistent results. Most beginners produce acceptable prints immediately, but refinement comes with experience.
You can screen print on hoodies, tote bags, canvas, pillowcases, posters, vinyl records, and even wood or metal with the right ink. The main limitation is the size of your screen and press setup.
Designs must be converted to a format suitable for screens, typically using photo emulsion (a light-sensitive coating) and UV exposure to transfer your image onto the mesh. Many beginners use pre-made stencils or work with design software, and some studios offer design services if you're starting out.