BoredomBusted — Find Your Next Favorite Thing To Do
Discover hobbies, activities, places, and ideas that spark joy. Whether you're looking for something creative, active, social, or relaxing, BoredomBusted helps you find your next favorite thing to do.
Browse our hobby guides, things-to-do collections, and place ideas to never be bored again.
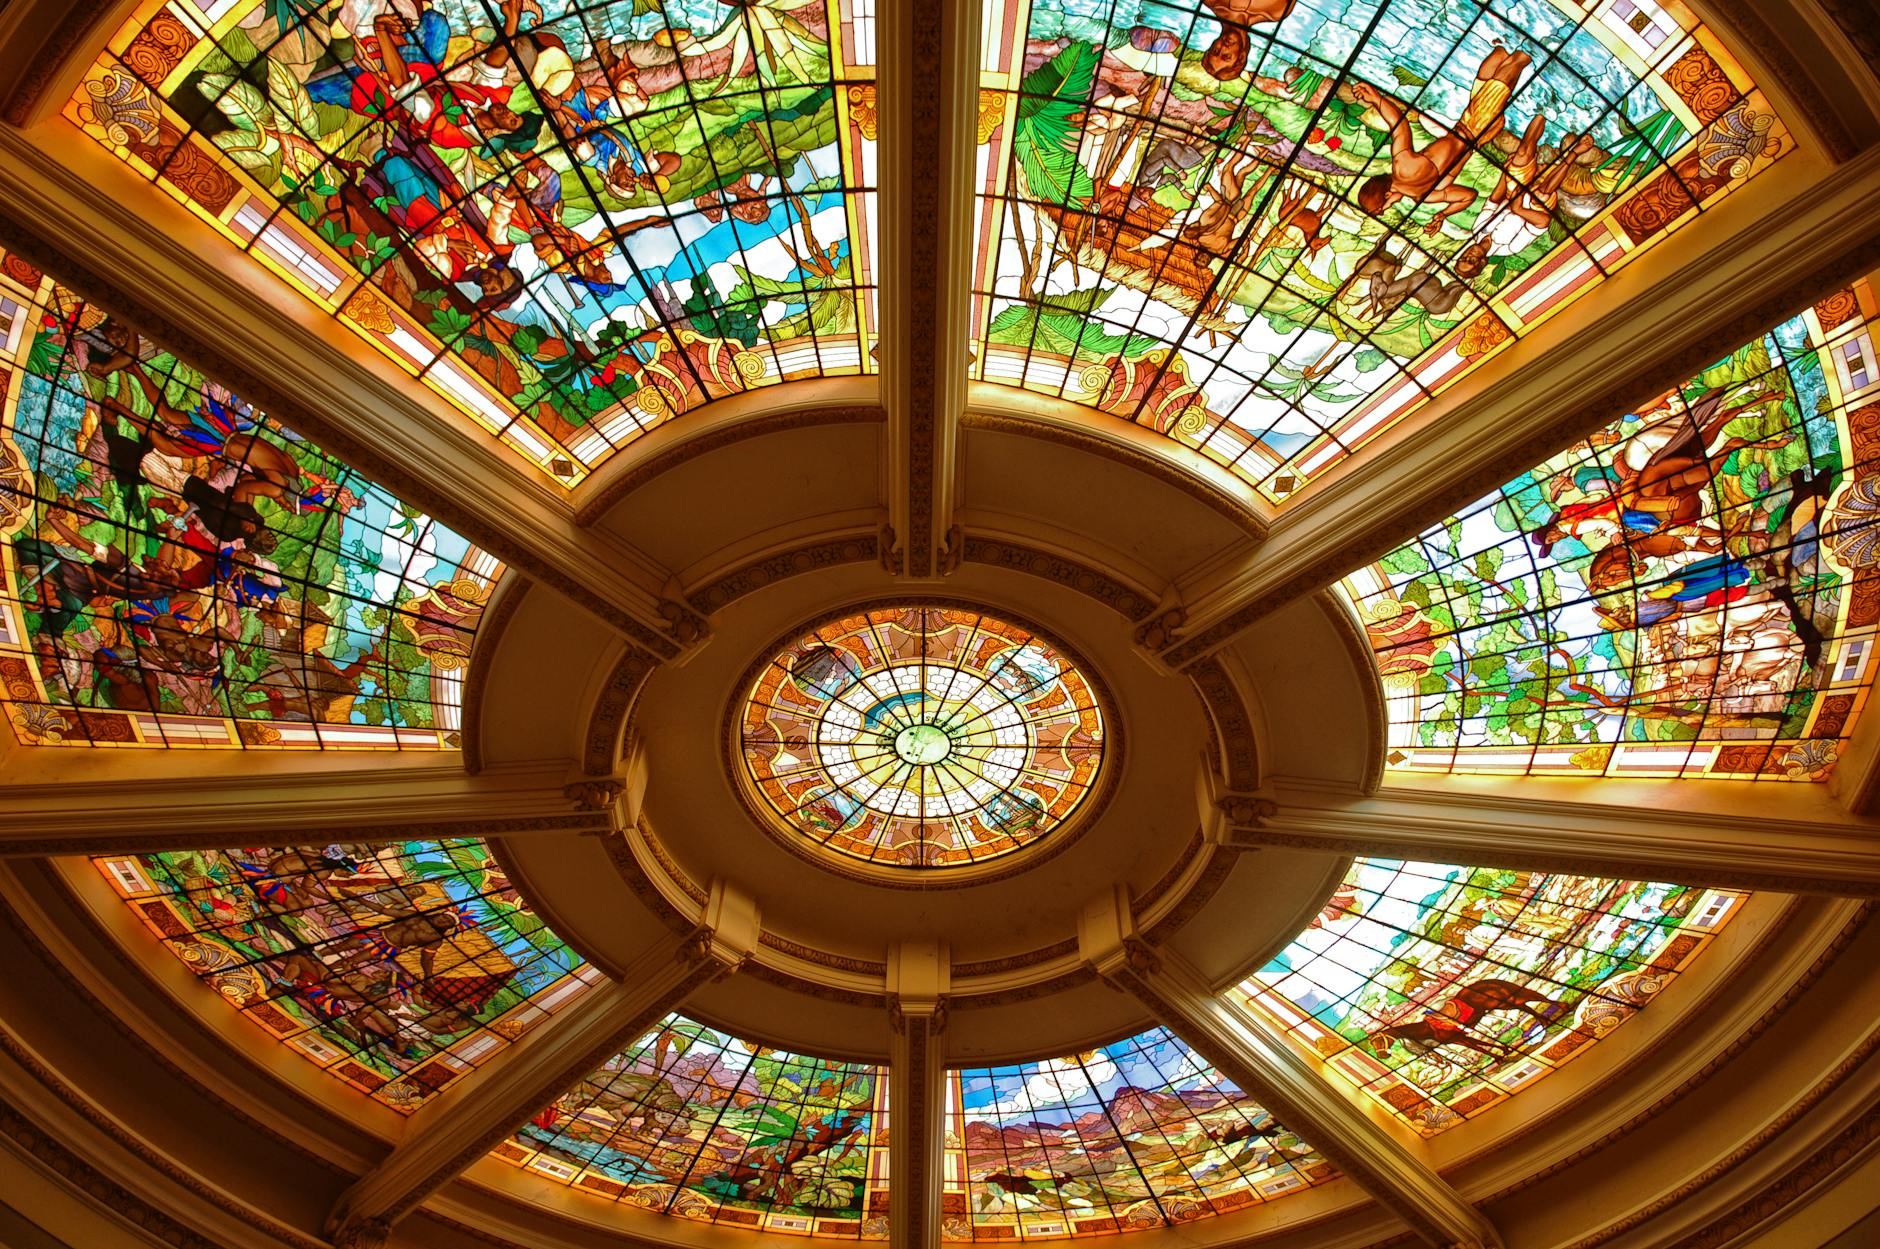
The magic in stained glass painting isn’t just the colors; it’s how they transform when backlit, revealing a new depth that’s earned through practice.
Learning stained glass painting as a beginner opens up a world of creativity, allowing you to mimic the beauty of traditional cathedral windows using transparent glass paints or leading tape – without cutting actual glass.
You apply color directly to a surface, then outline with liquid lead or self-adhesive strips.
Unlike mosaic or resin art, the transmitted light does the work – the piece only fully comes alive when backlit.
In stained glass painting, you draw designs on a clear surface, outline sections with black glue, fill them with vibrant glass paints, and layer textures like foil to create colorful, light-transmitting art. You work in a dedicated space, using fine motor skills to squeeze glue and paint, frequently checking your progress by holding the piece up to light, and ultimately drying and displaying it a…
Stained glass painting induces a flow state through sustained focus on meticulous tasks, providing immediate visual feedback as colors interact under light, fostering a sense of accomplishment and creativity through tangible artistic output. This immersive process not only distracts from stressors but also encourages self-expression and a connection to community through sharing and displaying com…
Stained glass painting isn't just a craft-fair staple. It's an art form that demands true engagement.
Light is your real medium — the paint only reveals its full beauty when backlit.
The leading lines are more than decorative — they are the framework of your composition.
Imagine a journey from canvas to glass.
A painter with ten years of canvas work once shared that her first backlit panel felt like seeing color anew. Her revelation shows that
control on glass is hard earned, not given
— it takes effort to master the unique behavior of glass paint.
You're curious now about where to begin with supplies.
Watching stained glass painting tutorials feels like watching someone drive. The brush glides, the colors bloom, the leading lines look sharp and confident. Then you pick up the outliner bottle, and your hand immediately becomes a stranger.
The first session is mostly blobs. You squeeze the outliner too hard — every beginner does — and at least two pieces are ruined before your grip finds a rhythm. By week two the paint starts behaving, but transparency is harder to judge wet than dry, and your colors keep shifting as they cure.
Week three is where most people quietly put the supplies in a drawer. The outlines look wrong. The colors don't pop. Nothing matches the tutorial. That's not a sign you're bad at this — it's just the part that happens before your eyes and hands reach the same agreement.
Hold the outliner bottle like a pen, not like a tube of toothpaste. The control lives in your index finger on the tip — squeezing from the middle is what makes lines uneven. That one adjustment alone changes what week three looks like.
By week four, something shifts. You nail one panel that genuinely surprises you — and that piece becomes the reason you don't stop. You start picking reference images with intention instead of just grabbing something simple. That's the skill forming. The next section covers the mistakes that keep people stuck in the frustrating half longer than they need to be.
When to start: Morning
Duration: 1.5 hours
Cost to try: $20
Success criteria: If you finish a taped design with clean, even paint coverage and the colors still show through when held to light, do session 2.
The black leading lines aren't decorative. They're what physically stops paint from migrating across the glass surface. Beginners skip them assuming they're stylistic — then watch two colors merge into a muddy third.
Use Gallery Glass liquid leading or a black relief outliner first and let it cure for at least 24 hours before you touch a drop of color. The cured line creates a raised border. Without that wall, the paint has nowhere to stop.
Glass paint is transparent by design — it's built to let light through, not to behave like an opaque craft paint. Beginners pile on extra to get "real" color and end up with pooled, ridged layers that look worse than one thin coat.
One thin, even layer is always your starting point. Let it dry completely, then glaze a second coat if you want more depth. Two controlled layers beat one heavy pass every time.
Deep cobalt and forest green look stunning in the bottle. On a wall-hung piece with no light source behind them, they read nearly black. Stained glass paint needs light transmission to do its job — without it, the color just doesn't exist.
Before committing to a palette, hang test swatches in your actual display spot — a window, a lightbox, wherever the finished piece will live. What looks rich on your worktable can vanish entirely in a dim corner.
Different manufacturers use different bases — some solvent, some water-based. Combine them mid-project and you get crazing, peeling, or that chalky film most beginners blame on their own technique. It's not your application. It's a chemistry problem.
Pick one brand and finish the project with it. Pébéo and Gallery Glass are both solid starting points. Once you know how each brand behaves on its own, you can start making informed decisions about mixing.
The outliner needs a firm, dry surface to hold its raised profile. Apply it over paint that hasn't fully set and it sinks in — going flat, losing definition, and turning your piece into what looks like a watercolor on glass rather than a stained glass piece.
Fill your color sections first. Then wait the full dry time listed on the outliner tube — not your best guess at dry time. Touch-up lines go on last, after everything underneath is completely set.
Stained glass painting happens in art studios, community centers, and craft workshops – often the same spaces that run pottery or mosaic nights.
Tell whoever runs the session you've never done this before – and that you're specifically interested in painting on glass, not leading or cutting it.
That distinction matters.
It gets you pointed toward vitreous glass paint techniques instead of a full leaded-glass construction course, which is a different skill set and a much steeper starting cost.
Cutting actual glass and soldering lead strips can create genuine stained glass panels. Best for people who want the authentic craft, not just the aesthetic.
Expect to spend $150–$300 getting started, and budget time for a beginner class. Soldering irons and glass cutters are unforgiving without instruction.
Copper foil tape wraps each piece of glass, allowing intricate designs. Tiffany Studios favored this method for its famous lampshades. Best for detail-obsessed beginners wanting more design options than lead came.
Starter kits run $80–$150 and are widely available online.
Painting directly onto glass surfaces with transparent glass paint involves no cutting or soldering. Perfect if you want results this weekend without a long skills ramp.
Cost is minimal – a basic paint set runs under $30.
Using dimensional fabric paint or "liquid leading" creates fake lead lines. This method mimics stained glass without the actual glasswork. Best for crafters on a budget who prioritize the visual effect over traditional methods.
Honest caveat: it reads as a craft project, not a craft – fine if that's what you're after.
By cutting or breaking glass into irregular pieces and adhering them with grout, you get a chunkier look. Best for those drawn to the color and light of stained glass but more interested in texture and composition.
Another variant that pulls from the same roots is Face Painting.
If this resonates, Airbrush Painting explores a similar direction.
Silk Painting is a sibling pursuit and often surfaces the same kind of curiosity.
Stained glass painting is about more than just steady brushwork.
The real bottleneck is controlling paint opacity before it dries, not after.
By the time it looks wrong, it's already too late to fix it.
The skill is reading wet paint translucency in real time – specifically, learning to judge how much a color will lighten as water evaporates.
You need to adjust your pigment-to-medium ratio while the paint is still workable.
Stained glass paint is deceptive: a rich burgundy stroke looks perfect wet, then dries into a washed-out pink because you didn't account for the moisture evaporating out of the binder.
Once you can predict the dry value from the wet look, you stop repainting the same section three times.
You start getting depth on the first pass.
Without it, you're always reacting – chasing a color that keeps moving on you, layering correction over correction.
That last part is the real cost: muddy buildup kills the backlit glow that makes stained glass painting worth doing at all.
Six sessions over 30 days mean two per week, letting the process breathe without losing steam.
Stained glass painting is a collection of skills. You\u2019ll deal with glass paint handling, leading or liquid leading, light awareness, and color layering.
Six sessions give enough practice to move past the basics and feel the craft's rhythm.
If you find yourself preoccupied with your next creation between sessions, focusing on colors and designs, you\u2019re not forcing it. This hobby aligns with your interests. Plan your next project and explore more complex techniques.
If the sessions merely felt like going through the motions, notice the lack of connection. Trying a few variations or different styles might help, but sometimes indifference is just honest feedback.
If the thought of another session brings dread instead of curiosity, don\u2019t force it. The precision might feel tedious, and that\u2019s perfectly fine to acknowledge. Find another artistic pursuit that sparks joy.
Spotting a sunlit window and wondering about its creation means more than casual interest. That curiosity underlines a true connection to the craft.
If stained glass painting feels like too much to commit to right now, browse what to do when you're bored for lower-stakes ideas.
You'll need glass sheets, specialized glass paints (designed for transparency and durability), brushes, a kiln for firing, and basic tools like cutting equipment and leading materials for assembly. Many beginners start with pre-cut glass pieces to simplify the process.
A basic beginner kit with paints, brushes, and glass pieces costs $50–$150, while a functional kiln ranges from $300–$1,500+. If you don't have a kiln, many studios offer firing services for $10–$50 per project, making it more affordable to start.
Small pieces take 3–5 hours of hands-on work, while detailed designs can take 15–40+ hours spread across multiple sessions. Kiln firing adds 24–48 hours depending on the studio's schedule.
No prior artistic experience is required—stained glass painting is accessible to beginners, though steady hands and patience help. You'll develop technique naturally through practice, and many designs can be traced or use templates to simplify the process.
Stained glass painting uses specialized transparent paints that fuse permanently to glass when kiln-fired, creating luminous effects as light passes through. Regular paints sit on the surface and aren't designed for durability on glass or to transmit light.
Yes—you can use air-dry glass paints that harden naturally without firing, though they're less durable than kiln-fired work. For traditional firing, look for local art studios, community centers, or shared maker spaces that rent kiln time.