BoredomBusted — Find Your Next Favorite Thing To Do
Discover hobbies, activities, places, and ideas that spark joy. Whether you're looking for something creative, active, social, or relaxing, BoredomBusted helps you find your next favorite thing to do.
Browse our hobby guides, things-to-do collections, and place ideas to never be bored again.
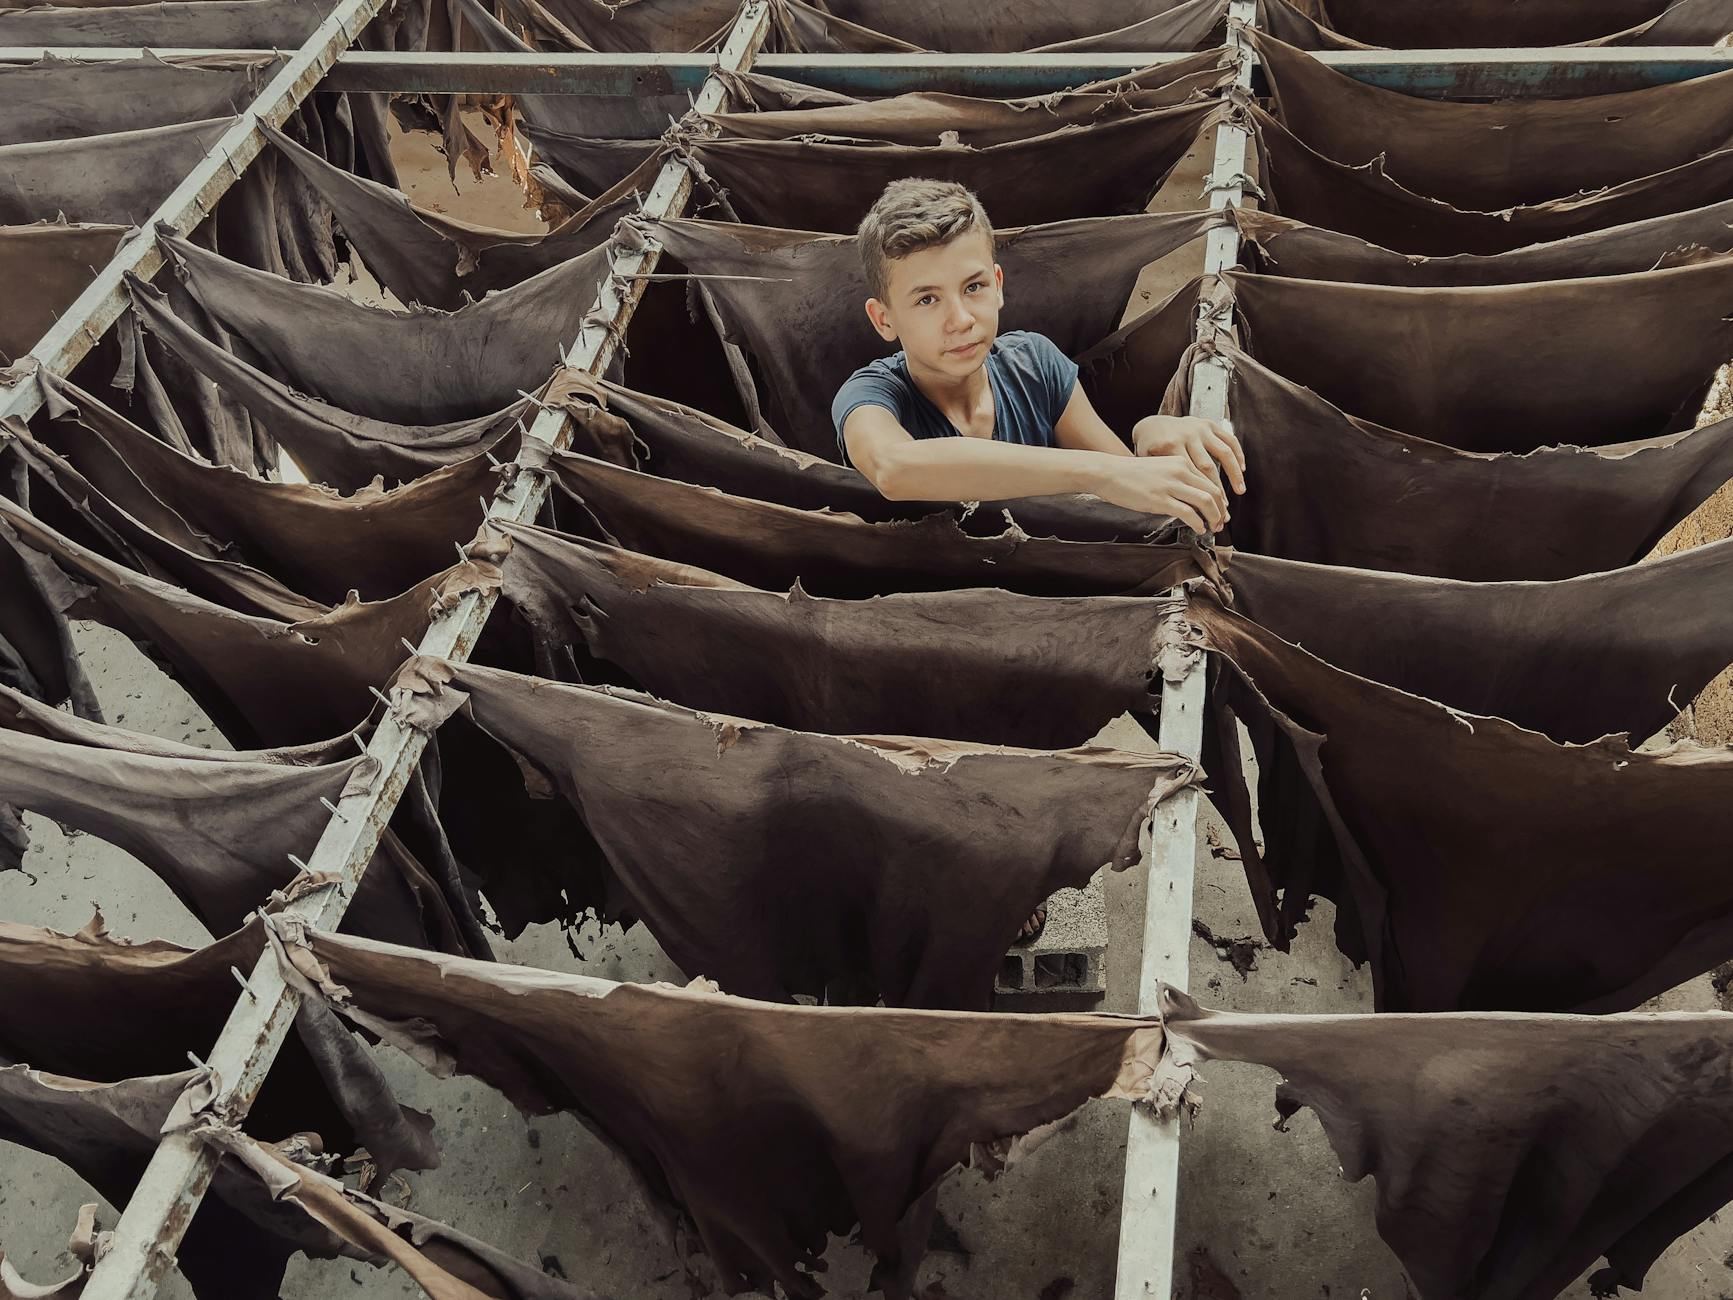
Tanning leather isn't about survival skills; it's a chemistry-focused craft akin to baking, where choosing your method transforms the entire process.
Learning leather tanning as a beginner involves understanding the essential techniques of preserving raw animal hides to ensure they resist rot, water, and decay.
You're converting something perishable into something that outlasts most furniture.
Unlike leatherworking – which shapes and stitches finished leather – tanning starts before any of that, with a raw hide and a choice of method that determines everything about the final material.
In tanning leather, you start with raw animal hides and engage in a hands-on, multi-step process that includes fleshing, soaking, preparing tanning solutions, and physically manipulating the hide over days to months, ultimately transforming it into supple leather through techniques like scraping, stretching, and smoking.
Tanning leather induces a flow state by requiring sustained focus on intricate, labor-intensive tasks, while tactile feedback from the hide's transformation provides immediate validation of progress, fostering a sense of accomplishment and creative expression through exploration of different materials and methods.
You think tanning leather means smashing acorns into animal hide in the woods somewhere. That's the assumption — that this is a survival skill, a lost-art novelty, something you'd only do if the grid went down.
Tanning is actually one of the most chemistry-forward crafts you can pick up in a suburban garage. You're chemically bonding agents to collagen fibers — stopping decomposition, creating flexibility. It's closer to bread-making than to bushcraft.
Most beginners assume the smell, the mess, and the complexity all hit at once. They don't — each method front-loads a different challenge, and knowing which one you're walking into changes everything. Brain tanning and vegetable tanning aren't variations of the same thing — they're practically different hobbies.
A home tanner making a wallet blank via vegetable tanning is working with oak bark extract, pH strips, and a notebook of timing logs. It looks nothing like wilderness survival. It looks like a slow, satisfying chemistry experiment that ends with something you'll carry for twenty years.
One method.
Completely different hobby.
That word — method — is where the real decision lives, and whichever one you choose shapes your first weekend, your first failure, and your first finished piece.
The next section breaks down the main methods side by side — what each one actually demands from you before you've bought a single tool.
Watching someone tan a hide looks like patience made physical — calm scraping, steady pulls, leather slowly coming alive under practiced hands.
Your first session looks like confusion made physical. Tutorials make it look meditative, the process feels logical, and you assume the hard part is learning the steps. The hard part is the hide itself.
Your arms give out before the hide softens. The smell is not subtle. "Fleshing" is exactly what it sounds like.
Week one is mostly logistics — sourcing a hide, prepping your workspace, not much actual tanning. Week two is your first real fleshing attempt, and it leaves patches, uneven thickness, and a growing suspicion you've ruined it. You probably haven't — but nobody tells you that, so most people quit here.
Week three, the braining or tanning solution stage feels anticlimactic — until you start working the hide while it dries. That's where the real exhaustion lives. By week four, you get one section to soften correctly, and it's enough to make the whole thing make sense.
Stiff.
Frustrating.
Questionable.
Then one corner breaks right — and you understand what you've actually been training your hands toward.
It's not the chemistry that defeats beginners. Working the hide while it dries is a continuous physical job — not a one-time step — and most people don't find that out until they've already ruined a hide.
If you walk away while the hide is drying and come back later, it sets stiff — permanently. You need to be present and pulling, stretching, and kneading throughout the drying window, which can run two to four hours. That context is exactly what the next section covers: the mistakes that cost people hides before they ever get close to softness.
When to start: Early morning
Duration: 2 hours
Cost to try: $15
Success criteria: if you finished without damaging the hide during brining, do session 2.
Fresh hides look clean on the surface, but a thin layer of membrane left behind will block tanning agents from penetrating evenly.
Run your fleshing knife at a low angle in overlapping strokes – if you see white film, you're not done.
Table salt works in a pinch, which is exactly why beginners reach for it – then wonder why their hide smells six months later.
Iodized salt interferes with tanning chemistry; pick up plain non-iodized salt and use it at roughly one pound per pound of hide.
You soak it, life happens, it dries on the board. Now the fibers have locked up and your tanning solution won't move through.
Keep a damp cloth over any hide you're stepping away from, or work in smaller sessions you can actually finish.
Chrome-tanned leather comes out of the bath acidic, and beginners skip the baking soda rinse because nothing looks wrong yet.
That residual acid breaks down fibers from the inside – a 15-minute soak in a weak baking soda solution (1 oz per gallon) stops it cold.
The hide feels dry to the touch but holds moisture inside – conditioner traps it there.
Wait until the leather has dried at room temperature for at least 24 hours. Then do a hang-weight test: if it's noticeably heavier than the day before, keep waiting.
Leather tanning happens mostly at home – a home workshop setup is the standard starting point.
Dedicated makerspace facilities often have the ventilation and water access that make the messy chemistry stages much easier.
Tell the group you're a beginner who wants to process a first hide start-to-finish – not just do leather crafting.
That specificity signals you're serious, and it usually gets you an invitation to a hands-on session rather than a reading list.
Vegetable tanning uses bark extracts and time instead of modern chemicals. The leather comes out firm, takes tooling well, and ages beautifully. Materials are widely available and forgiving to learn on.
If you're only picking up one method, this is the one that teaches you the most about leather itself. Startup costs are moderate and the process is slow — but that slowness is the point.
Chrome tanning uses chromium salts and cuts curing time from weeks to hours. The result is softer and more water-resistant — which is why most commercial leather is made this way.
It's the better fit for bags and garments rather than carved or tooled goods. The chemicals need careful handling and disposal — not a dealbreaker, but a real consideration before you start.
Brain tanning is completely chemical-free and labor-intensive. Every animal has just enough brain matter to tan its own hide — that's the old rule, and it's basically true.
The leather it produces is incredibly soft and suede-like. This suits people interested in primitive craft, not those looking for a tightened workflow.
Alum tawing uses potassium alum instead of tannins or chromium. It produces pale, stiff leather historically associated with gloves and bookbinding.
It's not technically tanning in the chemical sense — the leather can revert if soaked. Best for makers focused on historical craftsmanship rather than everyday functional goods.
Standard veg tanning uses commercial tannin extracts. Bark tanning means sourcing and preparing your own bark — oak, chestnut, hemlock — and doing it the slow way.
The results are often superior, but the process takes months. This is a rabbit hole, not a starting point.
Some of the same instincts show up in Tape Art — worth a look if this clicked.
If this resonates, Segmented Turning explores a similar direction.
A close neighbor worth considering: Visualization Practice.
Most beginners obsess over their tanning recipe – the right ratio of bark, the soaking time, the temperature.
The recipe isn't the problem. Reading the hide is.
The one skill is feeling when a hide has reached full penetration – not by the clock, but by the bend test and the cross-section.
You take a small offcut, slice it thin, and check whether the tannin color runs uniform all the way through or fades to pale in the center.
Pale center means you're tanning the surface and fooling yourself.
Once you can read penetration, every other variable – time, pH, solution strength – becomes something you're adjusting in response to the hide rather than following blindly.
Hides vary by animal, by season, by how the butcher split them.
Without this skill, you'll produce inconsistent leather and blame your recipe forever.
Commit to 4 sessions over 30 days – roughly one per week.
That's enough to get through the smell, the mess, and the learning curve without burning out.
Four sessions also means you've touched every major stage at least once: prepping a hide, working a tanning agent, and doing the initial conditioning.
You keep handling leather goods – belts, bags, boots – and thinking about how they were made. Not admiring them.
Reverse-engineering them in your head. That low-level obsession with the process, not just the product, is the clearest signal this is worth pursuing.
If you've read this and you're still in, the next section covers exactly where to get started – tools, materials, and the resources that won't send you down a $400 rabbit hole on day one.
If nothing here clicks, our guide to what to do when bored covers shorter, lower-commitment options.
A basic leather tanning project typically takes 2–4 weeks from start to finish, depending on the method and hide size. Vegetable tanning is slower but produces higher-quality leather, while chrome tanning is faster but requires more chemical handling. Most beginners should expect the full process to take at least several weeks if doing it traditionally.
Essential supplies include raw hides, tanning agents (vegetable tannin, alum, or chrome salts), a workspace with water access, large containers for soaking, and basic tools like scrapers and stretchers. You'll also need safety equipment like gloves and a dust mask if using chemical tannins. Many beginners start with affordable starter kits that include pre-measured tanning solutions and detailed instructions.
Initial setup costs range from $100–$300 depending on your method and workspace. Vegetable tanning is generally cheaper upfront but requires more time, while chrome tanning requires chemical investments and safety gear. Once equipped, individual projects are relatively affordable, with hide costs typically between $20–$50 for small hobby pieces.
Vegetable tanning uses natural plant tannins and produces thicker, stiffer leather that ages beautifully and develops character over time—ideal for crafting goods like belts and bags. Chrome tanning is faster, produces softer leather, and uses chemical compounds, but requires careful handling of toxic solutions and doesn't age as distinctively. Most beginners favor vegetable tanning for its safety and artisanal results.
Vegetable tanning can be done in a garage or outdoor space with basic water access, though good ventilation helps with odor. Chrome tanning requires proper ventilation, safety equipment, and careful chemical handling, making it better suited for dedicated workshops. Either way, you'll need room for large soaking containers and space to stretch and dry hides.
Vegetable tanning is beginner-friendly—it's more about patience and following steps than technical skill. The process is forgiving, and mistakes rarely ruin a project entirely. Chrome tanning requires more precision and chemical knowledge, so most first-timers start with vegetable methods and progress to advanced techniques once comfortable.