BoredomBusted — Find Your Next Favorite Thing To Do
Discover hobbies, activities, places, and ideas that spark joy. Whether you're looking for something creative, active, social, or relaxing, BoredomBusted helps you find your next favorite thing to do.
Browse our hobby guides, things-to-do collections, and place ideas to never be bored again.
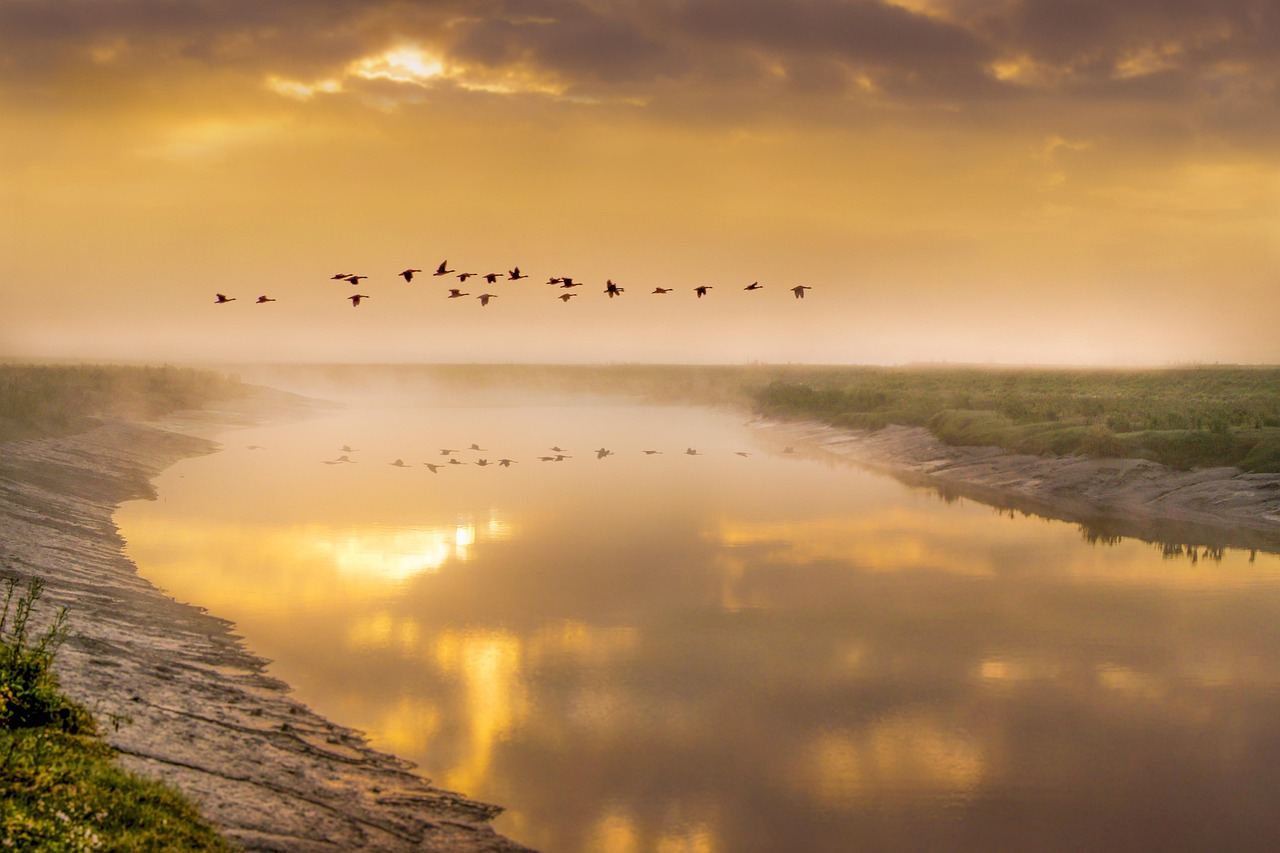
Drone photography is less about the drone itself and more about mastering light and composition; most quit because they forget their camera skills matter more than their altitude.
Learning drone photography as a beginner involves understanding the basics of aerial imaging and how to operate a remote-controlled aircraft effectively.
You pilot the drone, frame the shot, and trigger the camera remotely.
What separates it from regular photography isn't the gear – it's the perspective: angles and altitudes no ladder, crane, or rooftop can replicate.
In drone photography, you physically launch a drone, control its flight path using a remote, and monitor its camera feed to capture aerial images of landscapes, adjusting for composition and exposure settings before landing and post-processing the shots on editing software.
Drone photography induces a flow state through the immersive challenge of piloting, demanding precise control and skill refinement while providing immediate visual feedback, fostering a sense of accomplishment as you transition from basic to advanced photography techniques.
You think drone photography is about the drone.
It's easy to imagine yourself launching something expensive for a sweeping landscape shot, hoping for a flurry of likes on Instagram. Most people get caught in this vision and end up spending too much or giving up after just a few flights.
The camera is the point, not the aircraft. The drone is just a flying platform. Your real skills revolve around light, composition, and timing, just like any other form of photography.
Flying without a visual plan makes your footage look like a nervous bird. The best shots come from pilots who envision their frames before takeoff.
Drone photography is about mastering both spatial awareness and a photographic eye. This overlap speeds up your progress more than you might think.
A wedding photographer who picked up a drone shared how it changed her perspective. She became more aware of leading lines and shadows in ways her ground photography had become complacent about. Moving in three dimensions sharpened her skills on and off the ground.
We'll tackle the gear question next, and the real answer isn't what those forums have been preaching.
Your palm is sweaty as the drone hovers awkwardly. There's a disconnect between the smooth videos online and the chaotic first flights. People underestimate how wide the gap is between intention and usable footage.
Turn off beginner speed limits before your first session and focus on the drone's gimbal pitch angle. New pilots often look at the drone itself instead of the camera view, leading to forty clips of sky and ground soup instead of usable footage. Ugly footage will dominate the start.
Expect awkward moments. More sky than planned, a dead battery catching you off guard, or unexpected wind pushing the drone sideways. It feels like everything is going wrong before it starts going right. Initially ugly footage isn't failure; it's the learning process at work.
Eventually, you'll get a clip worth sharing. The transition from frustration to satisfaction happens faster than it seems. Now, let's explore the mistakes that keep many from finding that satisfying sweet spot sooner.
When to start: Early morning
Duration: 1.5 hours
Cost to try: $10
Success criteria: if you finished without crashing the drone, do session 2.
AUTO mode is like training wheels, essential at first but limiting if you stay there too long. Overreliance means you never fully understand your aircraft's capabilities.
Switch to Attitude or Manual mode for 10 minutes every session. Even just hovering in your backyard helps you learn.
New pilots often go to the maximum altitude right away. It seems dramatic, but flat overhead shots tend to come out boring.
Start at 30–50 feet and work upward. Pause at each level to shoot and see how altitude affects your photos.
Most rookies choose a location but ignore lighting. Light is key, and shooting at noon often leaves you with dull, shadowless images.
Check suncalc.org before leaving. Aim to fly within 90 minutes of golden hour.
It's tempting to pan the camera while moving forward, but the footage often feels jerky and unprofessional when you do both at once.
Focus on one movement at a time. Start with a gimbal tilt, then move forward after.
RAW files can be intimidating for beginners. JPEG feels simpler, yet offers little flexibility when fixing exposure mistakes in editing.
Set your drone to RAW from the start. You can ignore these files initially, but you can't reshoot a missed sunset.
Fly your drone wherever it's legal—
in open fields, parks, beaches, and rural areas. RC airfields often have airspace clearance sorted.
Ask for guidance as you're learning airspace rules. It connects you to mentors and safe practice fields while avoiding illegal flights.
FPV involves goggles, real-time flying, and speed. Racing, freestyle tricks, and cinematic maneuvers take the spotlight.
It's a different skill set from conventional drones, similar to gaming rather than photography.
Perfect for those who find the thrill of flying is the main attraction.
Slow, deliberate flights around buildings and properties define this niche. It's a direct commercial use of drones.
Profitable for photographers in real estate or construction.
A Part 107 license (US) is essential if charging clients.
Drones fly a programmed grid while software creates 3D models or topographic maps.
Ideal for those interested in GIS or surveying.
Mid-range drones suffice; software subscriptions are the main expense.
Forget long lenses; positioning is key in drone-based nature photography.
Great for outdoor lovers used to remote settings.
Drone noise can disturb wildlife, rewarding patient observers.
Standard settings struggle in low light. Managing sensor limits and motion blur is tough.
Best for photographers who love a technical challenge.
Most drones handle this, but larger sensors like Mavic 3 make it easier.
For something adjacent, see Travel Photography.
Drone photography is about mastering the angle, not just altitude.
The one skill that separates flat drone shots from genuinely arresting ones is reading shadow geometry before you fly.
Start on the ground. Notice where shadows fall. Identify how they create depth or remove it. Decide your flight path and timing before you're airborne and burning battery.
Understanding shadow geometry means targetting specific coordinates at precise times.
Without it, your shots might be technically perfect but feel emotionally empty. Correct exposure doesn't guarantee drama.
The photographers whose work stops thumbs aren't luckier with weather. They pre-visualized the shadow lines before takeoff.
Scout the location on foot.
Walk it at the time you plan to fly.
Observe shadow direction, length, and its impact on your subject.
Use apps like the Photographer's Ephemeris or Sun Seeker.
Pin your location and check shadow direction hour by hour.
Block your fly window around the best 20 minutes.
Choose one geometric subject and explore it.
Fly three times at different sun angles.
Compare the exports side by side.
You'll see the difference so clearly you can't unsee it again.
Try six sessions over 30 days, aiming for about one-and-a-half flights per week. This will help you understand if you're genuinely interested in the skill or just the initial thrill.
If you find yourself replaying footage the same night and using Google Maps to plan new locations, that's a strong sign. You're hooked. Look into upgrading your drone and consider studying for your Part 107 certification to go pro.
If everything felt just 'fine', you might love the idea more than the actual activity. It's worth trying once more, but don't be surprised if an extended trial doesn't change your feelings.
If the pre-flight procedures seemed tedious and a windy day felt more frustrating than thrilling, take that to heart. Handling equipment is a big part of this hobby and it's not for everyone.
The one sign you shouldn't ignore
You pause when watching aerial shots, not for the scenery, but because you're curious about the camera movement. When you're calculating flight paths just by looking at a scene, that's the kind of instinct that fits this hobby.
If drone photography feels like too much to commit to right now, browse what to do when you're bored for lower-stakes ideas.
Entry-level drones suitable for photography start around $300–$500, while professional-grade drones range from $1,500–$3,000+. Factor in additional costs for spare batteries, memory cards, a carrying case, and potential training or certification, which could add another $200–$500 to your initial investment.
In most countries, including the US, you need to register your drone and obtain a commercial or recreational license if you're flying for any purpose. The FAA Part 107 certification in the US requires passing a test and costs around $175, though it's only mandatory if you plan to profit from your photos.
Basic piloting skills can be learned in 2–4 weeks of regular practice, but developing strong composition and lighting skills typically takes 2–3 months. Mastering advanced techniques like cinematic movements and post-processing can take 6–12 months of consistent practice.
Photography drones feature high-quality stabilized cameras with larger sensors, adjustable aperture settings, and RAW shooting capabilities, while consumer drones prioritize ease of use with basic auto-focused cameras. Professional drones also offer longer flight times, better wind resistance, and more manual control over exposure.
No—most regulations prohibit flying over people, buildings, and restricted airspace, and you typically need permission to fly in populated areas. Wind speeds above 25 mph can affect stability, and flying in rain or extreme cold reduces battery performance and risks equipment damage.
Most consumer drones fly for 20–30 minutes on a single battery, while professional drones can stay airborne for 40–60 minutes depending on weight and conditions. Battery life decreases in cold weather and with heavier payloads, so having 2–3 spare batteries is standard practice.