BoredomBusted — Find Your Next Favorite Thing To Do
Discover hobbies, activities, places, and ideas that spark joy. Whether you're looking for something creative, active, social, or relaxing, BoredomBusted helps you find your next favorite thing to do.
Browse our hobby guides, things-to-do collections, and place ideas to never be bored again.
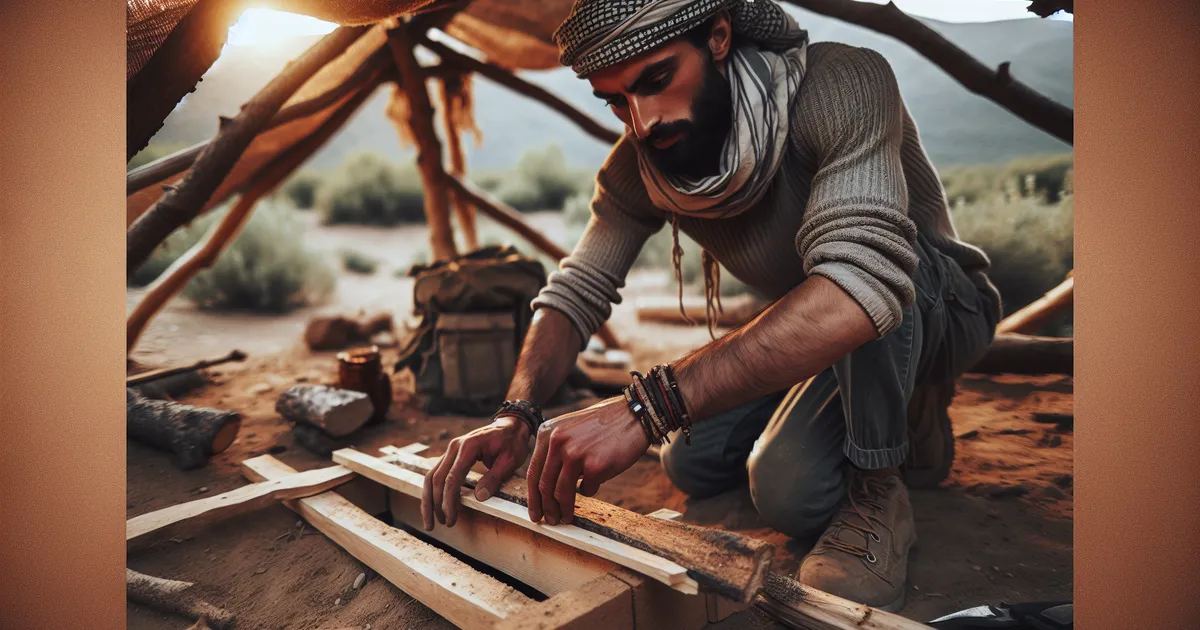
Shelter building isn't just about survival; it’s an immersive puzzle where each challenge turns chaos into creative triumph.
Getting started with shelter building as a beginner involves learning to create functional outdoor structures using natural or minimal materials, such as debris huts and lean-tos.
You read the environment, select a site, and layer materials for insulation and weatherproofing.
Unlike camping, there's no gear dependency – the skill is the equipment.
In shelter building, hobbyists select a natural outdoor site and construct temporary shelters using materials like branches, leaves, and tarps, engaging in hands-on activities such as gathering and arranging materials, propping structures, and testing their durability against environmental factors.
This hobby fosters a flow state through adaptive problem-solving and immediate feedback as practitioners match rising skills against unpredictable conditions, providing a sense of accomplishment from transforming raw materials into functional shelters.
You think building a shelter involves piling up branches until it resembles a tent. Maybe you've caught a survival show or two, believed you'd improvise when necessary, and then just moved on.
That assumption is why most people's first attempt collapses within an hour. Shelter building is about recognizing patterns under pressure, like reading terrain and understanding wind direction and materials. The real skill is insulation logic. A poorly insulated shelter in 50°F weather can be more dangerous than having no shelter at all. You might reach for big branches and loosely piled leaves, thinking they look sturdy.
Debris thickness, not branch size, is what keeps you warm through the night.
A wilderness instructor once had a group test two shelters. One was made from thick logs the students chose, the other from knee-high debris they dismissed as "just leaves." At 2 a.m., they checked both with a thermometer. The log structure matched the outside temperature. The debris shelter was 20°F warmer, a fact no one believed until they saw it.
So, the issue isn't just what structure to build. It's all about what to prioritize and why order matters more than design.
Shelter-building feels easy until you're standing in the woods with just a pile of sticks. The videos made it seem simple, but now those sticks aren't cooperating, and your hands seem lost. The gap between watching and doing is wider than you think, and it takes real effort to bridge it.
In the beginning, debris and sticks look manageable enough. You start with confidence, expecting the frame to hold as it does in videos. But reality sets in as debris proves heavier, sticks refuse to cooperate, and your frame leans or collapses. You're cold before you're done, and the debris never seems to pile up as high as it should.
Most quit before they understand the importance of debris depth. It feels overwhelming when thin layers leak cold and dampness, giving a sense of failure. This isn't failure—it's how you learn. Week four doesn't feel like week one, and enduring the discomfort teaches more than any video could.
Understand this from the start: your debris pile should reach at least arm's length on all sides. Beginners often stop at ankle height, wondering why the spot never warms up when they rest. The next section dives into common mistakes that keep you cold and frustrated.
When to start: Early morning
Duration: 1.5 hours
Cost to try: $0
Success criteria: if you finished without a fully waterproof structure, do session 2.
You find a flat spot and start right in, but there's a step you can't skip.
A massive shelter might seem cozy, but it's a heat drain and construction drag.
Tailor your shelter to fit you—measure six inches past your head and feet and stick to that footprint.
Piling debris on the roof feels secure, but your greatest heat loss is through the ground.
Build your debris bed to at least four inches thick before addressing the roof.
Green wood looks promising until it droops and collapses your structure overnight.
Select a dead, dry branch for your ridge pole—a smaller piece should snap cleanly, not bend.
You think it's finished because it looks solid. But once inside, those hidden drafts find you.
Sit inside with everything closed, feel for drafts, and pack those spots with extra leaf litter.
Shelter building is all about being outside. You'll find yourself in woodland areas, national forests, wild camping sites, and outdoor education centers.
The learning doesn't happen in isolation.
Search Meetup.com for "bushcraft" or "wilderness survival" and your city. These are keywords actual groups use.
On the Bushcraft USA forum (bushcraftusa.com), check the regional subforum. Local practitioners post meetups and skill shares there.
Look up BOSS (Boulder Outdoor Survival School) affiliates or search "primitive skills school" on Instagram for smaller regional instructors.
In the UK, explore the Bushcraft and Survival Skills magazine community and Ray Mears' Woodlore school for courses and alumni networks.
Shelter building skips a centralized body; it's embedded in the bushcraft community.
When joining a session, be honest: "I'm new to this and eager to learn." Honesty helps instructors tailor their guidance to your actual level.
This is survival-style shelter crafted from sticks, leaves, and bark. No tools needed. It's a slower, more physical method, but perfect for beginners who want to learn about insulation without spending a dime.
A single piece of nylon and cordage opens up a world of possibilities. Quick to set up and easy to carry, it's ideal for hikers needing a practical shelter on trips. A quality silnylon tarp costs $40–$120, much cheaper than a tent.
Cutting and lashing branches turns into a freestanding structure. This is for those who've mastered basic shelters and crave construction complexity. Closer to primitive building, it's a step above survival prep.
Snow shelters like quinzhees are a must in snow country, offering warmth beyond most tents. Easy to build with snow and patience, it's great for those wanting to understand cold environments.
Using cardboard, tarps, and found materials, urban/emergency shelters focus less on wilderness charm and more on survival necessity. Perfect for preppers or anyone keen on practical over recreational sheltering. No special gear involved.
Some of the same instincts show up in Fossil Collecting — worth a look if this clicked.
For something adjacent, see Bottle Digging.
Beginners often pour their energy into collecting materials—sticks, bark, dry leaves.
The shelter never improves because materials aren't the real issue. It's about reading the site.
This one skill is micro-site selection—the knack for spotting where cold air gathers, identifying rainwater paths, and discerning true wind directions.
It's not just about a flat spot. It's about reading the land like a drainage map.
A structurally weak shelter positioned wisely can provide more warmth and dryness than a perfect build in the wrong spot. Cold air sinks into depressions and pools near cliffs or valley floors. If you build there, no amount of insulation can fix it. Focus on reading the land before improving materials.
Watching the smoke provides clear insight into air movement, helping you confirm or reconsider your spot choice.
Find wet areas, pooled water, and mud to see where water travelled, and consider how this impacts your sleeping area.
Four sessions in 30 days. One session per week, each involving hands-on building, not just theory.
Shelter building forces a direct result - either you craft a standing structure, or you don't. Four tries provide honest feedback.
You're already planning your next build before finishing the last. That's not mere excitement – that's a sign the hobby suits you. Start learning knots and natural cordage. Look into overnight trials.
If you complete the sessions but felt indifferent, it typically suggests a mismatch. Attempt a session in a new environment – swap the backyard for the forest or try going solo. If nothing changes, shelter building may not be for you.
Dreading every session signals it's not a fit. Being uncomfortable is normal, but constant dread of the task means it's not your activity. Some people are curious about the concept, but the execution isn't for them.
You're eyeing every branch, tarp, and structure to imagine potential builds. This mental reorganization means you might naturally think like a shelter builder. If analyzing materials happens without finishing a project, you're not just testing a hobby; you're embracing a part of yourself.
For quicker fixes, see our roundup of things to do when you're bored.
You primarily need natural materials found in your environment—branches, leaves, bark, and moss. Basic tools like a knife or axe are helpful but not always required, especially if you're practicing hand-building techniques first. Start with whatever is abundant in your local area.
A simple lean-to or debris shelter can be built in 30 minutes to 2 hours depending on available materials and your experience level. More complex structures like A-frames or log cabins take several hours or multiple sessions to complete.
No experience necessary—shelter building is an accessible skill that beginners can learn immediately. Start with simple designs in safe environments before progressing to more advanced techniques in wilderness settings.
A shelter provides basic protection from elements, while a survival shelter is specifically designed to conserve heat and provide emergency protection with minimal materials. Both use natural resources, but survival shelters prioritize efficiency and speed of construction.
Shelter building can be free if you use only natural materials and learn from online resources or community groups. A basic investment of $30–75 for a quality knife or axe and some instructional guides will enhance your practice, but it's entirely optional.
Public parks, designated camping areas, and private land with permission are ideal practice locations. Check local regulations first, as some areas restrict natural material harvesting or require permits for building structures.