BoredomBusted — Find Your Next Favorite Thing To Do
Discover hobbies, activities, places, and ideas that spark joy. Whether you're looking for something creative, active, social, or relaxing, BoredomBusted helps you find your next favorite thing to do.
Browse our hobby guides, things-to-do collections, and place ideas to never be bored again.
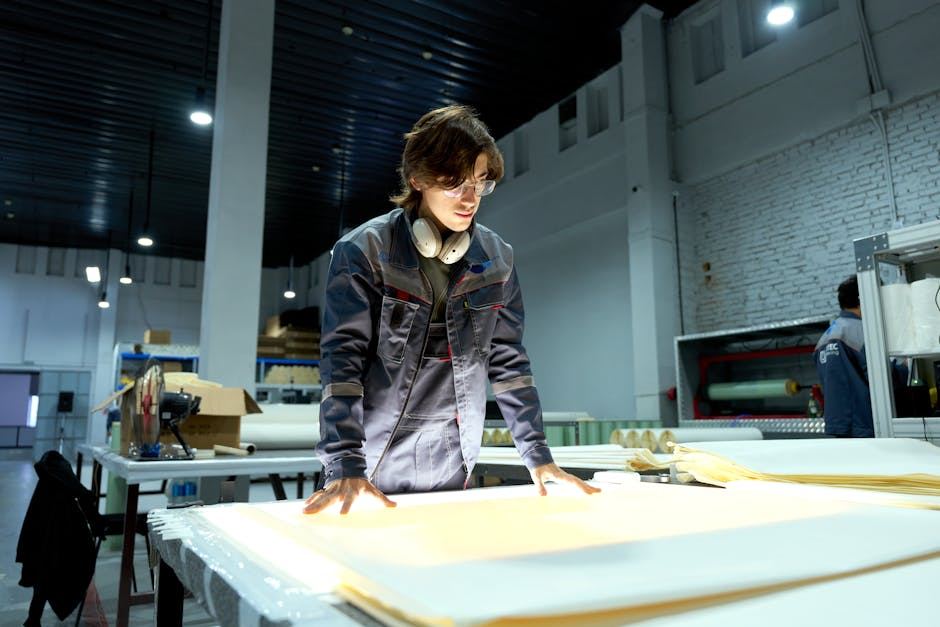
Forget the idea of cute paper cranes; paper engineering is intricate mechanical design using tension and geometry, not just decoration.
Learning paper engineering as a beginner involves understanding the basics of designing interactive paper creations like pop-up books and mechanical cards. Paper engineering is the craft of designing paper that moves, folds, or transforms – pop-up books, mechanical cards, and kinetic sculptures built entirely from cuts and folds.
Unlike origami, you're not just folding a flat sheet; you're engineering tension, geometry, and motion into the paper itself.
Unlike scrapbooking, the structure is the art.
In paper engineering, you design and construct mechanical paper structures like pop-up cards and dioramas by cutting, folding, scoring, and gluing paper components, creating interactive mechanisms that function through precise spatial arrangements and iterative adjustments.
This hobby induces a flow state by requiring focused problem-solving and immediate feedback from the mechanical movements you create, offering a sense of accomplishment as each piece successfully operates and transforms flat sheets into dynamic 3D forms.
You think paper engineering is origami with a fancier name.
Fold a crane, fold a box. Maybe a paper airplane if you're feeling wild.
It's not. That assumption keeps most people from giving it a real shot.
Robert Sabuda's Alice in Wonderland pop-up book contains a structure where eight simultaneous mechanisms fire from a single page spread – each one geometrically timed so nothing collides.
He's not decorating a book. He's engineering a sequence.
The reason this matters for you – as someone starting from zero – is that the entry point is simpler than the ceiling suggests.
That's what the next section is actually about.
Watching someone engineer a pop-up card on YouTube looks smooth. Precise folds, a clean slice, and suddenly a paper cityscape rises. Your first try won't feel like that at all.
Tabs flutter everywhere, nothing aligns, and the card collapses sideways. Confusion reigns over what went wrong.
Understanding why it collapsed changes everything. That's when real progress begins.
Score your fold lines before folding. Use a bone folder or even a dried-out pen along a ruler. Skip this, and your folds might tear or buckle, making you doubt your skills. It's just the paper resisting, not your lack of talent.
Too fiddly, too precise, not worth it. That's what many think by day three. But those who push through find precision is the goal, not the hurdle.
Let's talk about the common mistakes that trip everyone up at first.
When to start: Morning
Duration: 1 hour
Cost to try: $10
Success criteria: If you make a folded paper shape that stands upright and opens or closes without tearing, do session 2.
Beginners assume scissors are the first step. This misstep makes clean folds difficult. Use a bone folder or an empty ballpoint pen to score your fold lines before cutting. Small forms need this precision in scoring.
Copy paper seems like the easiest choice. After all, it's readily available. But for structures, 80–100gsm cardstock works better. Printer paper can barely support itself, let alone anything bigger.
Coating the whole tab with glue seems quicker. Focus on the outer 2–3mm of each tab instead. This avoids bleeding, surface warping, and alignment problems.
Paper has a grain, like wood – most miss this detail. To find it, bend a sheet loosely both ways. Folds should run parallel to this grain to prevent cracking.
Sketching a finished piece is common for first-timers. A quick test with scrap paper can reveal hidden flaws. Real mechanisms only show their quirks in 3D.
Paper engineering takes off with access to surfaces and good lighting. Try home studios, library makerspaces, or community art centers for a start.
For social crafting, check makerspace and community art center listings. These spaces bring people and shared tools together.
Step into a group and introduce yourself. Mention you're interested in structural paper work and learning design mechanisms. That approach shows your seriousness and often connects you to a mentor who will skip the beginner talk.
Origami involves no cutting, no glue – just folds. The focus on constraints makes it the perfect entry for beginners seeking quick success. Simple tools achieve great results.
Kirigami introduces cuts along with folds, allowing for intricate pop-up structures and patterns. This is ideal for those finding origami constraining but not yet ready for 3D challenges.
Pop-up book engineering is all about crafting mechanisms like panels and levers. It's perfect for spatial thinkers seeking a technical challenge. Invest in heavier cardstock for best results.
Cardmaking and dimensional papercrafts focus on precision and layering. Choose this if the beauty of the craft attracts you, rather than challenging puzzles.
Paper sculpture involves creating 3D forms without templates, relying on your spatial skills. It's the ultimate challenge for seasoned folders or artists stepping away from flat designs.
Pencil Drawing is a sibling pursuit and often surfaces the same kind of curiosity.
Understanding grain direction is the secret to successful paper projects.
Anticipating how paper wants to move is the real bottleneck.
Each sheet of paper has an invisible fold axis. Follow this line, and you'll get crisp, clean folds. Against it, you risk buckles and uneven creases. Most beginners build against the grain without realizing it.
Grain alignment makes pop-ups snap open and hold under tension. Without this, adjustments won't save a design doomed by misaligned geometry.
Same design. Two outcomes. Which one happens depends on your understanding of paper's internal structure.
Six sessions over 30 days. About one and a half sessions per week — enough to feel the learning curve actively without letting rust set in.
Hands that start to "talk" to the paper have learned the language. You need about six sessions to see if that's happening, or if it's still a struggle.
When you're planning your next fold before this session is over, that's your brain engaging in a new way. It's more than excitement; it's problem-solving happening in your subconscious. Time to upgrade your tools and embrace it fully.
If every session feels neutral, with no lingering curiosity between them, the process might not be for you. It could be the look of paper objects that appeal more than making them. One more round could confirm this — indifference is a valid response too.
Dreading each session and counting the minutes screams mismatch. Some hobbies just don't fit, and paper engineering's repetitive precision won't change with time. If the basics bored you, the intricate parts won't save it.
The real signal you've found your match? You catch yourself unfolding boxes or cards to study the lines, it's not random. The hobby has crept into your daily thoughts.
Motor issues like arthritis or tremors are genuine barriers. Precision is non-negotiable, and struggle here will feel like a constant burden.
Big, uninterrupted blocks of time don't suit paper engineering. Glue dries, folds interrupt, and progress gets lost if you can't fit in shorter, focused sessions regularly.
Immediate results aren't part of the early experience. If you need instant successes, the trial-and-error phase of paper engineering will feel endless.
Origami uses folding alone to create shapes, while paper engineering combines folding, cutting, gluing, and other techniques to build dynamic, often three-dimensional structures. Paper engineering is typically more sculptural and architectural, allowing for more complex and functional designs than traditional origami.
You need none—beginners can start with simple pop-up cards or layered designs using basic tools like scissors, ruler, and glue. As you practice, you'll develop the precision and spatial reasoning needed for more intricate projects like mechanical models and architectural structures.
Start with cardstock, specialty papers, a cutting mat, craft knife, ruler, bone folder, and glue stick. As you advance, you might add tools like a scoring wheel, precision knife set, or specialty papers in different weights and finishes.
Simple projects like greeting cards or basic pop-ups take 30 minutes to 2 hours, while intermediate structures may take 3–5 hours. Complex architectural models or mechanical designs can take 10+ hours across multiple sessions, depending on intricacy and your experience level.
The basics are accessible to anyone, but mastering advanced techniques requires patience and practice. The learning curve is forgiving—early projects yield satisfying results even with basic skills, making it rewarding for beginners while offering endless complexity for experienced makers.
Yes—many makers sell custom pop-up cards, architectural models, jewelry, and decorative pieces online or at craft markets. The handmade and personalization aspects make paper engineering products popular for weddings, special occasions, and collectors of unique art.