BoredomBusted — Find Your Next Favorite Thing To Do
Discover hobbies, activities, places, and ideas that spark joy. Whether you're looking for something creative, active, social, or relaxing, BoredomBusted helps you find your next favorite thing to do.
Browse our hobby guides, things-to-do collections, and place ideas to never be bored again.
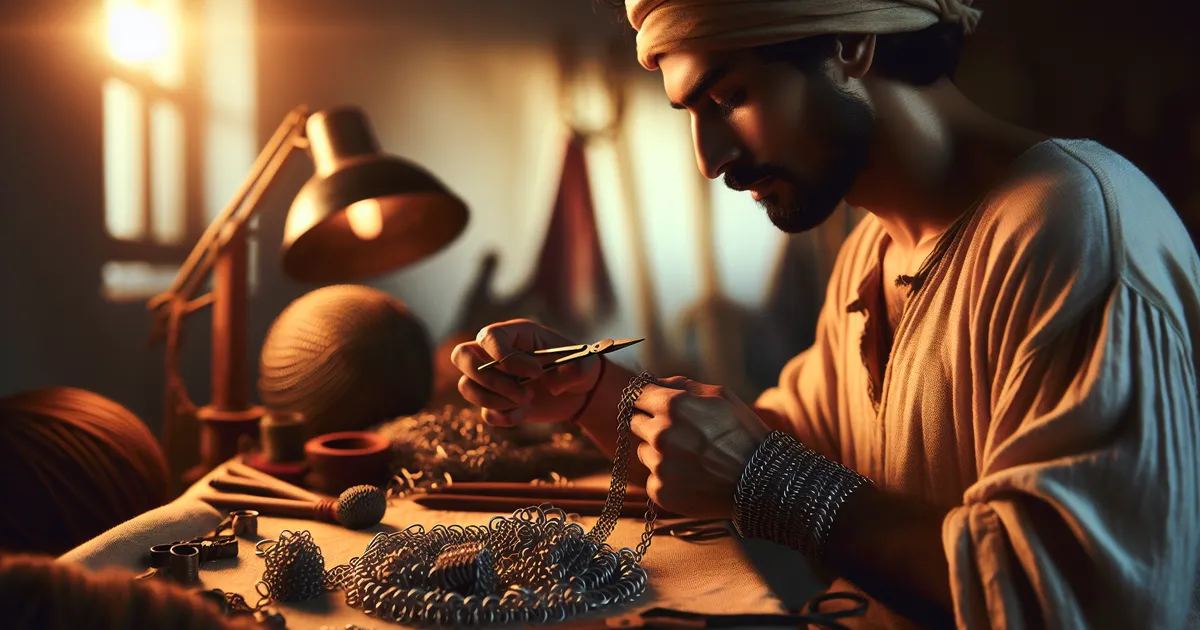
Chainmaille isn't just for costumes — it's a math-driven craft that scales from simple bracelets to intricate pieces, with minimal tools required.
Learning chainmaille as a beginner opens up a fascinating world of creativity, allowing you to connect individual metal rings into intricate patterns for jewelry or decorative art.
Each ring is opened, linked through others, and closed by hand – no adhesives, no shortcuts.
Unlike beading or wire-wrapping, the structure itself is the design – there's nothing to string, no base to decorate around.
In chainmaille, hobbyists weave metal rings into intricate patterns, using two pairs of needle-nose pliers to open, link, and close each ring, often creating wearable items like bracelets or armor. The process involves repeatedly manipulating rings through specific weaves, such as the 4-in-1 European weave or dragon scale, requiring both physical dexterity and pattern recognition.
Chainmaille induces a flow state through its repetitive, low-cognitive-load tasks, allowing practitioners to focus deeply on the rhythmic process while providing immediate skill feedback as each successful ring closure visibly expands their creation. This fosters a sense of accomplishment and creative expression as hobbyists experiment with different patterns and colors, resulting in unique, tang…
You think chainmaille is medieval costume armor or maybe a weekend craft fair gimmick. That assumption is costing you a genuinely satisfying hobby.
Each chainmaille pattern builds your spatial reasoning. The math behind the weave is a workout for your brain, whether you notice or not.
The barriers to entry are low. Two pliers and a bag of rings handle the whole journey. Finish a bracelet in two hours as a beginner, or spend forty hours on a single collar that sells for hundreds.
Karen unwound chainmaille's potential without meaning to. She was a jeweler who started on a whim, just to fill a slow Tuesday. Now, after eighteen months, she runs a part-time Etsy shop. The skill compounds fast – every pattern makes the next one easier and more intuitive.
You're probably already wondering what the first weave should be. That's exactly where we're going next.
At first, working with chainmaille feels awkward. Rings scatter across your workspace. Your grip on the pliers slips unexpectedly. It's easy to feel lost among the chaos.
You will redo the same inch multiple times, and the pattern still won't make sense. You might expect immediate results, but those moments of frustration are crucial. They build the muscle memory that transforms chaos into fluid motion.
Ring gauge matters more than ring size for beginners. An 'easy' weave can feel impossible if your rings are too thin. They collapse and catch, distorting the piece in surprising ways. Trust the specified wire gauge in your pattern for an easier start.
Next up, let's explore the mistakes that can make the process unnecessarily difficult.
When to start: Morning
Duration: 2 hours
Cost to try: $20
Success criteria: If you weave a flat 4-in-1 patch with 16 linked rings that lies flat and forms a neat 2x2-inch square, do session 2.
Newbies often buy rings without considering if the size and gauge fit their weave. This mistake means your rings won't function as intended.
Choose the weave first, then calculate the right aspect ratio. Use this to decide the ring size and gauge before purchasing.
The natural instinct is to twist, but this deforms the wire and leaves visible gaps. These gaps prevent the rings from sitting flush, ruining the look and function.
Move the ring ends past each other, then spring them back. Forward and back, not rotational.
Needle-nose pliers from the hardware store boast serrated jaws for grip. But these jaws leave unsightly marks on metal rings that you can't easily remove.
Invest in flat-nose jewelry pliers with smooth jaws. Use two pairs, one for each hand.
Box chain appears straightforward but involves connections that puzzle beginners. Without experience, understanding how rings interlock becomes overwhelming.
Master Euro 4-in-1 first for muscle memory. Then try 2-in-2 Byzantine or Full Persian.
New crafters often grip tightly in fear the weave will unravel. This excess tension tires hands quickly and makes seats difficult.
Let gravity assist by laying the work flat. Let your mat support the completed section.
Chainmaille barely needs any space. A kitchen table or a corner of a couch is enough to get started.
Most work alone at home, but makerspaces and craft studios host jewelry and metalwork nights. Keep an eye on those for events.
Chainmaille isn't governed by a national body like competitive archery. Instead, it's shaped by craft guilds and regional art centers.
Being upfront about your newness often gets you far. Expressing eagerness usually gets you a loaner kit, starter rings, and guidance for your first project.
Byzantine chain looks intricate but relies on a simple four-step pattern. Great for anyone eager to impress early on without seeming like a novice.
European 4-in-1 is the essential starting point. True beginners should master this before trying fancier designs.
Japanese 12-in-2 forms a sheet-like pattern with complex angle connections. Perfect for making cuffs or bags, but budget for more varied rings.
Full Persian offers a dense, braided look with six rings per unit. Ideal for intermediate crafters who want a show-stopping piece.
Maille + Chainsaw incorporates scales into the design for added texture and color. Great for a bold impact with simpler weaving skills. Just prepare for the need for an extra ring size.
Readers who enjoy this often gravitate toward Wire Sculpture next.
Another variant that pulls from the same roots is Cabinetry.
If the texture of this appeals to you, Diorama Building is built on similar bones.
Most beginners obsess over closing rings perfectly – flush, gap-free, beautiful.
That's not what separates okay maille from maille that actually holds its pattern.
The critical skill is seeing ring orientation before placing the ring. Not after. Not during closing. Before your pliers even touch the next ring, you must understand which way it needs to sit. You infer this from the surrounding rings, not a diagram from memory.
When you master this, you stop backtracking. Misaligned rings in a Box chain or Helm weave aren't a closing mistake. They're a placement issue from two rings back.
Without this skill, you can close every single ring perfectly and still end up with a weave that's twisted, collapsed, or just wrong.
Plan for eight sessions over 30 days, around twice a week and an hour each time. This lets you start your first simple weave, encounter challenges, and figure out what happens next.
Chainmaille's process isn't smooth. The awkward middle phase tests patience. The first few sessions are confusing, then mechanical repetition sets in, and finally, either a flow occurs or it doesn't.
If you find yourself thinking about the next piece while doing other things, your brain is hooked. Start learning a new weave pattern immediately. The transition from one pattern to two helps discover your style.
If you finish the sessions feeling indifferent, that's a clue. The work itself might not suit your needs. Switching things up may not address this – it's more about the nature of the hobby than mastering skills.
Relief at the end of each session is a signal to pay attention to. Constant detail work and potential discomfort aren't just early challenges. They're integral to the hobby experience.
Spotting a chainmaille bracelet and immediately thinking about join techniques tells you something.That pull towards the construction is key. It shows your mind is already in the maker's groove.
Sometimes you just need something for the next ten minutes — that's what things to do when bored is for.
The essential tools are two pairs of pliers (flatnose or chainmaille pliers), wire cutters, and jump rings or wire to cut your own. Most beginners start with 16-20 gauge wire and aluminum or copper rings, which are affordable and forgiving to work with. A ring mandrel and wire gauge ruler are also helpful for creating consistent jump rings.
You can start with a beginner kit for $20–$50, which includes basic pliers, jump rings, and wire. Individual quality pliers typically cost $15–$30 per pair, while materials (wire and rings) run $10–$20 for several months of practice. As you progress, investing in specialized tools and precious metals will increase costs, but initial entry is very affordable.
Most people can learn a simple weave like European 4-in-1 within 1–2 hours of hands-on practice with basic plier technique. Building confidence and speed with 3–4 different weaves typically takes 2–4 weeks of casual practice. Mastering intricate patterns and developing a consistent rhythm usually requires several months of regular engagement.
Chainmaille has a low barrier to entry—the basic mechanics are simple enough for most people to grasp quickly without prior jewelry experience. The main challenge is developing finger strength and hand coordination, which improves naturally with practice over a few weeks. Once you understand the fundamental open-and-close ring technique, progressing to complex weaves becomes much easier.
Beyond bracelets and necklaces, chainmaille artists create earrings, rings, belts, and decorative armor pieces. You can also make keychains, phone charms, and historical reenactment gear depending on your skill level and material choice. Some advanced makers produce custom commissions for fantasy costumes, LARP events, and museum-quality historical reproductions.
Aluminum and copper are ideal starter materials because they're affordable, lightweight, and easier on your hands than steel. 16-20 gauge wire in these metals has enough structure to hold weaves but won't cause fatigue from constant opening and closing. Once you're comfortable with technique, you can upgrade to sterling silver, bronze, or stainless steel for more heirloom-quality pieces.