BoredomBusted — Find Your Next Favorite Thing To Do
Discover hobbies, activities, places, and ideas that spark joy. Whether you're looking for something creative, active, social, or relaxing, BoredomBusted helps you find your next favorite thing to do.
Browse our hobby guides, things-to-do collections, and place ideas to never be bored again.
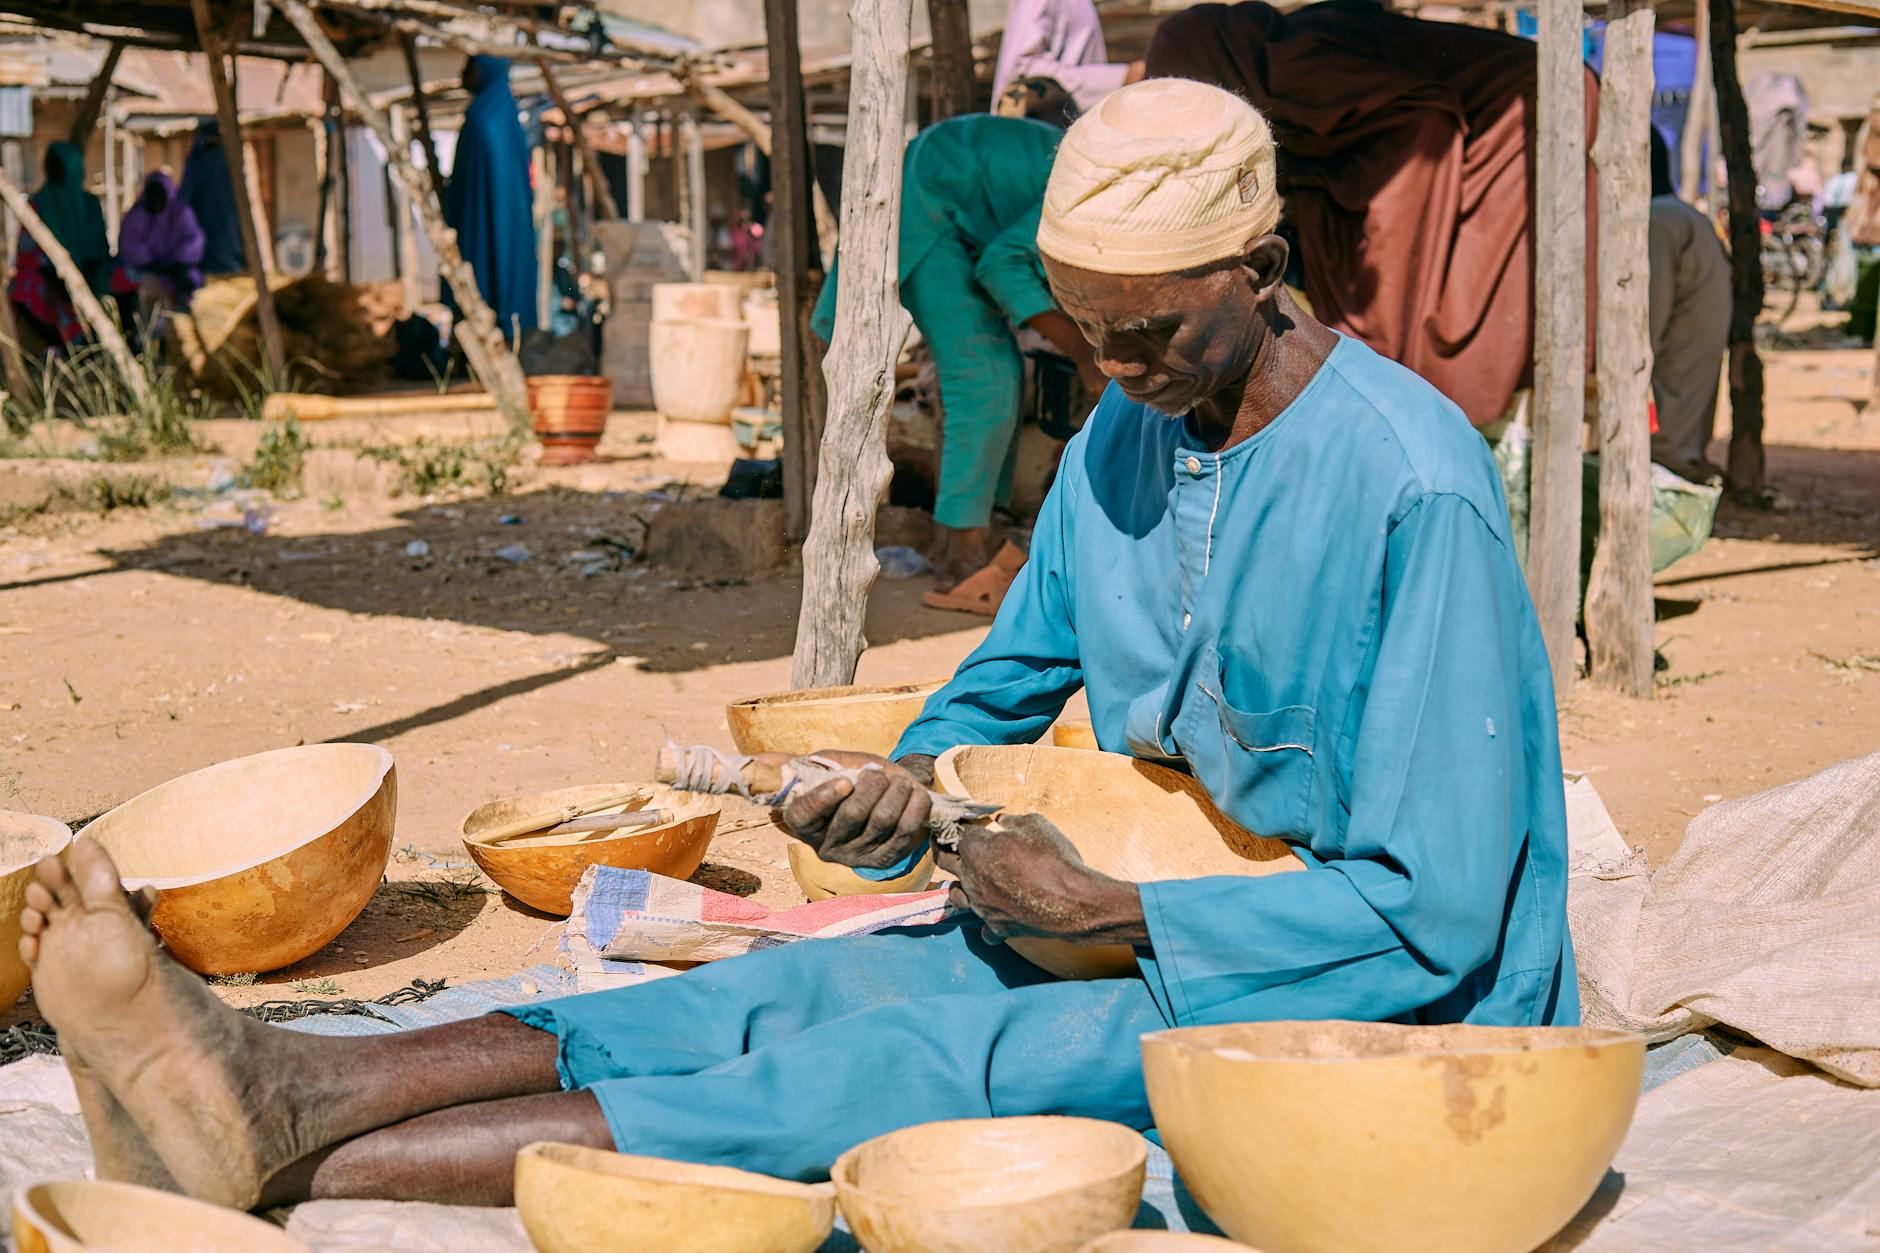
Bowl carving isn't just about crafting vessels—it's an intensive lesson in patience and adaptability, where even mastery means continually learning from the wood's unique traits.
Getting started with bowl carving as a beginner involves understanding the essential techniques for shaping raw wood into beautiful and functional pieces. Bowl carving requires patience and practice as you learn to manipulate different types of wood and tools. Whether you’re creating a simple fruit bowl or an intricate decorative piece, the joy of crafting with your own hands is incredibly rewarding.
You remove material from a wood blank until a hollow form emerges.
Unlike woodturning, which spins the wood on a lathe, bowl carving is done by hand – slower, quieter, and far more portable.
In bowl carving, you start by selecting seasoned wood and transferring a design template onto it. You then secure the wood and systematically remove excess material using hand tools like gouges and chisels. The process involves hollowing out the bowl, monitoring grain direction, refining the shape, and optionally adding decorative elements, all while maintaining precise tool control and adjusting…
Bowl carving engages you in a flow state through sustained focus on tool control, requiring problem-solving and decision-making, which provides incremental skill feedback and a sense of accomplishment as you see your design come to life.
You think bowl carving is just fancier whittling. A knife, some wood, and a lot of effort until you've got a fruit holder.
That's only part of the story. Carving is about reading wood's language - grain, moisture, species - everything shifts as you carve.
The wood talks back instantly. Each cut gives real-time feedback. You'll know immediately when something's off, no instructor needed.
It's also a patience exercise. Green wood dries and shifts like it'll join the fun if you're not fast enough.
Jogge Sundqvist from Finland carved the same bowl shape for three decades. Not because he couldn't master it, but because the wood, and his skill, kept evolving.
Most assume bowl carving needs $200 in tools for starters. It's not about pricey tools; skip that step and get going. Here's why next.
Watching someone hollow a bowl seems almost meditative. The wood cooperates effortlessly in their hands. In your first session, though, everything feels like a struggle.
You'll fight the wood, the tool, and your own hands all at once.
What seemed like smooth, confident cuts in videos becomes gouges catching on grain. It feels frustrating and slow, with sawdust finding its way into your coffee.
Most of week one is just figuring out how to hold the gouge. Actual carving takes a backseat.
Your early attempts might resemble something bitten by a creature, but there's progress. By the second week, you begin to recognize when the tool is tracking correctly.
Week three is all about grain direction. This challenge transforms from a mystery into something you can read and respond to.
By the fourth week, you'll ruin a piece of wood and care far less than you thought you would.
Always carve with the grain running toward you on the downstroke. Going against the grain doesn't just look rough—it tears fibers, and no sanding will smooth a concave surface with torn grain.
When to start: Early morning
Duration: 1.5 hours
Cost to try: $30
Success criteria: If you carved a smooth hollow with a visibly even rim and oiled the bowl’s surface, do session 2.
Green wood moves in predictable directions – beginners just haven't learned to read it yet. Always carve in the direction the grain slopes downward into the bowl, or you'll tear fibers instead of shearing them.
The floor feels like the obvious starting point, so that's where most people dig in. Establish your wall thickness first, then blend the floor to meet it – otherwise you carve yourself into a bowl that's too shallow to fix.
Bigger blade feels faster, and for a minute it is – until you can't control the exit stroke and take out a chunk of wall. Match your hook knife diameter to the bowl's interior curve, roughly half the bowl's width or smaller.
Beginners set a half-carved bowl aside for a week and come back to a cracked, warped mess. Wrap unfinished work in a plastic bag between sessions to slow moisture loss and keep the wood workable.
A rough interior feels like a sanding problem – it's almost always a tool control problem, and 80-grit paper just turns tearout into a fuzzy smear. Sharpen your hook knife and take one deliberate finishing pass before you reach for sandpaper.
Bowl carving can take place wherever you have a bench and ventilation. A home workshop, a woodworking studio, or a makerspace with shared tools all work.
Some prefer working outside, which is a legitimate choice, not just a compromise.
Search "wood carving club [your city/state]" on the Woodworking Network or the American Woodcarvers directory for indexed listings, not just forum threads.
The National Wood Carvers Association (NWCA) has a chapter finder at woodcarving.org. It's the closest thing bowl carving has to a governing body in the US.
For local green woodworking groups, try searching "spoon and bowl carving [your city]" on Meetup.com. Bowl carvers often gather there.
Post in r/woodcarving with your location. Members frequently point out local clubs and carve-alongs not listed in search results.
Walk into a meeting and say: "I'm brand new – I have no tools yet and I'm trying to figure out what to buy first." This opens doors to tool loans, practice wood, and someone correcting your grip. Avoid three months of bad technique alone.
Not every bowl carving path starts the same way. Here's what distinguishes them and which one deserves your attention first.
This is the traditional approach: you carve wood that's freshly cut and still holds moisture. Green wood is dramatically easier to cut than dried wood. Your tools glide instead of grind. Best for beginners who want results fast without fighting their material. Expect to source wood locally (often free) but factor in drying time if you want a finished piece that won't crack.
You're working with kiln-dried or fully seasoned lumber from a hardware store or supplier. The wood is harder, which means more tool control is required and fatigue sets in faster. Best for people who want predictable, stable material they can buy on demand. Dried hardwood blanks run $10–$40 depending on species and size.
This isn't hand carving – it's spinning the wood on a lathe while you shape it with gouges. The results look polished immediately, but the learning curve and equipment cost are completely different. Best for people who already have access to a lathe or are ready to invest $400–$1,000+ in one.
Technically adjacent – you're using the same hand tools and green wood logic, just on smaller, more forgiving forms. If a bowl feels intimidating, start here – a spoon teaches every cut you'll need, in half the time. Best for absolute beginners who want a low-stakes entry into the craft.
You start with a pre-turned or roughed-out bowl blank, then add decorative geometric patterns by hand. The shaping is already done – this variant is purely about surface design and detail work. Best for carvers who already know the basics and want to develop ornamental skills.
If this resonates, Relief Carving explores a similar direction.
Chip Carving is a sibling pursuit and often surfaces the same kind of curiosity.
If the texture of this appeals to you, Spoon Carving is built on similar bones.
Reading grain direction is the real game-changer in woodturning. It's not just about the tools or the wood itself.
Grain direction awareness means knowing exactly how the fibers run at each spot on the bowl. Always cut with these fibers, not against them.
It's not about the whole piece of wood; it's about that specific curve, that specific zone, right now.
Get the grain direction right, and you'll move from tearing to slicing. The result? Cuts that need minutes of sanding, not hours.
Without understanding this, sharper tools won't help you.
Every pass on a bowl's curved interior can switch grain direction several times. It's a constant read-and-adjust process.
Commit to six sessions over 30 days, about one and a half per week. This schedule is crucial to move beyond initial blisters and fumbling, and truly understand what this craft demands.
You're constantly making time to carve. Lost in shaping a spoon handle, time slips away. That's the hint—success isn't about skill, but savoring the tangible puzzle of craft. It's time to seek out green wood sources and a quality hook knife.
You've completed the sessions and feel neutral. This indifference might mean the appeal lies more in creating than in wood itself. Try a session in leather tooling or stone carving to see if another tactile craft suits you better.
Watching the clock each time signals the truth here. The repetitive and slow nature of bowl carving can feel tedious before rewarding. Some people thrive on this challenge; others prefer a different pace. Trust this insight from your sessions.
You find yourself examining wooden bowls everywhere. Checking tool marks, grain direction, and evenness without ever having made one speaks volumes about your interest.
If bowl carving doesn't feel like the right fit, our hobbies list has plenty of other directions to try.
If nothing here clicks, our guide to what to do when bored covers shorter, lower-commitment options.
You'll need a basic set of carving gouges in various sweeps, a carving knife, a mallet or wooden hammer, and a sharpening stone to keep your tools sharp. Many beginners start with an affordable beginner's kit ($30–$80) that includes the essential gouges and handles, then expand their collection as they develop their skills.
A small decorative bowl typically takes 8–15 hours of carving time spread across multiple sessions, while larger or more detailed pieces can take 20–40 hours or more. Your timeline depends on the bowl's size, complexity, wood type, and your experience level.
Softwoods like basswood, butternut, and white pine are ideal for beginners because they're easier to carve and forgiving of mistakes. Hardwoods like cherry, walnut, and maple produce more durable, refined results but require sharper tools and more skill to work with.
Bowl carving has a gentle learning curve—you can create satisfying results within your first few projects if you start with simple designs and soft wood. The key is learning proper tool technique, maintaining sharp tools, and understanding grain direction; most beginners develop competence within 5–10 practice bowls.
A basic setup costs $50–$150: a beginner's carving kit ($30–$80), wood blanks or found materials (free to $30), and sharpening supplies ($20–$40). After your initial investment, ongoing costs are minimal—mainly replacing worn tools and purchasing new wood.
Yes—bowl carving requires minimal space and no electricity, making it perfect for a kitchen table, garage corner, or outdoor spot. You'll just need a stable work surface, good lighting, and a small area to store tools and wood shavings.