BoredomBusted — Find Your Next Favorite Thing To Do
Discover hobbies, activities, places, and ideas that spark joy. Whether you're looking for something creative, active, social, or relaxing, BoredomBusted helps you find your next favorite thing to do.
Browse our hobby guides, things-to-do collections, and place ideas to never be bored again.
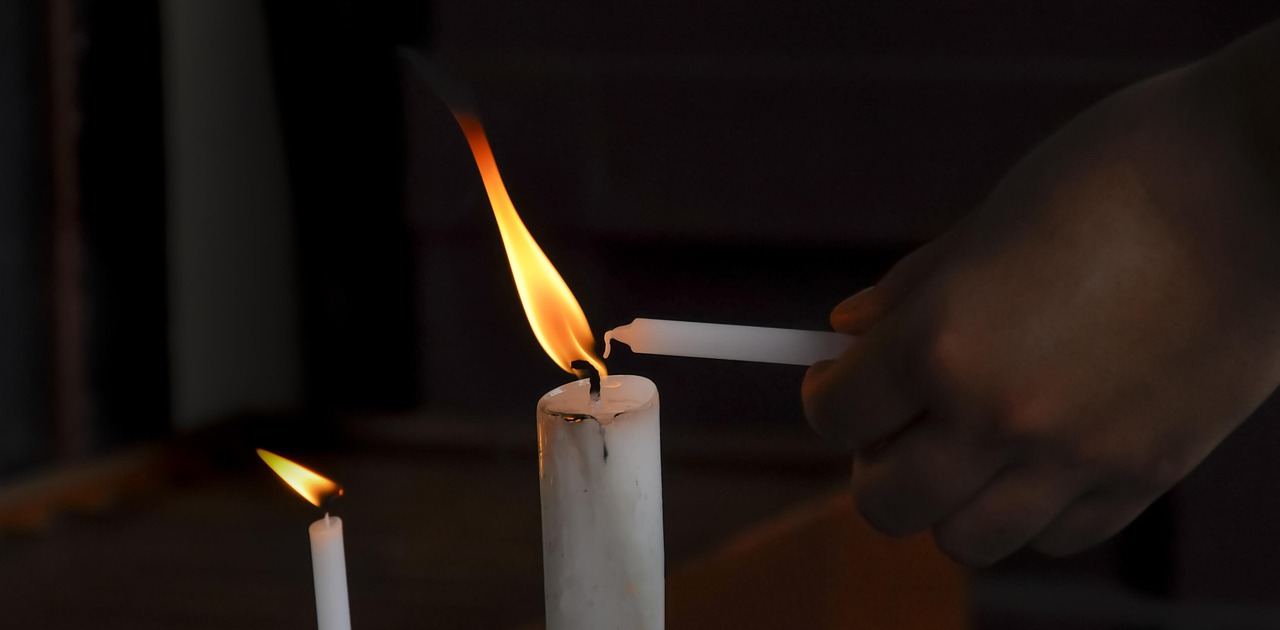
Candle making isn’t just a fun party craft—it's a technical skill where chemistry dictates pour temperatures, wick sizes, and scent retention.
Getting started with candle making as a beginner is a rewarding way to blend creativity with practicality, transforming simple materials into delightful handcrafted items. Candle making is the craft of combining melted wax, fragrance, and a wick to create a functional, burnable object.
You melt wax, add scent and dye, pour it into a container or mold, and let it set.
Unlike soap making or resin art, the end product gets used up – which means you're always making more.
In candle making, you melt wax, mix in dyes and scents, secure wicks, and pour the mixture into containers, letting it cool to create custom candles. This hands-on process involves precise temperature control, careful measurement of ingredients, and creative experimentation with colors and fragrances to produce unique, functional candles.
Candle making induces a flow state through skill feedback loops, where precise temperature control and troubleshooting techniques provide immediate responses to your efforts, fostering a sense of accomplishment and creative expression as you experiment with scents and designs.
You think candle making is a craft fair hobby. Something you do once at a birthday party, go home smelling like vanilla, and never think about again.
That assumption is costing you one of the most genuinely technical creative skills you can learn at home.
Picture a chandler making a soy candle for a wide-mouth jar. They'll test three different wick sizes before committing to a batch. Not because they're perfectionists. Because a wick that's too small drowns in its own wax pool, and one too large burns hot enough to crack the glass. This isn't craft store territory – that's materials science with a nice smell.
The gear required is simpler than you're imagining. It's just a matter of knowing what pieces count.
Next, you'll see exactly what you need to start without wasting money.
The first thing that strikes you about candle making is the reality versus the tutorials. Those videos show warmth, perfect pour shots, and flawless finishes. Your debut session, though, feels like melted wax chaos. The wick tilts off-center, and the surface resembles a moonscape.
Your first candles are lessons disguised as failures. The gap from tutorials to reality seems huge, but it narrows with each goof. Every error teaches you what tutorials gloss over.
The initial sessions will humble you because wax isn't intuitive. You'll eyeball fragrance ratios, guess wick placement, and dismiss cure time. Confusion reigns. Tracking pour temperature and fragrance throws becomes second nature, transforming your results.
Keep patient notes and embrace the errors. Week one's too-hot or too-cool pours, sinkholes, and frosting mishaps teach you more than successes. By week two, logging variables like temperature and wick size brings clarity. One well-done candle in week three tempts you into more ambitious projects. By week four, you grasp the necessity of cure time.
Forgetting that fragrance load is chemistry, not guesswork, leads to common failures. Most container waxes cap at about 10% fragrance by weight. Crossing this threshold results in pooled oil and potential hazards. Always weigh both wax and fragrance patiently. These are not failures but stepping stones to skillful candle crafting.
Curious about the next common pitfalls? Let's explore the mistakes that can sabotage your progress.
When to start: Morning
Duration: 1 hour
Cost to try: $15
Success criteria: if you completed the candle without spilling wax everywhere, do session 2.
Eyeballing wax temperature ruins your candles. It affects scent throw, surface smoothness, and how well wax bonds to the jar.
More scent isn't better if it turns your candle into a fire hazard. Wax can only bind a certain amount of oil.
Your candle might look ready but doesn't reach its full potential yet. The scent throw truly develops after proper curing.
Grabbing any wick leads to tunneling or smoking. Wick size is critical and varies with different jars.
A great-smelling oil might not work in a candle. If the flash point is too low, it evaporates before doing its job.
Most candle making starts at home. A kitchen table or garage workbench is all you need.
For guided practice, visit craft studios or maker spaces. They often have beginner classes.
Start with Meetup.com: search "candle making" plus your city. Groups meet regularly and share resources.
When joining, ask "What wax are you using and why?" It's the question that shows you're committed.
Pour wax directly into jars or tins. No molds needed. Perfect for beginners wanting immediate success. These candles rarely fail, and if they do, they're easy to fix.
Pillar candles stand alone, requiring exact wax formulation and wick sizing. Mistakes become visible cracks or tunnels. Ideal for those who've mastered container candles and seek a sleeker, standalone result. Budget $20–$60 for silicone or polycarbonate molds.
Wax type deeply impacts your candle: scent, burn time, cost, and ease of use. Paraffin is the cheapest, so it's the most user-friendly. Soy needs more fragrance but is great for gifts. Beeswax is premium—expensive but demanding, better left for experienced crafters.
Wax melts don't burn; they melt in warmers. Quick to produce and budget-friendly, they let you experiment with fragrances before making a full candle. Perfect for high-output projects without burn worries. If you have wax and molds, you're already set up.
Roll honeycomb beeswax sheets around a wick. No melting or pouring required, making it great for children or quick projects. Expect limited customization and shorter burn time, but kits cost only $15–$25 and need hardly any extra tools.
Some of the same instincts show up in Origami — worth a look if this clicked.
Readers who enjoy this often gravitate toward Flower Pressing next.
A close neighbor worth considering: Wheel Throwing.
Almost every beginner fixates on finding the perfect fragrance blend for candles, thinking it's the secret to success. In truth, most performance issues come down to one thing: pour temperature. But most don't realize this yet.
You must understand how wax temperature affects everything. A 10-degree difference changes adhesion, scent throw, and surface finish. It's about tracking how the wax cools, when to add fragrance oil, and knowing that each room, container, and wax type requires recalibration.
Master temperature control to fix the real issues. Shrink sinkholes, ensure proper fragrance binding, and achieve smooth tops. Stop patching symptoms like weak fragrance throw and endless repours.
Pour four candles over 30 days. One per week balances learning without rushing or overspending.
You'll experiment with scent, wick, wax, and vessel. By session four, you'll know if filling your space with homemade aroma intrigues or frustrates you.
If you're excited about experimenting with new scent combinations before the last candle cools, candle making has grabbed you. Start investing in larger supplies and focus on refining one element per batch.
If the sessions felt ordinary and evoke no special joy, you might be on the fence. Consider one more pour using a different wax to see if it shifts your perspective.
If the methodical nature felt like a chore, acknowledge that. Candle making suits those intrigued by details, not those enduring them.
The undeniable sign you're a fit: you're not just smelling candles at stores, but also breaking down their ingredients and strength of throw.
Candle Making is a deeper commitment than most boredom cures — for lighter options, check things to do when bored.
A basic starter kit with wax, wicks, fragrance oils, and molds typically costs $30–$60, though you can begin even cheaper with household containers. Once you invest in the initial supplies, the cost per candle is usually $2–$5 depending on size and quality of materials. Many hobbyists recoup costs quickly by making candles for gifts or small sales.
You'll need wax (soy, paraffin, or beeswax), fragrance oils, wicks, a pouring container, a thermometer, and heat source like a double boiler. Containers or molds, colorants, and a pouring pitcher are optional but helpful. Most of these items are available affordably at craft stores or online.
The actual pouring and setup takes 10–20 minutes, but full curing typically requires 24–48 hours before the candle is ready to burn. This waiting period allows the wax to fully set and the fragrance to develop properly, though some candles benefit from curing up to a week.
No, candle making is beginner-friendly with basic steps: melt wax, add fragrance and color, pour into containers, and let cool. Common mistakes like uneven burning or weak scent are easily corrected through practice and minor adjustments to temperature or fragrance amounts.
Soy wax is natural, biodegradable, and burns cleaner and slower, making it better for the environment and longer-lasting candles. Paraffin wax is petroleum-based, cheaper, holds color and scent better, and is easier for beginners to work with, though it produces more soot.
Essential oils can be used but are less ideal than fragrance oils designed for candles—they evaporate faster, provide weaker scent throw, and may not bind well with wax. Fragrance oils are formulated specifically for candle making and deliver stronger, more consistent scents throughout the candle's life.