BoredomBusted — Find Your Next Favorite Thing To Do
Discover hobbies, activities, places, and ideas that spark joy. Whether you're looking for something creative, active, social, or relaxing, BoredomBusted helps you find your next favorite thing to do.
Browse our hobby guides, things-to-do collections, and place ideas to never be bored again.
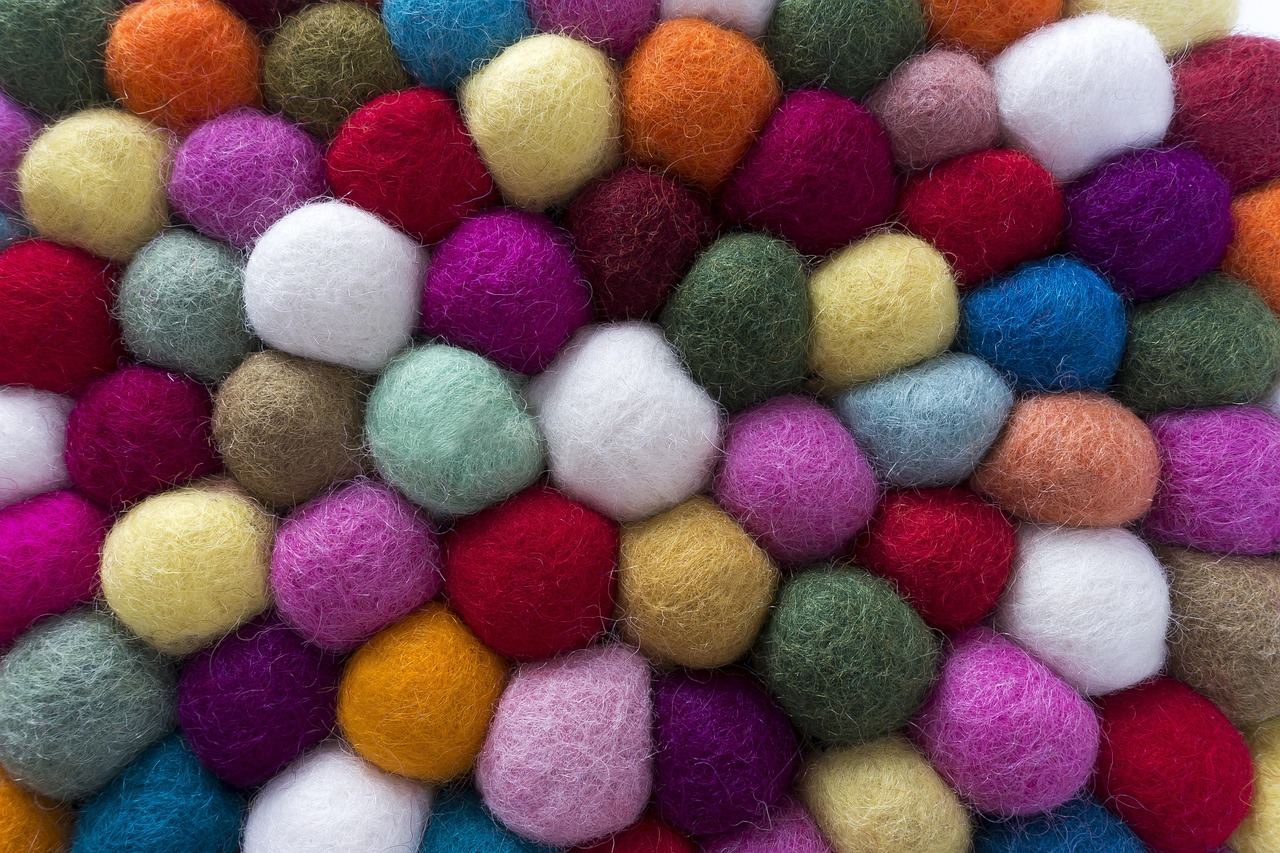
Felting is a rigorous craft that feels more like woodworking than a gentle pastime, challenging you with its physical demands and rewarding attention.
Getting started with felting as a beginner is an engaging process that transforms loose wool fibers into solid fabric. You do it either by agitating them in hot, soapy water (wet felting) or stabbing them repeatedly with a barbed needle (needle felting).
Unlike knitting or weaving, no thread, loom, or interlocking structure is required. The fibers bond through friction and heat alone — which means you can sculpt three-dimensional shapes that yarn crafts simply can't touch.
In needle felting, you repeatedly stab loose wool fibers with a barbed needle, compacting them into 3D shapes or 2D images, starting with a core of wool and layering colored fibers for detail while refining the contours of your creation.
Needle felting induces a flow state through its rhythmic stabbing and shaping, providing instant feedback as wool transforms visibly with each poke, fostering a sense of accomplishment and creative expression while also enhancing social belonging through shared projects and ideas.
You think felting is something grandmothers do with novelty wool kits from craft stores. Soft. Slow. Forgettable.
You're ignoring an intense, hands-on process that demands real skill and attention.
Breaking down the techniques shows how powerful they are. Needle felting isn't delicate work. You're stabbing barbed needles into fiber hundreds of times, feeling the resistance. Wet felting combines soap, water, and pressure. The material fights back until you learn when to push or ease up.
Both methods require patience and understanding because shortcuts won't last.
Tanya, a sculptor, picked up felting to relax. Just six months in, she was crafting detailed animal heads for theater costumes. She learned to use armature wire for structure and sourced raw fleece directly from farms.
She didn't find a new hobby. She found an outlet for how her hands naturally wanted to create.
The tools might seem basic, but there's a catch for newcomers who underestimate them.
It's misleading how felting videos make the process seem. Every move appears smooth, the wool behaves, and the result exudes confidence. But when you sit down to try, your hands won't cooperate just yet.
The wool shifts, the needle misses, and what you create won't look like the online thumbnail.
Fluffy wool sits in front of you. Video is ready to play. Needle in hand. Optimism brewing. Then reality hits – two finger pricks later and your wool still resembles a lumpy cloud.
Ugly. Stabby. Slow.
It's not about coordination. Felting becomes clearer when you've poked the wool so often that you feel resistance change with each jab.
Hold the needle perpendicular. Angled strokes mess up the fibers, causing fuzz instead of pressure and shaping. This frustrates beginners more often than they expect.
When to start: Morning
Duration: 1 hour
Cost to try: $20
Success criteria: if you finished without stabbing yourself or ruining the wool, do session 2.
Beginners often grab any wool, not realizing that wool labeled as superwash or machine washable has been chemically processed to resist felting.
Check labels and avoid treated wool entirely. Raw, untreated wool like Corriedale or merino is ideal for felting.
Many beginners think that more force means faster results. It only leads to broken needles and weak spots.
Use light, consistent jabs. Let the barbed needle do the work.
Using thin foam means your needle hits the table, snapping quickly.
Choose dense foam that's at least 2 inches thick. Upholstery foam is better and affordable.
Stacking thick layers feels efficient. It just creates uneven, sponge-like results.
Work in thin, wispy layers. Ensure each is fully felted before adding more.
It might seem minor, but neglecting this step ruins projects. Wool fibers stitch themselves to the foam, tearing when you finally remove it.
Lift and rotate every 30–60 jabs.
Meetup.com is the fastest way to find local felting groups. Search for "fiber arts" or "felting" and your city. Felting often falls under the broader fiber arts category.
Ravelry's group directory is another goldmine. Yes, Ravelry isn't just about knitting. You'll find active felting communities and local meetup threads there.
Facebook Groups tend to host the beginner-friendly sessions. Try searching for "needle felting" with your state or "wet felting" and your region.
For structured learning, community spaces play a big role. Craft studios and fiber arts centers often organize workshops. Makerspaces can be especially helpful for demos and guidance.
Visit weavespindye.org to find a local guild through the Handweavers Guild of America. These guilds often include felters and have open studio days.
Joining is just the first step. Tell the session leader you're trying felting for the first time. Ask for material advice and a technique demo. They'll appreciate your honesty and help prevent those newbie mishaps.
Wet felting lets you create fabric from wool without needles. Use water, soap, and your hands to mat fibers together into sheets or basic forms. Immediate feedback and a forgiving process make it perfect for beginners.
Stab loose wool with a barbed needle to tangle fibers into shapes. You can craft 3D sculptures, portraits, and intricate flat artwork this way. Ideal if you want to create specific items rather than generic material.
Starter kits with everything you need start at $15–30, including foam mat, needles, and wool.
Blend wool with open-weave fabrics like silk or gauze. This process creates a unique hybrid textile that is drapey and structured.
Great for those proficient in sewing who want to make wearable art.
Build on wet felting by shaping around a foam or plastic form. If you aim for hollow items like bags or bowls, this is it. Remove the form once set.
Turn wool scraps into prefelt sheets using your washer and dryer. It's an unpredictable but easy method for casual experimentation.
Another variant that pulls from the same roots is Needlepoint.
If you want a related angle, Lacemaking is the natural next stop.
If this resonates, Embroidery explores a similar direction.
Most beginners focus on stabbing harder and faster with more force.They believe more repetitions will lead to better results.
The real lever isn't pressure. It's angle.
Mastering needle angle transforms felting. It's about controlling your needle angle relative to the fiber surface. Shallow angles (15–30°) create texture and detail by tangling surface fibers. Steep angles (80–90°) compress and bind deep structure effectively.
One angle for everything is why your pieces fall flat. Frustrations like lumpiness, faded details, or flatness originate from using the wrong angle for the effect you want.
Adjusting your needle angle lets you sculpt in three dimensions. Details stay sharp, shapes hold true, and textures gain purpose.
Otherwise, you're just matting fibers at random and hoping for a decent outcome.
Commit to 6 sessions in 30 days. That's roughly one and a half sessions per week. You'll get past the fumbling stage without it becoming a second job.
If you're eager to start the next project before the last one is even finished, you're hooked. Felting has its claws in you. Start experimenting with different types of wool and tools to see what sparks excitement.
If you feel indifferent after these sessions, that's useful information too. You completed shapes but didn't feel engaged. Try a complex project to see if intricacy makes a difference before deciding to move on.
If you actively disliked it and couldn't wait to put down the needle, that's a strong signal. Some crafts just aren't a match. Consider pivoting to a different hands-on activity that might resonate more.
The one sign it's genuinely clicking: you're pausing to study felted pieces when you encounter them anywhere. That kind of technical curiosity indicates a real connection.
Felting is a deeper commitment than most boredom cures — for lighter options, check things to do when bored.
Project time varies widely depending on complexity—simple felted balls or coasters take 30 minutes to 2 hours, while detailed sculptures or larger pieces can take several hours to days. Beginner projects are often designed to be finished in a single sitting, making it accessible for first-timers.
You'll need wool roving or fleece, needles (for needle felting) or just water and soap (for wet felting), and a work surface like a foam mat or sponge. Most starter kits cost $15–$40 and include everything needed for your first projects.
Felting is beginner-friendly with a gentle learning curve—wet felting requires minimal technique, while needle felting takes a bit more practice to avoid needle breakage. Most people create recognizable pieces on their first try, making it rewarding and encouraging for newcomers.
Wet felting uses water, soap, and agitation to bond fibers together, creating flat or dimensional pieces like scarves and rugs. Needle felting uses barbed needles to repeatedly puncture wool into a desired shape, offering more precise detail and is better for three-dimensional sculptures.
A basic felting starter kit costs $20–$50 and includes needles, wool samples, and instructions. Individual supplies like wool roving ($5–$15 per color) and needles ($1–$3 each) are affordable, making felting one of the most budget-friendly creative hobbies.
Not all wools work equally—100% wool roving and fleece are ideal for felting because their fibers bind easily. Synthetic blends or pre-treated wools won't felt properly, so it's important to buy wool specifically labeled for felting to ensure success.