BoredomBusted — Find Your Next Favorite Thing To Do
Discover hobbies, activities, places, and ideas that spark joy. Whether you're looking for something creative, active, social, or relaxing, BoredomBusted helps you find your next favorite thing to do.
Browse our hobby guides, things-to-do collections, and place ideas to never be bored again.
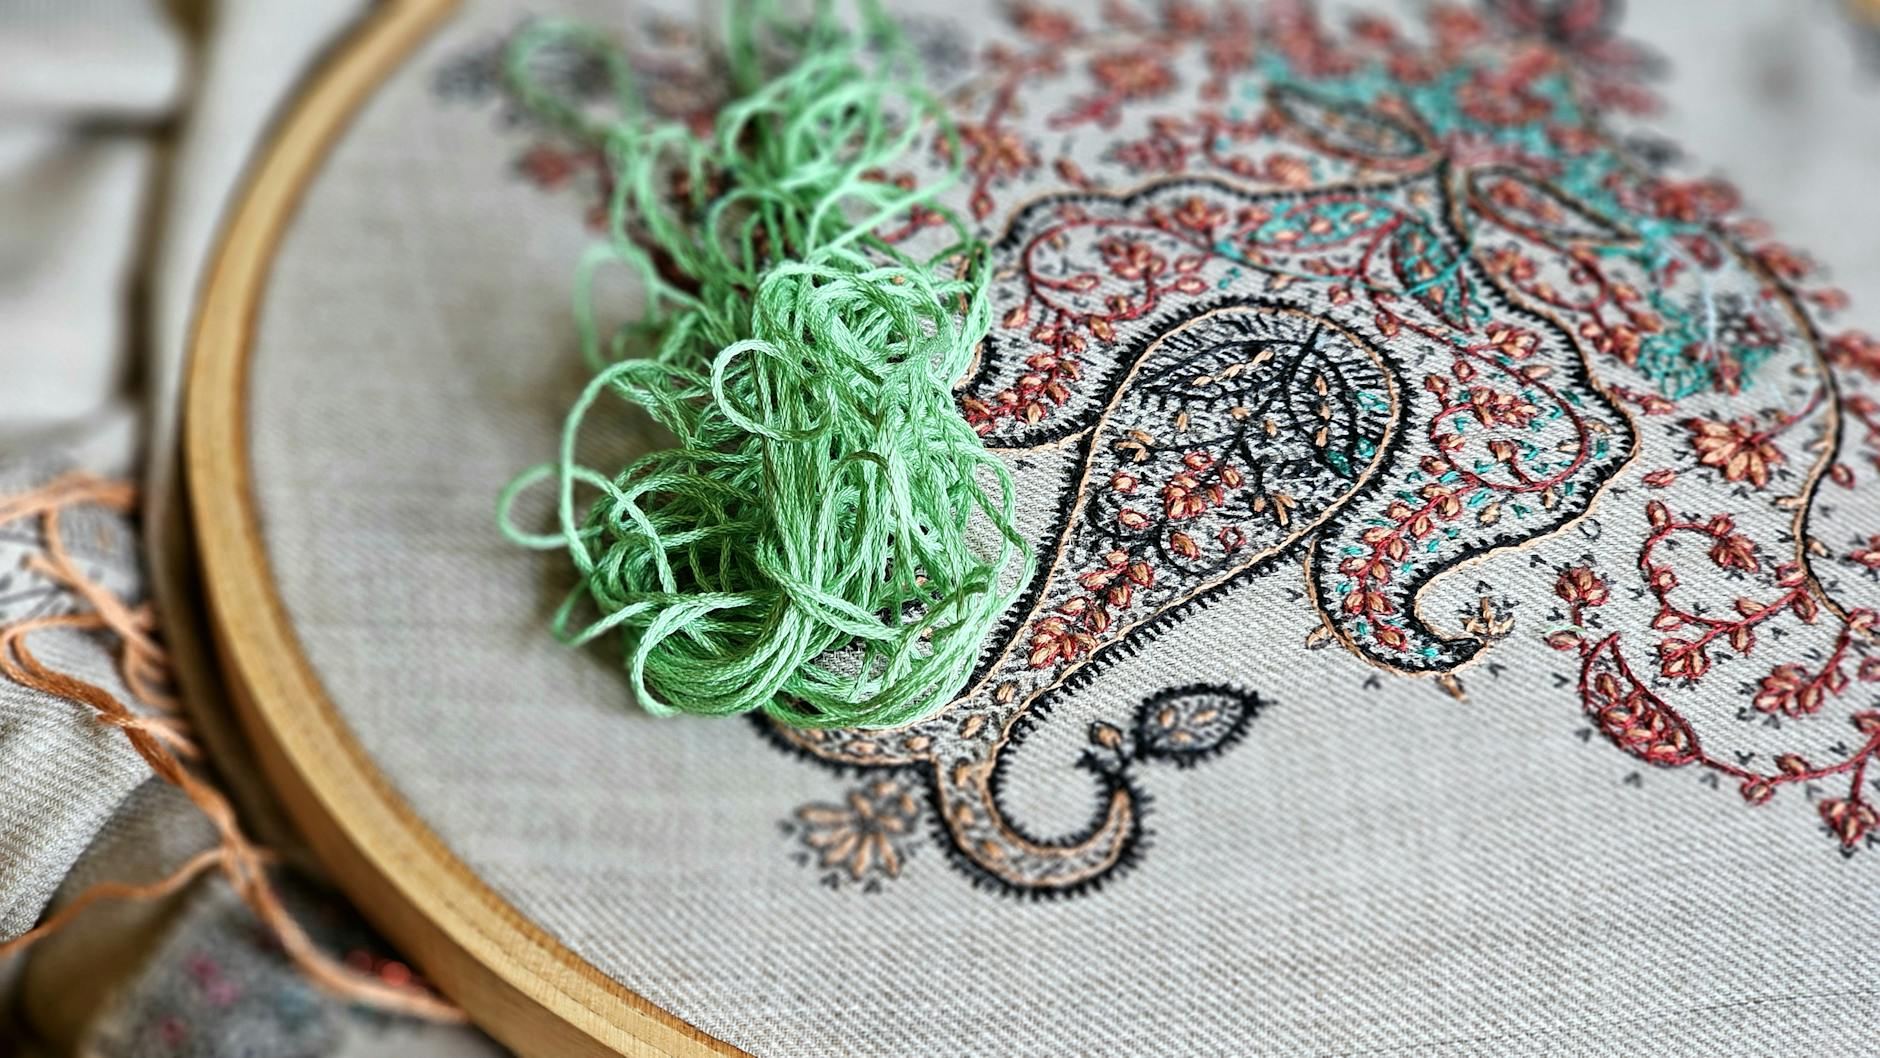
Needlepoint isn't just a soothing pastime—it's a complex geometry challenge that demands precision as mentally intense as surgery.
Learning needlepoint as a beginner involves mastering the art of counted-stitch embroidery on a sturdy canvas, using simple tools like a blunt needle and thread to fill every hole in a grid.
Unlike cross-stitch (two diagonal stitches) or crewel embroidery (freeform on fabric), needlepoint covers the entire canvas background – making it more structured, more portable, and significantly harder to abandon halfway through.
In needlepoint, adults work on a canvas marked with a grid of holes, using a tapestry needle threaded with yarn to create intricate stitched patterns by pushing the needle through these holes in a deliberate sequence, starting with basic stitches and progressing to more complex techniques, while selecting colors and adapting designs.
Needlepoint creates visible, incremental progress as each stitch is completed, fostering a sense of accomplishment and engagement, while its structured progression allows for skill development and creative expression, preventing boredom through continuous challenge and personalization.
You think needlepoint is just an old-fashioned hobby for grandmothers.
That idea is stopping you from exploring a craft that's as mentally engaging as a Sudoku and requires tangible precision.
Each needlepoint project is an intricate puzzle with thread. You're balancing grids, stitch counts, and tension. It's about color choices that shift in perception from close up to across the room — lessons artists know.
Ever stitched a 4-inch floral design?
That small piece holds over 2,000 stitches. Each deliberate mark builds dexterity. Picture the precision of a surgeon or musician — that's what you're developing.
Picking the right tools and materials is crucial.
Starting with the right kit can set you up for success or lead you to frustration.
Let's dive into what you need to start off strong.
Needle skips, thread twists. You pull tight and the canvas puckers back in protest. Needlepoint's first session doesn't feel calming—it feels like a challenge.
Unknotting thread eats up most of your time. This might not be glamorous, but it's how beginners learn. Recognizing the right hole is something your hands will get better at over time.
Around week three, you'll find a rhythm. But then a color change will throw it off again. This is part of the joy of needlepoint—hitting a groove and knowing you'll find it again more easily next time.
The first time you see a small area look truly right, it clicks. This is why people stitch their whole lives. By the fourth session, your hands work with your brain, and it's smoother than you expected if you persevere past the first hard couple of weeks.
Tent stitch and basketweave may look alike upfront, but basketweave keeps your canvas from distorting over time. Choose wisely from the start, and avoid commitment to the wrong approach.
When to start: Morning
Duration: 1 hour
Cost to try: $20
Success criteria: If you stitch one small pattern section with even tent stitches that cover the canvas cleanly and the thread lies flat, do session 2.
Multicolor canvases entice with their beauty but reveal tension issues with every thread color change.
Start with a two- or three-color canvas to get a handle on maintaining even tension before complexity introduces new variables.
A long thread tail seems efficient but often frays, knots, and dulls halfway through use.
Cut thread to 18 inches max for better control and less wear.
Snugging each stitch seems tidy, but leaves the canvas puckered by the third row.
Allow the thread to drop naturally after each stitch, using a laying tool to position it gently.
Beginning in the corner locks you into a single direction before understanding the design's flow.
Start near the center and work outward to maintain even thread coverage and correct early mistakes.
Anchoring with a knot on the back often shows through lighter wools.
Use a waste knot at the front: secure it in the stitching path and clip it once secured.
Needlepoint thrives in cozy corners at home, yet it's more social than you'd think.
Craft studios and needlework shops become community hubs during stitch-alongs and beginner workshops. Local enthusiasts gather and share tactics on weaving threads and handling designs.
Walk in and introduce yourself with honesty: "I'm just starting out – I don't know what I don't know yet."
This straightforward approach gets you a canvas recommendation, thread advice, and often a friendly guide for your first stitches.
Petit point achieves detailed detail with a fine canvas featuring 18 to 40 holes per inch. You need thinner silk or single-strand thread, which adds cost.
Ideal for those drawn to intricate designs and willing to invest time
Gros point offers large stitches on coarser canvas, typically 10-count or below. This approach means rapid progress, so it's perfect if you're new to mix needles.
Great for beginners wanting quick success
Bargello involves using long vertical stitches to create geometric patterns. No curves, just sharp, repeating designs.
Perfect for those who prefer bold, graphic results
Stumpwork brings elements off the canvas. It requires added materials like wire, felt padding, and specialty threads for a 3D effect.
Suited for experienced stitchers seeking sculptural results
Needlepoint on plastic canvas replaces traditional mesh with a sturdy grid. It's adaptable for projects like boxes, coasters, or ornaments.
Great for creating durable, structure-based items
A close neighbor worth considering: Cross Stitch.
For something adjacent, see Applique.
Readers who enjoy this often gravitate toward Felting next.
Most beginners obsess over colorful threads and intricate patterns. They miss one crucial skill: thread tension control. Everything else? Pure decoration.
It's all about thread tension management – consistently pulling each stitch with the same force. Not too tight. Not too loose. Just the same each time.
Consistent tension makes your needlepoint polished, not lumpy. Lumpy stitches aren't a design issue—they're a tension problem. Without properly managing it, your work will warp and twist. Master it, and your pieces lay flat and stay flat.
Once your tension is reliable, your finished projects will consistently look professional. Next, we dive into the types of fibers that can impact your tension even more.
Complete eight sessions in 30 days. Aim for twice a week, each lasting 30–45 minutes, so you can push beyond initial setup and truly experience the hobby.
If you find yourself rearranging your schedule just to do needlepoint, you're hooked. Dreaming about your next stitch color during other activities means something real is here. Go invest in quality thread and tackle a more challenging pattern.
If your only feeling after eight sessions is indifference, acknowledge it. Needlepoint builds on slow progress, and not everyone appreciates achievements they can't see immediately. Extending your trial won't spark the excitement.
If your experience was more dread than joy, that's a clear result. Needlepoint suits those who thrive in quiet, calming environments. It's not fulfilling if stillness is something you just endure.
Catch yourself examining needlepoint pieces in real life—studying framed works or pillows more than necessary? You're not just observing; you're mentally piecing together how they were created.
Hand pain from repetitive strain or arthritis can make detailed work unbearable. Needlepoint's intricate and prolonged nature is not something you can push through without discomfort. The right lighting and a stable workspace are also crucial.
If you live in a cluttered or nomadic space, setup can become a hassle, derailing your sessions before they start. For those who prefer rapid, showy results, needlepoint's slow pace can feel like a grind rather than an escape.
Needlepoint is a deeper commitment than most boredom cures — for lighter options, check things to do when bored.
A basic needlepoint starter kit with needle, thread, canvas, and hoop costs $20–$50, making it an affordable hobby to begin. As you progress, you can invest in premium materials like higher-quality threads and specialty canvases, but initial costs remain low compared to many crafts.
Needlepoint is beginner-friendly once you learn the basic stitches, which take just a few hours of practice to master. Most people can create recognizable projects within their first week, making it an accessible hobby with quick wins that build confidence.
Small projects like coasters or bookmarks take 5–15 hours, while medium designs (pillows, wall hangings) take 20–60 hours depending on complexity and detail. Large pieces can take months, but you'll see visible progress quickly, keeping motivation high.
You'll need a needle, embroidery thread or yarn, needlepoint canvas, a hoop or frame, scissors, and a pattern or chart. Most beginners buy a starter kit that includes these essentials, though you may want to add a thimble and thread organizers as you develop your skills.
Yes, handmade needlepoint pieces are popular gifts and home decor items that sell well on platforms like Etsy, at craft fairs, or through word-of-mouth. Many hobbyists turn their skills into a side income by creating custom designs or personalized pieces for clients.
Common projects include throw pillows, wall hangings, coasters, eyeglass cases, bookmarks, and ornaments. You can also create custom designs for home decor, gifts, or even wearable items like belts and bags once you're comfortable with the technique.