BoredomBusted — Find Your Next Favorite Thing To Do
Discover hobbies, activities, places, and ideas that spark joy. Whether you're looking for something creative, active, social, or relaxing, BoredomBusted helps you find your next favorite thing to do.
Browse our hobby guides, things-to-do collections, and place ideas to never be bored again.
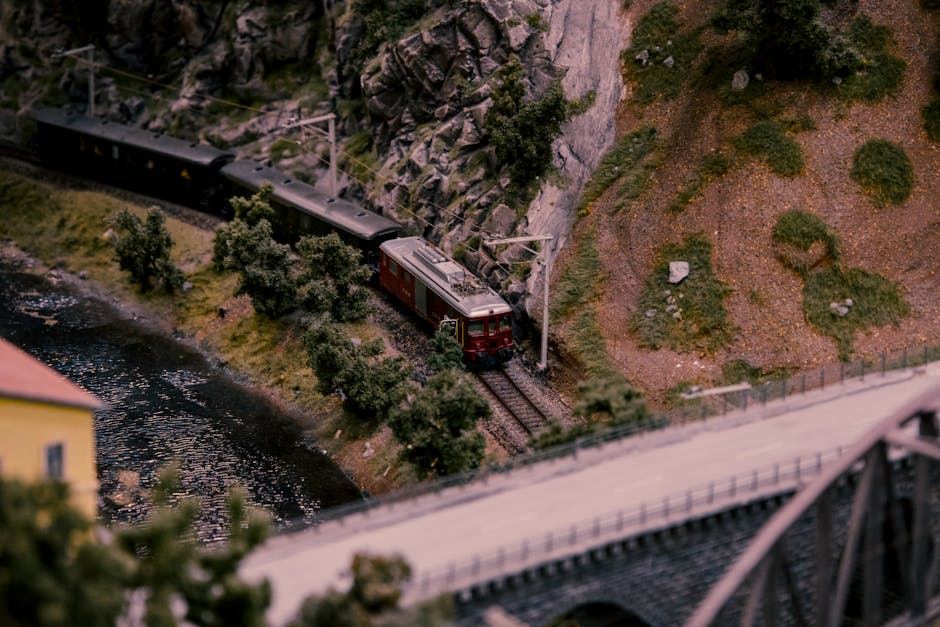
Miniature terrain building isn’t about fancy setups; it’s a quick, heartfelt process that turns your kitchen table into a creative workshop.
Getting started with miniature terrain building as a beginner opens up a world of creativity using everyday materials like foam, resin, and wood to craft small-scale environments—battlefields, dungeons, fantasy towns.
Design, cut, assemble, and detail by hand.
No instruction sheets here—every piece is a unique creation. That's what makes it more like sculpture than kit assembly.
Miniature terrain building involves selecting and preparing materials like foam boards and cardboard, sculpting them into naturalistic landscape features using tools, assembling pieces with glue, and applying paint layers for depth and realism, creating functional terrain for tabletop gaming.
This hobby satisfies a creative drive through artistic decision-making and provides a tangible sense of accomplishment as builders transition from raw materials to detailed, reusable game pieces, fostering both skill progression and a meditative focus during the painting process.
You think this is a hobby for people with too much time and cash, who have set aside a special room called "the war room." You imagine foam carving, resin casting, and fancy airbrush setups.
That assumption is costing you the actual experience.
A hobbyist building their first dungeon tile set with foam board, a craft knife, and brown paint finishes a 6x6 inch room section in an afternoon. It doesn't look like a movie set. It looks like theirs, and that attachment forms quickly.
That attachment fuels the hobby. The next section is where it either evolves into a real practice or fizzles out on the shelf.
Watching terrain builders on YouTube feels easy – smooth cuts, perfect dry brushing, foam obeying every wish. Your first try won't be like that.
Foam ends up everywhere. Glue sticks to fingers. Paint dries unevenly. Your castle looks more like a melted loaf. Sometimes, you have no idea what went wrong, other times you know it exactly and aim to fix it next time.
Cutting foam crookedly characterizes the first week. One small piece takes hours instead of minutes. Repainting a rushed piece reveals how texture paint covers mistakes in the second week. By the third, you land one piece perfectly and can't stop admiring it. The fourth week comes with learning to adjust plans; starting ambitious and redirecting to what's manageable.
The steady progress isn't judged by neat foam cuts – it's whether you can tell when it's time for a sharp blade, give glue a moment longer, or decide a project is done.
Get a hot wire foam cutter or sharp, replaceable craft knife blades before you start. Dull blades drag through foam and make first-timers question everything.
When to start: Morning
Duration: 2 hours
Cost to try: $15
Success criteria: If you built a small terrain piece with glued layers, sanded texture, and a painted surface that stands flat, do session 2.
When everything's glued, tight spots become unreachable. This often leads to bases looking unfinished.Prime and basecoat each piece before assembly. Save the final blending touches for after everything's put together.
Using only static grass or sand results in flat terrain. In reality, ground is layered and varied.Combine a mix of materials. Coarse ballast for rubble, fine sand for dirt, and tufts for plants – apply these in patches for depth.
A perfectly sized chair but a doorway that dwarfs your mini looks odd.Compare each structural element with a miniature before gluing. This avoids awkward scale mismatches.
Spray primer dissolves foam insulation instantly – a nasty surprise if you're unaware.Always seal foam with PVA or Mod Podge first. Let it dry fully, then use a foam-safe spray or brush-on acrylic primer.
Going too bright with drybrushing makes things look chalky, obscuring details instead of highlighting them.Wipe your brush almost dry before starting. Use three light strokes instead of a single heavy pass to enhance contrast effectively.
Most miniature terrain building happens at hobby workshops, game store back rooms, or your own kitchen table.
Mention you're new to terrain and curious about basing and texture. You'll likely get a flood of advice, material tips, and maybe even a foam cutter to try.
Think buildings, ruins, and scatter pieces perfect for Warhammer or D&D. Huge community and lots of references mean you can dive in without hesitation.
Ideal for tabletop gamers wanting their game sessions visually enhanced.
Capture a specific moment in time like a WWII foxhole or Roman market. Accuracy is your primary aim.
Best for detail lovers who enjoy a clear goal and a research challenge.
Think grass tufts and weathered buildings at HO or N scale. Heavily tied to model railroading.
Great starting point for beginners due to refined techniques and standardized materials.
Creating dumpsters, fire hydrants, or benches that add detail to a city board without taking over.
Best for quick wins and a low-commitment entry into terrain building.
XPS foam for cliffs or caverns — quicker and cheaper than buying kits.
Ideal for budget-conscious builders who want dramatic effects without expecting perfection.
If this resonates, Tabletop Skirmish Gaming explores a similar direction.
If you want a related angle, Miniature Games is the natural next stop.
For something adjacent, see Carom Billiards.
For something adjacent, see Carom Billiards.
For something adjacent, see Snooker.
For something adjacent, see Wire Sculpture.
Reading depth transforms how you build. It's about mentally mapping light and shadow on flat material before cutting lines or carving detail.
This isn't about natural talent. It's about training yourself to ask, "How does this look from three feet away?" before thinking, "How does this look in my hand?"
With this skill, your unpainted pieces already command attention. Paint isn't a crutch anymore; it enhances.
Otherwise, the terrain looks impressive up close but strangely flat from afar. You'll think it's poor brushwork, but depth perception is the real issue.
A builder who sees depth will always outshine even the best painters.
Plan for 6 sessions spread over 30 days. Aim for one build night every five days.
You'll know you're hooked if you're thinking about the next piece before finishing the current one. This signals a deep fit – the hobby aligns with how you process details and enjoy visual creativity. Start a project backlog and make the rule to use up existing materials before buying more.
If you felt indifferent, completing projects without a strong emotional response, it suggests that the act of creation isn't the draw for you. Consider whether you'd feel differently if these pieces ended up on a gaming table. If that intrigues you, find a local gaming group to inject more purpose into the builds.
If you actively disliked the process, from the mess to the drying times, listen to that discomfort. Certain people seek immediate feedback, and this hobby isn't set up for that type of reward.
When you pause on a Reddit post to figure out how something was made, not just admire its looks, you're onto something.
Sometimes you just need something for the next ten minutes — that's what things to do when bored is for.
Sometimes you just need something for the next ten minutes — that's what things to do when bored is for.
You can start with a basic kit for $30–$50 that includes foam, sculpting tools, and paints, though serious builders typically invest $150–$300 for quality materials and specialized tools. As you progress, terrain-specific supplies like resin molds, realistic vegetation, and specialty pigments add to the cost, but many hobbyists reuse materials across multiple projects.
Essential materials include foam or clay bases, sculpting tools, acrylic paints, brushes, static grass, rocks, and glue. Many builders also use materials like cork, sand, resin, wire, and natural elements like moss or lichen to add realistic detail and texture to their landscapes.
A simple terrain board can take 4–8 hours across several sessions, while detailed dioramas with custom features may require 20–40+ hours depending on complexity. Most hobbyists work on pieces gradually, allowing time for sculpting, painting, and detailing between sessions.
Not at all—basic terrain building is very beginner-friendly and requires no prior artistic experience. Most new builders master foundational skills like base preparation, dry brushing, and vegetation placement within their first few projects, then gradually explore advanced techniques like water effects or custom sculpting.
Start with a small 12x12 inch (30x30 cm) board or smaller diorama to learn fundamental techniques without overwhelming yourself. Once you understand terrain basics like elevation changes and texture application, you can scale up to larger tabletop battlefields that showcase your growing skills.
Yes, well-built terrain is highly versatile and can work across multiple gaming systems and campaigns with minimal modification. Many hobbyists design modular terrain sections that connect or reconfigure for different scenarios, maximizing the value of their building efforts.