BoredomBusted — Find Your Next Favorite Thing To Do
Discover hobbies, activities, places, and ideas that spark joy. Whether you're looking for something creative, active, social, or relaxing, BoredomBusted helps you find your next favorite thing to do.
Browse our hobby guides, things-to-do collections, and place ideas to never be bored again.
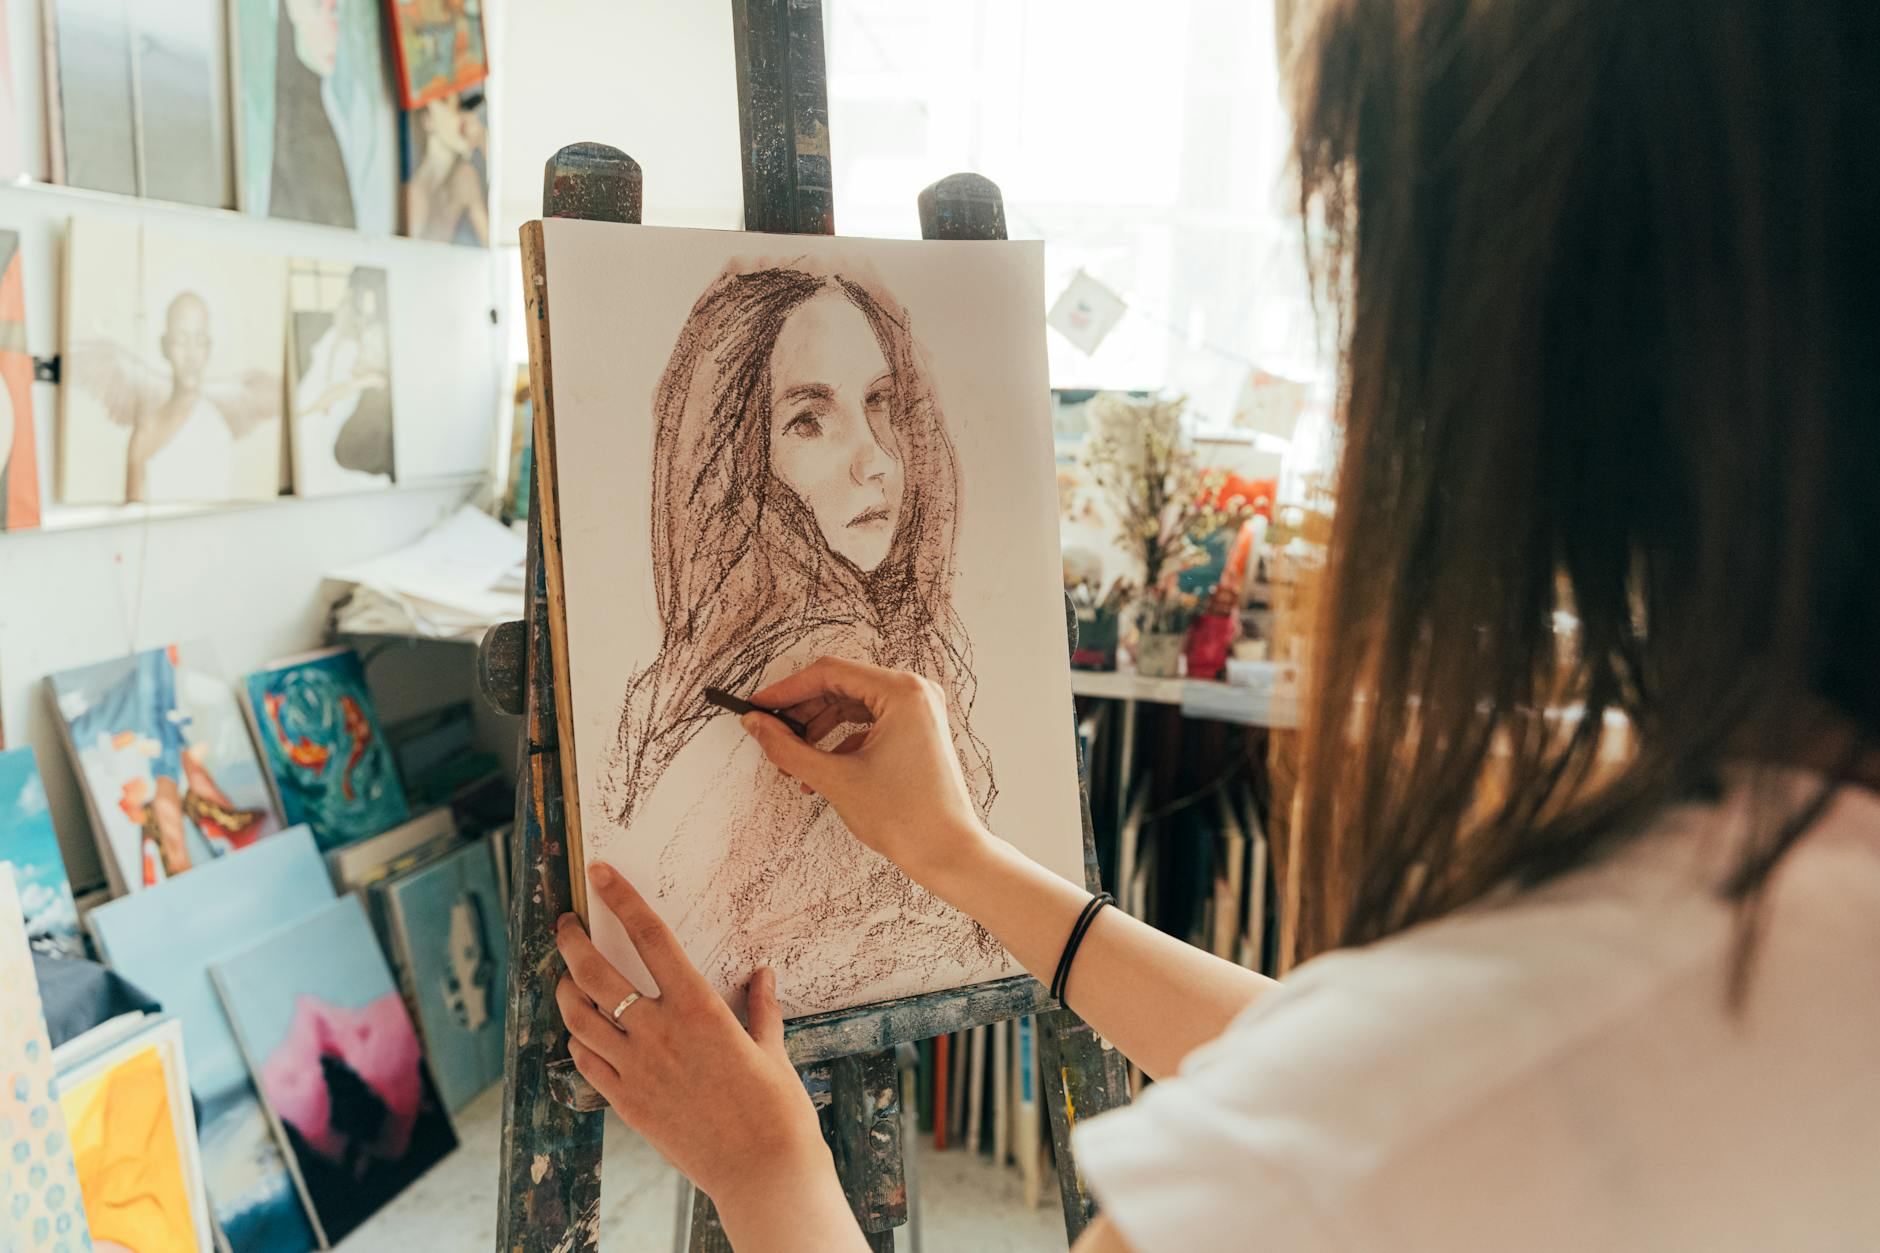
The secret to improving at portrait drawing isn't just practice—it's the immediate feedback loop from comparing your sketches to real references that sparks your flow state.
Learning portrait drawing as a beginner focuses on the fundamentals of capturing a person's likeness on paper with various tools like pencil, charcoal, or ink.
Focus on the face, mastering its proportions, light, and shadow.
Every error stands out, and every improvement feels intensely personal.
In portrait drawing, you engage in focused sessions where you sketch human faces using basic tools like pencils and paper, observing references to accurately plot facial angles and features, refining your sketches through iterative corrections and adjustments based on visual comparisons.
Portrait drawing induces a flow state as you concentrate on the complexities of human features, with immediate feedback from comparing sketches to references fostering skill development and a sense of accomplishment through tangible progress.
You think portrait drawing is about talent. Specifically, the kind you either hatched with or didn't. You've looked at a sketchbook full of lopsided faces and decided the problem is you.
It's not. The problem is that nobody told you what you're actually training.
Portrait drawing isn't an art skill. It's a perception skill – and that changes everything about how you practice it.
Most beginners draw what they think a face looks like, not what they actually see. The eye is higher than you expect. The mouth is lower. The whole face fits in an oval smaller than your hand. Unlearning your mental shortcuts is the real work.
Portraits force you to hold two things in your head at once: the whole and the part.
That tension – zooming in on a nostril, then zooming out to check proportion – is a cognitive skill that transfers to design, photography, even how you read a room.
Likeness isn't the goal at first, and chasing it early is what kills most people's momentum.
The goal is learning to see relationships between shapes. Likeness is just what happens when you get good at that.
A portrait class in Florence once asked students to draw the space between facial features before touching the features themselves – just the negative shapes, the shadows, the gaps.
By the end of the session, every portrait looked more human than anything they'd drawn before.
Seeing faces differently is just the beginning. Soon, you'll see the world in new ways, too.
Watching someone sketch a jaw line in sixty seconds makes it look like muscle memory. Your hand does not have that memory yet. The gap between "I understand how this works" and "my hand is doing the thing" is the whole game.
Your early sketches will surprise you with eyes floating too high and a nose refusing to sit flat. There's a good chance one ear will seem oversized, and that face might just resemble a potato. Eraser marks could scar the paper as you correct endlessly.
Yet slowly, things change. Eyes land in the right half of the skull. Proportions start to feel intentional rather than lucky guesses. You might recognize a likeness that others see too. **The eraser will still be used, but it serves a finer purpose now.
In the first week, drawing eyes first might lead to foreheads the size of billboards. Week two comes with better proportions from pencil measuring, though things might feel stiff like a police sketch. Week three offers hope with a moment of clarity followed by a collapse, a frustrating paradox even worse than total failure. Eventually, by week four, you might create one study you don't hate. **That's the real milestone—accepting 'good enough' as progress.
Before starting, remember this: the eyes sit at the halfway point of the skull. Beginners often place them too high and then wonder why faces feel off. The routine will include times of quitting and returning, quitting again. Those who last through the first month aren't more talented—they're simply willing to stay uncomfortable a little longer.
When to start: Morning
Duration: 1 hour
Cost to try: $15
Success criteria: If you can place the eyes, nose, and mouth in correct proportion on one face sketch and add believable light-and-shadow shading, do session 2.
Beginners often think eyes belong in the top third of the face. Moving them up feels right because the forehead seems too big otherwise. Keep the eye line at the midpoint. Use a horizontal guide at the halfway point of your reference. Resist the urge to shift upwards.
Each feature might look perfect on its own, but they don't fit together. Focusing on parts leads to a disconnected face. Start with the head shape. Mark eye, nose, and mouth lines as guidelines before diving into details.
Random crosshatching only adds texture, not volume. Lines that don't follow the form leave the face looking flat and striped. Curve your strokes along the form. Imagine your pencil as a sculptor's tool, shaping around the curves.
Photos can seem wider than they appear, leading to a too-narrow head. It distorts the face into looking almost like a different species. Always check the head's width against its height. Typically, the width is two-thirds of the height in adult portraits.
Two separate lip outlines create a cartoonish effect. The mouth should appear as a complex form, not cut-outs. Start with shading the mouth's form. Add the shadow line last, and avoid hard edges around lips.
Portrait drawing often starts at home, but real progress comes with live practice. Art studios and community colleges offer sessions where you can draw from live models.
Introduce yourself to the host as a beginner and ask for advice on where to sit. You'll likely get placed where the model's proportions are easiest to capture. This introduction often leads to helpful neighbors explaining the session format to you.
The classic approach, using pencil on paper to focus on shadows and lines.A great foundation to understand facial structure. Pencils cost about $10–20 for a starter set.
Charcoal offers more freedom with its flexibility to blend, wipe, and rework.The tradeoff is messier control, perfect for those who feel restricted by precision.
Tablet drawing offers unlimited undo and no paper waste.The real challenge is adapting to new tools. Budget $80–250 for a Wacom tablet, and try Krita for free software.
Ink requires precision since every line is permanent.Ideal for those confident with pencil, looking to enhance decision-making skills.
Complex and demanding with color mixing and brush control. Not for beginners, but where many serious artists aim.
If this resonates, Manga Drawing explores a similar direction.
If this resonates, Anime Drawing explores a similar direction.
Most beginners focus on perfecting features like the nose or eyes, yet the face still feels wrong.
Details aren't the issue. Comparisons are.
Train yourself to compare each element to its neighbors. Ask, not how long is the nose? but how does the nose length compare to the mouth width? Every decision is about ratios, not isolated facts.
Comparative measurement refines your drawing by forcing you to see what's there, not what you assume. Each unchecked feature nudges your work closer to unbalanced.
Individual features confidently ink mistakes deeper. The face that feels almost right typically suffers from misaligned parts no one compared.
Up next, we'll dive into practical methods to engrain this skill.
Commit to 8 sessions in 30 days – roughly twice a week, 45 minutes each. This gives your hand and eye the chance to sync and reveal if portrait drawing clicks with you.
If you're constantly sitting down early or staying late, the hobby's grip is real. You're not trying to be disciplined; you simply can't stop. This means it's time to move to structured study, tackling gesture drawing, proportions, and then shading. Even if you're hooked, don't skip the essentials.
If sessions ended but didn't linger in your thoughts, the spark isn't there. No curiosity about why features looked off? Portrait drawing might not resonate, and perhaps observation-based drawing isn't for you either. Consider exploring hobbies with quicker feedback.
If the time felt resented and your phone became a constant companion, it's not patience lacking, but genuine preference. Slow, quiet work might just not be your thing. This hobby demands it every single time.
The sign you shouldn't ignore is observing faces in everyday life. Noticing eyelid folds or jawlines on public transport or in cafes means your interest is more than casual. That's the real start of portrait drawing.
When you don't want to commit, things to do when bored is a better starting point.
No, portrait drawing is a skill that improves with practice and learning proper techniques. Even beginners can produce recognizable portraits by studying proportion, anatomy, and shading fundamentals. Most artists improve significantly after consistent practice over weeks and months.
You can start with just pencils (HB, 2B, 4B), erasers, blending stumps, and drawing paper—total investment under $20. As you progress, you might add charcoal, colored pencils, or pastels, but these aren't necessary for beginners to create good work.
A simple sketch portrait can take 30 minutes to an hour, while a detailed, realistic portrait typically takes 3–8 hours depending on size and complexity. Your speed will improve as you become more comfortable with facial proportions and shading techniques.
Understanding facial proportions is the foundation—learning where eyes, nose, and mouth align relative to each other. Once you grasp basic proportions, shading and expression become much easier to master.
It's moderately challenging since faces are complex, but it's very learnable with structured instruction and patience. Many beginners see noticeable improvement within their first 10–15 practice sessions.
Yes, there are countless tutorials, courses, and communities online teaching portrait techniques step-by-step. Many artists prefer online learning because you can practice at your own pace and pause to study specific techniques.