BoredomBusted — Find Your Next Favorite Thing To Do
Discover hobbies, activities, places, and ideas that spark joy. Whether you're looking for something creative, active, social, or relaxing, BoredomBusted helps you find your next favorite thing to do.
Browse our hobby guides, things-to-do collections, and place ideas to never be bored again.
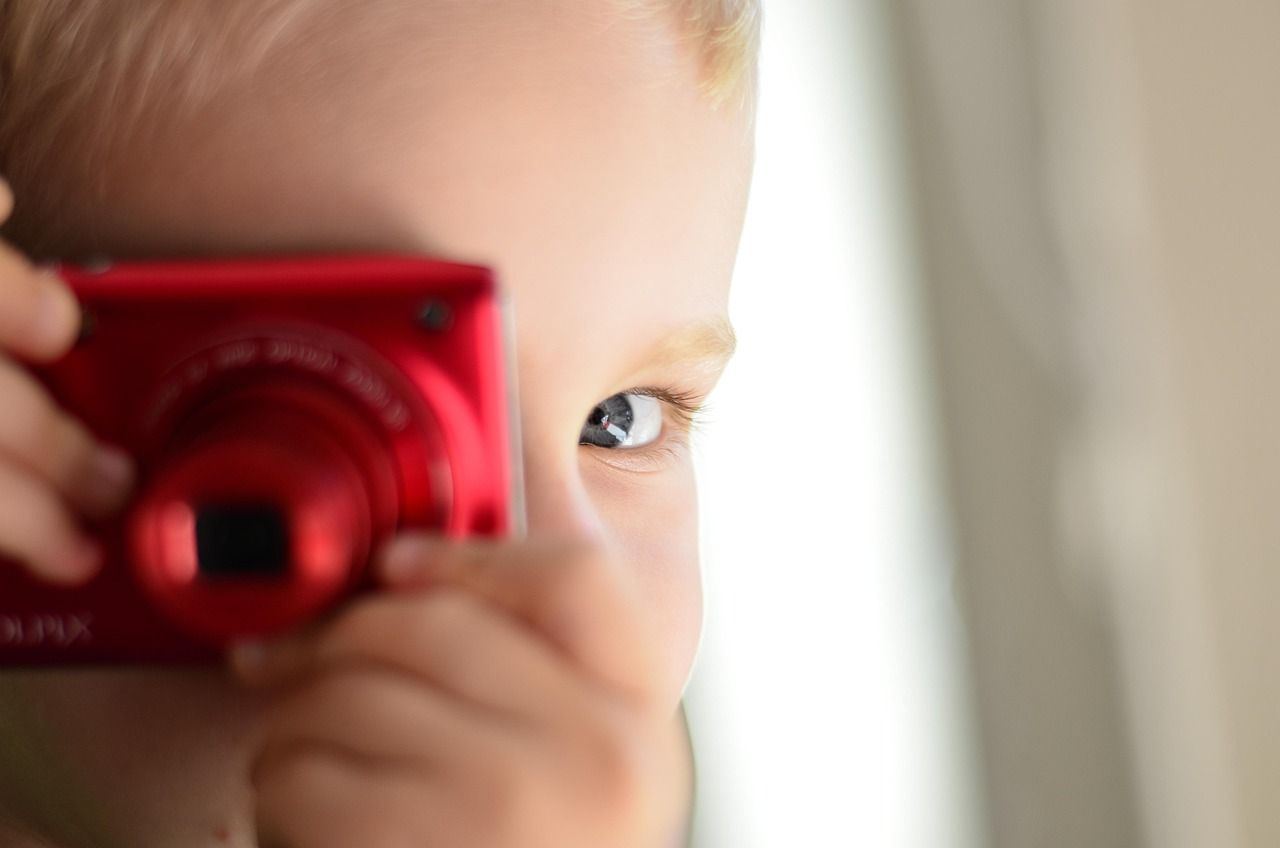
The secret to striking portraits isn't the camera or gear—it's your ability to manipulate light and connect with your subject on a personal level.
Getting started with portrait photography as a beginner involves understanding how to capture a person's essence beyond just their physical appearance. — not just their face.
You control light, framing, and timing to shape how a viewer feels about a stranger.
Unlike street or event photography, the subject knows you're there — and that changes everything.
In portrait photography, you engage directly with subjects like friends or family, directing them in natural settings while capturing their genuine expressions and interactions. You scout locations, set up basic lighting, adjust camera settings, and take candid shots, often using a compact camera to seize those unplanned, authentic moments that tell a story.
Portrait photography induces a flow state by immersing you in real-time interactions and quick decision-making around poses and lighting. It fosters skill feedback loops as you immediately review images, refine techniques on the spot, and provides a sense of accomplishment through transforming everyday moments into compelling portraits, all while nurturing social connections during collaborative …
You think portrait photography means pointing a camera at someone's face and pressing a button. Maybe a ring light. Maybe a nice background.
That's the assumption holding you back. It's why most beginners plateau in the first month.
Light sets the scene before you even click the shutter. It sculpts, adding power, vulnerability, or leaving subjects flat depending on its angle and softness.
Photography is a negotiation, not just technical skill. You're managing comfort, self-perception, and trust, far beyond just f-stops.
The technical settings are the easy part. Composition, timing, and reading micro-expressions make a snapshot a true portrait.
Picture this: a photographer with a $300 kit lens in a parking garage creates a stunning portrait. They position their subject under a single streetlight and wait until the person forgets the camera is there. Meanwhile, someone with a $3,000 prime lens in a studio can't capture that essence.
Gear isn't the barrier. It's understanding light and presence.
Portrait tutorials seem clear until you pick up the camera. It's common to assume you've mastered it just by watching. In practice, leading a photoshoot is the true test.
Your first attempts might leave you puzzled. You expected smooth settings, but nerves take over. Even when your subject feels natural, they become stiff under lights. You realize how photography isn't just settings; it's a dance with changing factors.
Manage your subject more than your camera in the beginning weeks. You'll find yourself easing their discomfort instead of framing the shot.
Success is a mystery in week two—you'll capture a great image but not understand how you did it. By week three, you transition from hoping to directing, and subjects start to relax faster.
By week four, technical worries fade into the background. You truly see the person before you.
Genuine expression requires genuine conversation. Ask about a specific memory or place, not small talk. It's this ability to connect quickly that sets seasoned photographers apart, not just better gear.
When to start: Morning
Duration: 1 hour
Cost to try: $10
Success criteria: If you capture one indoor portrait with both eyes sharp, flattering window light, and a clean background, do session 2.
Harsh overhead sun is everywhere and convenient. Beginners default to it and end up with unflattering shadows.You get shadows under eyes and noses that ruin your portraits.
Shoot within an hour of sunrise or sunset, or find open shade to soften shadows and add warmth.
Autofocus defaults to the nearest object, misleading new photographers. They trust it without checking focus.This often results in blurry eyes and sharp noses.
Switch to single-point AF. Place it on the eye closest to the camera for sharper portraits.
Putting someone right against a background feels tidy. However, it flattens your image and erases depth.Your portraits end up looking like ID photos.
Pull your subject at least six feet from the background. This softens the background and adds dimension.
f/1.8 looks great for a single person. Add more people, and you've got half the group out of focus.Beginners often forget to adjust aperture for multiple subjects.
Close down to at least f/5.6 for groups. This ensures all faces are sharp.
Verbal instructions like 'look natural' can freeze your subject. They suddenly feel anything but natural.
Demonstrate the pose to your subject first. People find it easier to mirror your movement than interpret words.
Portrait photography can happen almost anywhere – studios, parks, community centers, or even your living room.
Your first 50 portraits matter more than location. The experience will teach you about light and interaction.
Say you're new to portraits. This helps find patient models and avoids unfair assumptions.
Environmental portraits use surroundings to enhance the subject's story. A chef in their kitchen, a mechanic in the garage. It's less controlled, allowing for more authenticity. Perfect if you find traditional portraits too stiff and want visuals rich with context.
Studio portraits offer total control over lighting, shadows, and backgrounds. This level of detail can be overwhelming at first. Ideal if you aim for polished results and don't mind investing in proper lighting equipment ($150–$500+).
Street portraiture involves spontaneous shots of strangers, often in candid moments. Nerve and quick thinking are your allies here. Great for extroverts or those wanting to get comfortable shooting in public. No special gear required, just timing and courage.
Boudoir photography focuses on intimate, confidence-building portraits. Trust between photographer and subject is crucial, often overshadowing technical adjustments. Suitable for those already skilled at directing and possessing a private space for shooting.
Newborn and family portraiture is its own challenge. Sessions are unpredictable, and your job is to create calm from chaos. Perfect for those good with kids and families, requiring patience over creative flair. Not recommended for beginners without experience shooting people.
If this resonates, Architectural Drawing explores a similar direction.
Soap Making is a sibling pursuit and often surfaces the same kind of curiosity.
If this resonates, Junk Journaling explores a similar direction.
Directing your subject changes your portrait photography game. Most beginners get lost in the technicalities like sharpness and gear, while missing the key issue. Subjects often look stiff and disconnected. It's not the camera's fault, it's the room's.
Directing means guiding your subject to feel something genuine. Instead of telling someone how to pose, give them a micro-action. This transforms their posture and expression.
Imagine the difference between saying, "Think of something that made you laugh this week" versus "Smile for me." The first captures a real moment.
Directing helps you consistently capture frames where the subject looks relaxed and alive. It's about creating an inviting atmosphere where subjects can show their true selves. Without this, awkward silences and stiff poses plague your work, making you blame your gear for a vibe issue.
Build your own set of prompts with simple actions like "look down, then back up at me" or "share the last place you visited." Try a new one in each session to see its effect. Review footage without sound to learn when your subject seems most at ease, and link it to your direction.
Practice narrating instructions out loud to fill potential silences. Guide your subject through the shoot so each moment feels intentional. Embrace this skill to transform your portraits into something memorable.
Plan for 6 portrait sessions over the next 30 days. You'll fit in a shoot approximately every five days. This lets you see if you're genuinely solving problems or just sticking it out.
If you're thinking about your next subject before you finish this one, that's not just excitement — that's the hobby taking root. Jump into learning one-light setups and schedule a more extended outdoor session with a new subject.
If you're indifferent after each session, looking at images without feeling much, it often means the subject isn't the issue, but the feedback loop is missing. Try editing and sharing one selected photo per session before calling it quits.
If coordinating with subjects drains you and leaves you wishing you could be alone, take it as a clear sign. Portrait photography involves social engagement, and discomfort won't disappear with better gear.
Faces everywhere catch your eye — at cafés or commuting — and you start framing shots in your mind. That's a sign you shouldn't ignore. That curiosity existed even before you got a camera.
Sometimes you just need something for the next ten minutes — that's what things to do when bored is for.
You don't need expensive gear to begin—a smartphone or entry-level DSLR/mirrorless camera works fine for learning fundamentals. As you progress, you can invest in a dedicated camera and portrait lenses like a 50mm or 85mm, but mastering composition and lighting matters more than equipment initially.
Most hobbyists see noticeable improvement within 3–6 months of consistent practice. Developing a strong eye for lighting and connection typically takes 1–2 years, but you can create compelling portraits much sooner by studying fundamentals and learning from mistakes.
Portrait photography has a manageable learning curve—the core skills are lighting, composition, and directing your subject, all of which improve quickly with practice. The hardest part is usually building confidence to work with people, but this naturally develops as you shoot more sessions.
You can start with just a smartphone at zero cost, or invest $300–$800 for an entry-level mirrorless camera and kit lens. Professional-grade gear runs $1,500+, but beginners should focus on learning with affordable equipment before upgrading.
Start by shooting friends and family in natural light, experimenting with different angles and distances to understand composition. Then study lighting setups online, practice with reflectors or simple studio lights, and gradually take on more challenging subjects to refine your skill.
Natural light from windows or outdoors is enough to create beautiful portraits when you understand how to position your subject. As you advance, studio lights or affordable continuous lighting kits help you control mood and achieve more consistent results, but they're not required to start.