BoredomBusted — Find Your Next Favorite Thing To Do
Discover hobbies, activities, places, and ideas that spark joy. Whether you're looking for something creative, active, social, or relaxing, BoredomBusted helps you find your next favorite thing to do.
Browse our hobby guides, things-to-do collections, and place ideas to never be bored again.
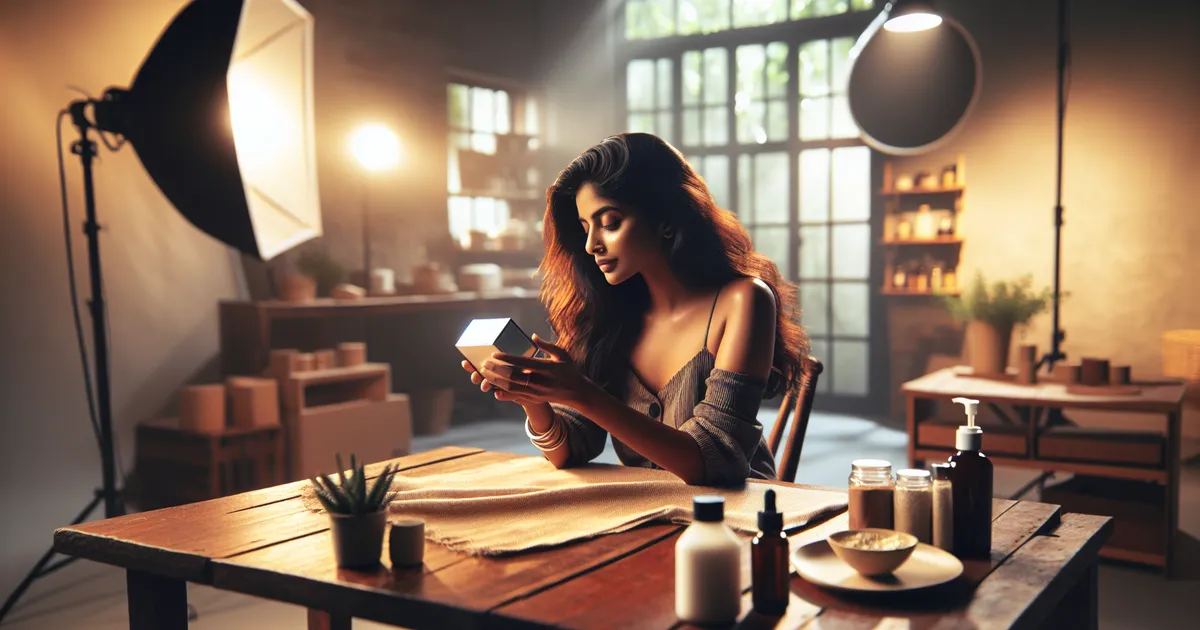
Product photography isn’t just about lighting gadgets — it’s a deep dive into creativity that can turn dull items into captivating art.
Learning product photography as a beginner is a fantastic way to turn everyday items into visually appealing showcases. It transforms ordinary objects into must-haves.
You control the light, background, and composition. A single frame tells the whole story.
The subject never moves, so flaws stand out. Master your setup, and you master the image.
In product photography, hobbyists set up staged scenes with everyday objects, adjusting lighting and props to capture high-quality images. They use tools like LED lights and smartphone cameras to create appealing visuals, carefully composing shots and editing them for a polished look. This involves physically positioning items and mentally iterating through compositions to tell a compelling story…
Product photography fosters a flow state as hobbyists engage deeply in the meticulous process of capturing details and arranging scenes, losing track of time in the creative pursuit. Immediate digital feedback allows for rapid skill improvement through tweaking setups, while the satisfaction of transforming mundane items into striking images provides a sense of accomplishment. This hobby’s inhere…
You think product photography is pointing your phone at a thing and making sure it's not blurry.
Maybe you've seen those clean white-background shots and thought: tripod, good lighting, done.
First attempts usually fall short because that's all most people expect it to be.
Product photography is a problem-solving exercise disguised as art. It's about making decisions that build trust in the unseen object.
Light isn't just there to make things pretty. It's a tool to reveal texture, hide flaws, and suggest value.
A white background shot is deceptively simple and the hardest to nail because there's no space for error.
A photographer shooting lip balm for a small brand spent 45 minutes repositioning a $2 reflector card. The highlight said "greasy" instead of "glossy," and that wouldn't do.
Same product. Same camera.
The result? A completely different message to the buyer.
The gap between a shot that sells and one that doesn't isn't about the gear. It's knowing how to evoke the right feeling through the image.
That's a skill anyone can learn, starting much simpler than you'd think.
That first session with product photography feels like fighting with your own expectations. The scene looks perfect to the eye, but the camera ignores your optimism. Images come out flat, yellow, and cluttered, leaving you puzzled.
The early mismatch is about learning your gear, not about lacking skill. Your camera and space hold secrets you haven't uncovered yet.
Adjusting lights doesn't instantly fix everything. The room fools you into thinking it's bright enough, but your photos tell a different story. You tweak the setup, still confused.
When success comes, it's because you start seeing how light behaves. Shadows and highlights become noticeable before you press the shutter, and your adjustments lead to visible improvements.
Your phone's auto white balance can be your worst enemy. It tweaks colors between shots, leaving products inconsistent under identical conditions.
Manually set your white balance — iPhone users will find this in camera controls, while Android folks need to dig into Pro mode. Do this before snapping a photo to maintain color consistency.
Shot after shot frustrates you, but then a small change transforms the image. That breakthrough happens as your eye begins to notice more intricately what matters.
Mistakes guide you towards this point, leading to insights that stick.
When to start: Early morning
Duration: 1.5 hours
Cost to try: $15
Success criteria: If you finished without perfection, do session 2.
Auto white balance makes your camera indecisive between shots. One frame shows the product as cream, the next as cool.
Manually lock in your white balance before shooting. Alternatively, use a gray card in your first shot and batch correct with Lightroom's sync settings.
Beginners mistake lighting the whole scene for lighting the subject, resulting in flat images.
Angle your key light at 45 degrees to the product. This highlights texture and depth where it matters most.
Props like textures and napkins may seem professional but often bury the product in clutter.
Start with a clean white or light grey background. Add props later if the product reads clearly on its own first.
Smudges on your lens or lint on the product can ruin your shots but often go unnoticed until editing.
Wipe your lens before every setup and use a lint roller on surfaces. Invest a few minutes now to save hours of editing later.
Reviewing images solely on your camera's LCD screen can cause you to miss essential details.
Tether your camera to a laptop via Lightroom. This way, you review shots in real time and as they will truly appear.
Product photography thrives in spaces where you control light.
Your kitchen table or spare bedroom can work.
For a cleaner setup, try renting a photography studio space.
The PPA sets professional standards and its events are genuinely useful.
Introduce yourself with: "I shoot on [your phone or camera], I'm learning lighting from scratch, and I want to see how working photographers think through a setup."
This approach gets you invited to observe, ask questions, and skip the part where everyone assumes you already know what a softbox is.
Shoot from directly above on a flat surface. Avoid fancy lighting rigs and complex angles.
Great for beginners to achieve strong results quickly with minimal setup.
Photograph products in real-world settings like kitchen counters or held by people. It conveys a lifestyle, not just a product.
Perfect for social media content or brand clients seeking an engaging narrative.
Standard Amazon-style photos: centered product, clean white background, no distractions.
Lighting precision is crucial; there's no room for shadows or hot spots.
Create images entirely on a computer without a physical product, perfect for challenging shoots.
Ideal for skilled 3D software users like those familiar with Blender. It's a separate discipline from traditional photography.
Use low-key lighting, intense shadows, and rich backgrounds for a striking high-contrast style.
Best for experienced photographers aiming to break away from typical e-commerce aesthetics.
Another variant that pulls from the same roots is Leathercraft.
Figure Drawing lives in the same world — different mechanics, similar appeal.
If this resonates, Egg Arts explores a similar direction.
Photography isn't about gear. It's about mastering light direction and quality.
Not in post. Not by accident. Before you trigger the shutter, you need to know where your light is. Spot the shadows, see how light wraps around your product, and capture the scene with intention instead of chance.
Reading light means preventing issues, not patching them in Lightroom. Imagine saving an hour per shoot by capturing depth right away. Your products won't just look pasted into a scene; they'll have true presence. Presets won't give you that "professional look" — understanding light will.
Eight sessions in thirty days. Twice a week is a solid pace for product photography. Enough exposure to move beyond gear worries and lighting uncertainties – it's all about discovering if the challenge of crafting an image excites you.
If you're already planning the next shoot before finishing the current one, it's hooked you. Finding joy in buying a simple foam board is another sign. Dive into learning one-light setups and start building a portfolio, even if it means using household items.
If sessions felt like just another task on your list, it's not about needing more time to warm up. It suggests that the solitary and detail-focused nature isn't what you crave. Extending won't transform this experience into something engaging for you.
If you actively resisted every session, it signals more than boredom. If setup felt like admin work and editing felt tedious, it's not a problem of skills. It's about finding a hobby that aligns with your affinity for detail and process.
The sign you shouldn't ignore is when you start noticing the lighting in product displays before the actual product. If store displays make you think about shadows and hero shots grab your attention, your eye is tuned in, even if the skill isn't fully there yet.
You can start with a smartphone camera, a simple backdrop, and natural light from a window—many professionals began this way. As you progress, consider investing in a DSLR or mirrorless camera, a tripod, basic lighting equipment (softboxes or ring lights), and editing software like Lightroom or Photoshop.
You can master basic techniques in 4–8 weeks of consistent practice, but developing a professional eye and advanced skills typically takes 6–12 months. The timeline depends on how frequently you practice and how quickly you apply feedback to your work.
No—product photography is one of the most beginner-friendly types of photography because subjects don't move and you control the environment. The learning curve is gentle; you'll see improvement quickly as you experiment with lighting and composition.
You can start for free or under $50 using your smartphone and natural light. A modest setup with a basic camera, tripod, and lighting runs $200–500, while professional-grade equipment typically ranges from $1,000–3,000.
Natural window light is ideal for beginners and creates soft, flattering results. For more control, use a three-point lighting setup with a key light, fill light, and backlight to create depth and highlight product details.
Yes—many people start product photography as a side hustle for small businesses, e-commerce sellers, and content creators. Once you master the fundamentals, you can charge $50–300+ per hour or build packages tailored to client needs.