BoredomBusted — Find Your Next Favorite Thing To Do
Discover hobbies, activities, places, and ideas that spark joy. Whether you're looking for something creative, active, social, or relaxing, BoredomBusted helps you find your next favorite thing to do.
Browse our hobby guides, things-to-do collections, and place ideas to never be bored again.
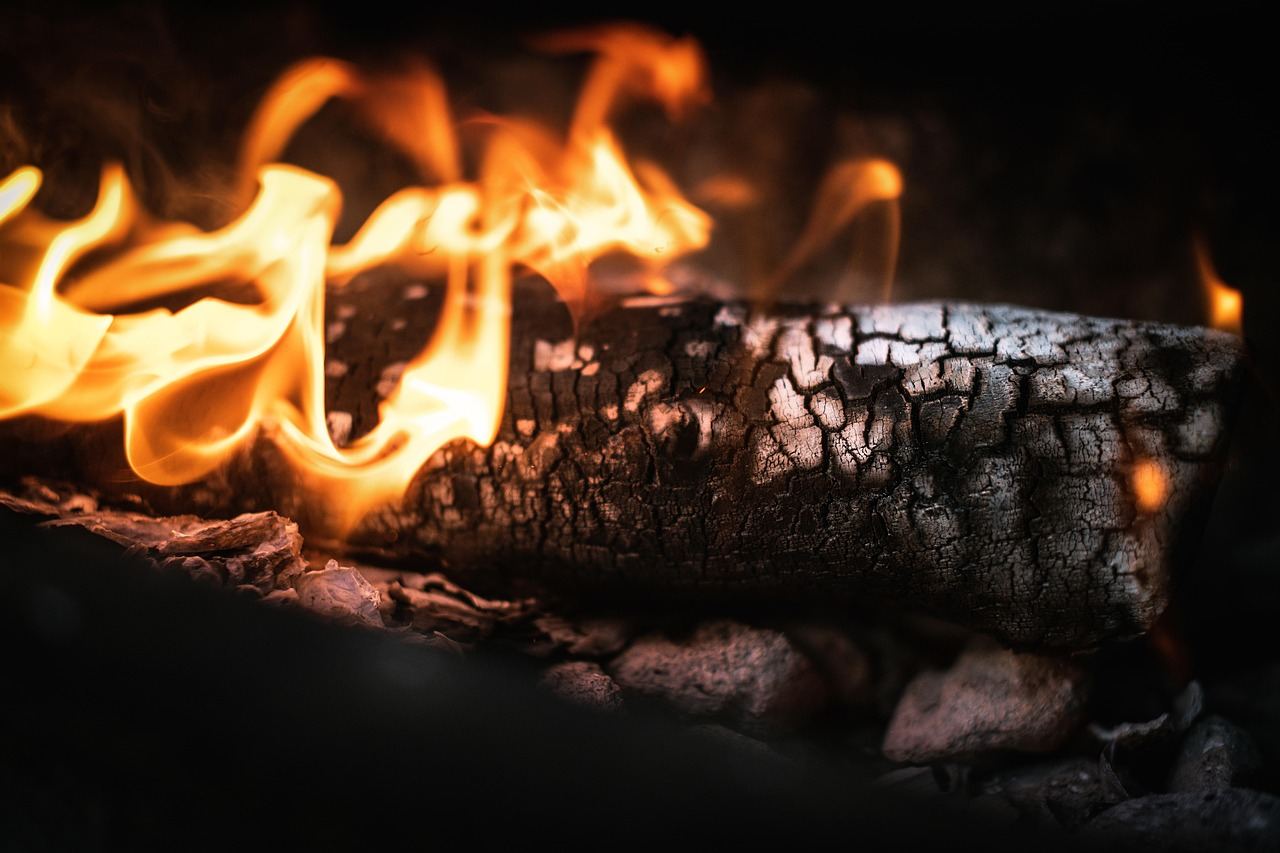
Pyrography isn't just about burning designs — it's a meditative practice where the wood's texture guides your creativity and focus.
Learning pyrography as a beginner involves mastering the techniques of burning intricate designs into wood, leather, or other surfaces using a heated metal tip.
Control temperature and pressure to create lines and shading.
Each mark is permanent—unchangeable once made. This sets it apart from woodcarving or painting.
In pyrography, you use a heated wood-burning pen to scorch intricate designs into wood surfaces, adjusting temperature and pressure as you create fine lines or shaded textures, often practicing on scrap pieces to refine your technique and build your skills over extended sessions.
Pyrography fosters a flow state through its demand for sustained attention and precise movements, allowing practitioners to immerse themselves in the tactile experience of transforming wood while receiving immediate feedback on their progress, which enhances mastery and satisfaction.
You think pyrography is just burning little flowers on a wooden plaque. Maybe a rustic sign that says \"Home Sweet Home.\"
That\'s the box most people put it in\u2014and why many never actually try it.
Heat is your brush, and unlike paint, it doesn\'t lie. Every hesitation, every shift in pressure, is permanently engraved in the wood grain.
Most people don\'t realize pyrography can span photorealistic portraiture, fine-line wildlife art, and abstract textures. The craft has a high ceiling that most hobbyists never reach.
You\'re not just making marks. You\'re reading how different wood species absorb heat, thinking three moves ahead\u2014it\'s closer to chess than crafts.
Stick with it for six weeks, you\'re not burning signs anymore.
You\'re shading fur on a fox portrait, working light to dark like a graphite artist. Mistakes don\'t erase. The learning sticks faster because of it.
The tool looks simple.
That\'s what makes the first session so disorienting, in the best way.
Next, we\'ll get honest about what that truly feels like.
Watching pyrography videos is like a window into a world of effortless heat drawing. But then, your "pen" lags by half a second, there's no eraser for the wood, and suddenly hand pressure matters more than you thought.
This shift from watching to creating is where many lose a couple of weeks in unseen frustrations. This is where reality clashes with expectation — you think you know it from videos, but handling the tool is different.
What hits you hard is how the first burn is too dark, and the pressure feels all wrong. Lines don't come out as planned, and the unexpected smell fills the room. It's humbling to see how Thursday didn't go as imagined.
In week one, it feels like you're wrestling the tool. Every burn is darker or lighter than you want, and your hand's speed betrays you. Moving into week two, you adjust your pressure and lines start to look more deliberate. By the third week, you tackle a simple design and it finally comes together. This is usually when people decide if they're hooked. By week four, pyrography invades your thoughts before sleep, signaling you're truly in.
Too dark, too light, nothing matches the reference. It's not about your hand skill — it's the patience required over pressure, a skill honed over three weeks.
Before your first session, lower the temperature more than guides suggest. Go over a basswood test strip to find the right heat for steady lines without charring. Waiting for patience and practice leads you into the next territory: common mistakes to avoid.
When to start: Morning
Duration: 1 hour
Cost to try: $25
Success criteria: If you finished without damaging your wood piece, do session 2.
High heat feels like it should mean faster, darker lines – and it does, until it scorches the wood and you can't pull it back.
Turn your unit to 40–50% heat and do two light passes rather than one aggressive one you'll regret.
Craft store basswood packs look identical but vary wildly in grain density – and beginners blame their technique when the wood is actually the problem.
Switch to consistently milled basswood or birch from a reputable supplier, where the surface is tight-grained and predictable.
Stopping mid-stroke – even for half a second – burns a blob into your line that no amount of shading will disguise.
Keep your hand moving at a steady pace before the tip touches the wood, like you're already mid-stroke when you land.
The surface looks smooth enough to skip, but unsanded wood has micro-fibers that catch heat unevenly and leave fuzzy, blown-out edges.
Sand to at least 220 grit, then wipe with a tack cloth before you touch the burner to the piece.
Thick graphite lines seem helpful as a guide – until the heat bakes them into the wood permanently and they show through your finished burn.
Use a hard 4H pencil or light graphite paper and transfer with the minimum pressure needed to see the outline.
Pyrography thrives at home. A ventilated space, a table, and an outlet are your essentials. However, makerspaces and craft studios are great for starting out. They're becoming popular with beginners who want to try before buying equipment.
Search Facebook Groups for your city or region. Type in "pyrography" or "wood burning group" to find active members nearby.
On Meetup.com, look for "pyrography" or explore "woodcraft" and "mixed media art" gatherings.
Check Makerspaces.com for a local spot. Filter by state and ask if they host burning sessions or have wood art groups.
Don't forget Reddit's r/Pyrography and Etsy seller forums. Both places have threads for local meetups and swaps.
There's no national organization overseeing pyrography in the US. This makes the community approachable instead of intimidating.
Approach a group by asking: "I'm just starting out – what wood and tip setup do you wish you'd started with?"
Wire nib tools use a thin wire loop, heating and cooling almost immediately. This means more control over intricate details. Portraits and realistic wood shading become achievable.
Expect to spend $80-150 initially, unlike a $20-40 starter kit for solid-tip options.
Solid-tip burners are ideal for novices. The chunky tips heat slowly and retain heat, making simple lines and patterns much easier.
Perfect for getting your feet wet, but you'll hit its limitations quickly with detailed work.
Burn on leather for a unique antique appearance you can't get from wood. Leather burns at lower temperatures and reacts to pressure changes differently.
Great for those who already work with leather items like wallets and belts. Precision is required; mistakes are hard to hide.
Burned gourds offer striking results with their curved shapes and textures. The surface complexity makes it harder than working with flat wood.
Ideal for those with experience seeking a sculptural project. Gourds are affordable; honing your skills is the real task.
Paper burning needs a gentle touch and lower heat. The effects resemble intricate cutouts rather than traditional woodburning.
Great for crafty types keen on illustrations, but note: paper offers no second chances.
Cabinetry lives in the same world — different mechanics, similar appeal.
Readers who enjoy this often gravitate toward Wire Sculpture next.
If you want a related angle, Fabric Dyeing is the natural next stop.
Most beginners focus too much on temperature settings. The real issue is speed.
Consistent tip movement speed is the one skill you need. Not too fast or slow—just a steady, unvarying pace to keep heat even across your stroke.
A steady hand delivers reliable results. Otherwise, every stroke is a gamble, not art. Uneven speed makes work look 'muddy'—dark spots from slowing down, light lines from rushing past.
Give pyrography a fair chance with 6 sessions over 30 days, about one every five days.
If you find yourself planning your next project before finishing the current one, you're definitely hooked. Upgrade to better wood types and essential tools to match your growing passion.
If those 6 sessions left you indifferent, it might just not be your medium. Experiment with a more detailed exercise, like shading a complex design, before stepping away for good.
If the thought of another session fills you with dread, consider it a clear sign. Maybe admire wood art from afar without the pressure of participation.
When you're constantly lingering over woodburned pieces at craft fairs, that's not just appreciation. It's curiosity about the creation process. That's a hint that this hobby might be a fit for you.
Sometimes you just need something for the next ten minutes — that's what things to do when bored is for.
You'll need a pyrography pen (wood-burning tool), interchangeable tips, a surface (typically wood), and safety equipment like a dust mask and ventilation. A basic starter kit costs $30–$100 and includes the pen, several tips, and sometimes practice wood pieces.
Most beginners can create recognizable designs within a few hours of practice, but developing consistent control and detail work takes 2–4 weeks of regular practice. Complex, gallery-quality pieces require months or years of skill refinement.
Pyrography has a gentle learning curve—basic techniques are accessible to most people with steady hands and patience. The main challenge is controlling the heat and pressure to avoid over-burning, which improves quickly with practice.
Softwoods like pine, birch, and basswood are ideal for beginners because they burn cleanly and respond well to heat. Avoid treated or plywood, as chemicals can release harmful fumes when burned.
Yes, pyrography is safe for home use with proper precautions: work in a well-ventilated area, keep the pen away from flammable materials, and never leave it unattended while hot. Always unplug the tool when finished and allow it to cool completely.
Beyond wood, pyrography works on leather, cork, gourds, and paper—though wood is by far the most popular and forgiving surface. Each material requires slightly different heat settings and produces different aesthetic results.