BoredomBusted — Find Your Next Favorite Thing To Do
Discover hobbies, activities, places, and ideas that spark joy. Whether you're looking for something creative, active, social, or relaxing, BoredomBusted helps you find your next favorite thing to do.
Browse our hobby guides, things-to-do collections, and place ideas to never be bored again.
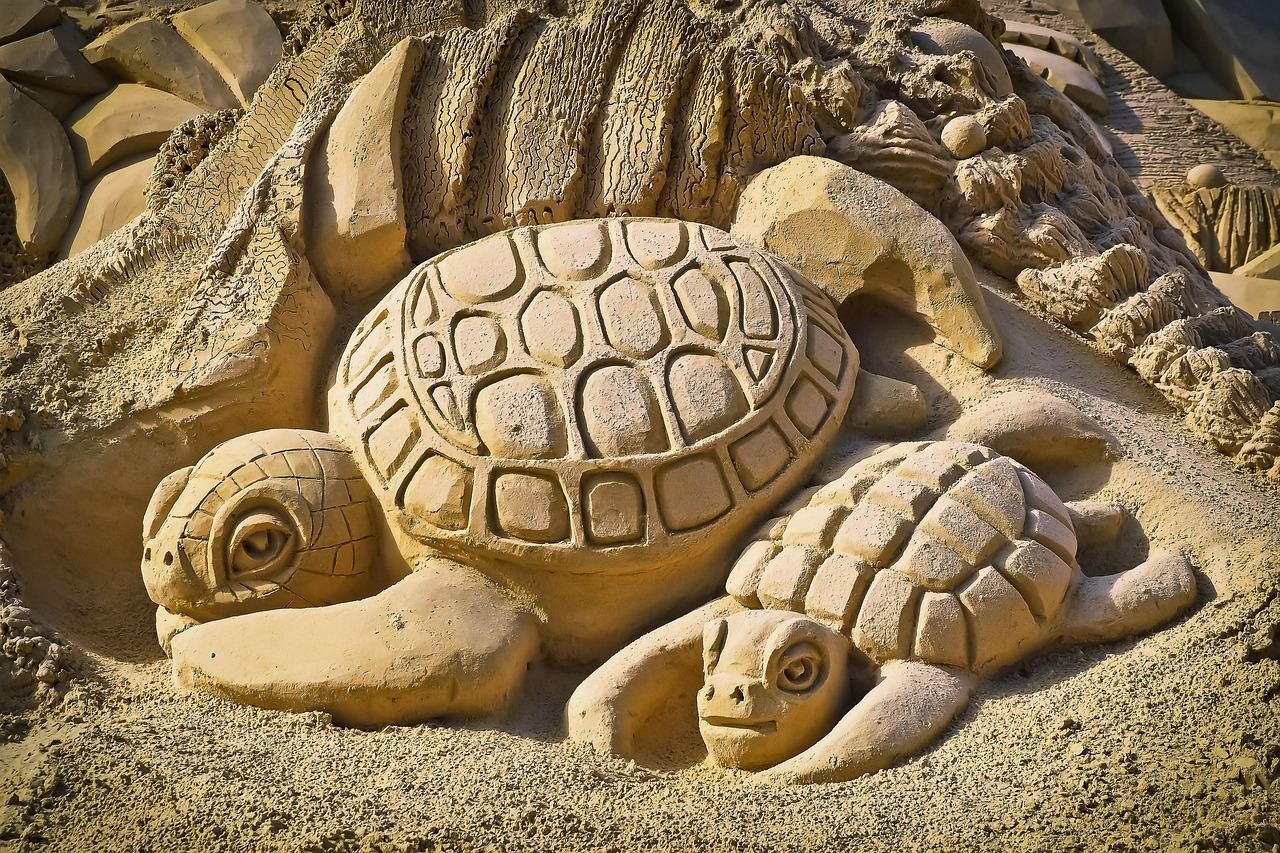
Sand sculpture isn't just about creativity; it's a meditative practice that demands intense focus and offers a surprising sense of accomplishment.
Getting started with sand sculpture as a beginner involves learning how to effectively manipulate wet sand into stunning, detailed creations. This art form relies on compression, carving, and stacking to shape forms that stand without glue.
Like sculpting stone, serious sand art starts with compacting sand. You first create a solid block, then carve it to reveal the final design.
These creations vanish with the tide, and that's part of the magic
In sand sculpture, you source dense beach sand, transport it with buckets, and form it into compressed towers. You carve intricate designs using various tools, continuously misting the surface to maintain moisture and prevent collapse, and gradually reveal a detailed 3D sculpture, often working alone or with a small group.
Sand sculpture fosters a flow state through its balance of challenge and skill, requiring intense focus on tactile feedback and precise techniques, while offering incremental skill feedback and a sense of accomplishment from transforming raw sand into a striking masterpiece.
You think sand sculpture is a beach day accident. A lopsided castle kicked over by a toddler before sunset. That's the assumption that's exactly wrong.
Watch someone work a wet column of sand with a palette knife for thirty seconds. A face emerges, a fold of fabric. The "it's just sand" thing stops making sense immediately.
The skill ceiling on this hobby is genuinely high. The floor is more interesting than you'd expect, and that's where we're headed next.
The first moments in sand sculpture are eye-opening. You start with high hopes, envisioning those elegant sculptures seen online. Your reality? A watery, scattered mess that resembles a sandcastle after a wave has had its way.
More sand falls than stays in place. Every time you think you have it figured out, another part collapses. It's not until you feel the wet, gritty resistance under your hands that you understand how patient those YouTube sculptors actually are.
Compression, not stacking, makes sand structures stand. The first signs of progress come when something finally manages to hold its shape for more than a fleeting moment. This small victory shifts your entire perception of the craft.
Gradually, you'll start to sense how much water is needed to bind the sand just right. Intuition grows where once there was only uncertainty. Soon, you'll accidentally create a ridge or window that actually looks like it belongs there.
When to start: Morning
Duration: 1 hour
Cost to try: $10
Success criteria: If you finished without a complete idea of what to create, do session 2.
Dry sand collapses easily because it lacks cohesion. Find sand that's fine and moist, which holds shape when squeezed.Keep a spray bottle nearby to maintain moisture levels as you carve.
Vertical slices weaken your sculpture by causing slabs to shear off.Carve horizontally in small layers instead of dragging tools vertically.
Details are tempting, but they require a solid foundation. Pack your material thoroughly and wait 10–15 minutes.Tackle large shapes first to ensure stability before adding details.
Use about 8–10 parts dry sand to 1 part water for the ideal mix.
Press each layer until it feels dense and slightly damp.
Structures like wings or jaws need support while shaping.Leave a temporary sand pillar underneath until the surrounding form is ready to bear the weight.
Sand sculpture thrives anywhere there's a beach, but public parks and lakefront areas also work well. Dedicated sand pits at recreation centers offer another option. Some enthusiasts even use sand boxes or temporary venues with imported sand inland.
Hit Facebook Groups first by searching for "sand sculpting [your city/region]" or "sand art club [state]." Most community activity happens there, not on formal sites.
Explore the World Sand Sculpting Academy's website at worldsandsculptingacademy.com. They list events and competitions with categories specifically for beginners.
Search for local festivals by looking up "sand sculpting festival [your state] volunteers." Festivals like these are always looking for help, creating a perfect chance to connect with experienced builders.
Meetup.com can lead you to smaller, informal groups by searching for "beach art" or "sand art"; these categories are common for sand sculptors on that platform.
Approach an organizer of these groups, and let them know you're starting out and eager to learn by assisting. This approach often lands you a spot on their team, immediate feedback, and a new collaborative project to be proud of.
Wet sand sculpting is what comes to mind for most when they hear 'sand sculpture.' Here, packed, water-saturated sand is shaped by hand and simple tools. Water acts as a binder to stabilize your work, allowing you to carve details without collapse. It's a friendly entry point for beginners.
Dry sand sculpting uses no water and provides no structural support. Compression frames or molds temporarily hold shapes that are meant to be loose and impermanent. It's perfect for those seeking a meditative process, not a lasting sculpture.
Competition-style sand sculpting is intense. Teams build massive, multi-figure pieces up to 15 feet tall. This isn't for beginners, but watching live shows how professionals sculpt at a grand scale.
Sand casting involves pressing objects or hands into damp sand and pouring plaster to create a cast. While technically a different craft, it offers a permanent piece you can bring home. Ideal for kids or anyone looking for a quick result.
Indoor sand art uses pre-mixed, polymer-treated sand that holds shape easily. This isn't the same skill, but it's great for interest testing without a full beach commitment.
If this resonates, Metal Sculpture explores a similar direction.
Some of the same instincts show up in Wood Sculpture — worth a look if this clicked.
If this resonates, Ice Sculpture explores a similar direction.
Most beginners spend all their energy on carving tools and reference photos.
The real bottleneck is your sand – specifically, whether you understand how water moves through it while you work.
Reading compaction depth matters more.
You're not guessing when to stop digging. You're sensing the resistance change as your tool moves from bonded grains to unbonded ones – and adjusting your angle and pressure in real time.
Understanding compaction depth means fewer collapses.
When you can read it, you stop undercutting your own walls – which is where 90% of collapses actually happen.
Without this skill, you're carving blind.
Even a beautiful design cracks when load-bearing sand is hollowed out.
Poke test every 15 minutes. Press a pencil straight down at the edge of your mound. Note where it stops – that's your safe carving limit.
Build a test column first, not your final piece. Let it sit 10 minutes, then carve inward. See where it shears versus holds.
Mix batches with varying water content. Carve small blocks side by side. Feel how different wetness affects resistance.
The 30-day test for sand sculpture involves 4 sessions, roughly once a week, each lasting at least 90 minutes.
If the drive home is filled with thoughts of your next build, you're hooked. Something in the problem-solving process captures you. The next step is researching carving tools and joining a local club or timed competition.
If the sessions were pleasant but not drawing you back, there might be a mismatch in satisfaction. Try working with materials like clay or stone if the impermanence bothers you.
Feeling indifferent after four sessions is telling. This doesn't mean you didn't try; it means it's time to move on without regret.
You're actively avoiding it by the third session. This indicates a lack of enjoyment in the tactile work itself. Sudden frustration with material control suggests this isn't how you prefer to create.
The unmistakable sign? You're pausing competition footage to understand the techniques. It's not just about liking the results; it's about being obsessed with the method behind it.
If reaching a beach consistently requires complex logistics, the hassle may overpower the habit. Landlocked conditions complicate access to suitable sand, which could become a major obstacle.
Physical limitations like chronic pain make sand sculpting challenging. Sustained crouching and detailed carving put a real demand on the body, which quickly adds up if you have existing issues.
If you need to keep your creations, sand sculpture's temporary nature might not suit you. Knowing this early can save time and effort otherwise spent on a poor fit.
Still looking for something to do? Browse things to do when bored for more ideas.
You'll need sand, water, and basic tools like buckets, shovels, carving tools, and smoothing implements—many beginners start with kitchen utensils or makeshift tools before investing in specialized sculpting sets. A good sand location (wet, compact sand on a beach) is essential; dry sand won't hold shapes. Most hobbyists spend $20–$50 on a starter toolkit before finding free or low-cost alternatives.
You can create simple designs within your first session, but developing solid foundational skills typically takes 4–8 weeks of regular practice. Complex sculptures with intricate details may require several months to a year of consistent practice. The learning curve is gentle, so progress feels rewarding early on.
Sand sculpting is beginner-friendly and has a low barrier to entry—you can start creating the same day you learn basic techniques. The main challenge is understanding how wet and compact sand behaves, which you'll grasp quickly through hands-on practice. Mistakes are part of the process and free to undo, making it an forgiving hobby to explore.
Sand sculptures are temporary by nature, typically lasting from a few hours to a few days depending on weather, tide, and how well-packed the sand is. This impermanence is central to the hobby's appeal—it encourages you to focus on the creative process rather than preservation. Many sculptors photograph their work to preserve the memory before nature reclaims it.
While beaches are ideal, you can also practice at lakeshores, riversides, or sand pits wherever appropriate sand is available and permitted. Indoor sandboxes or kinetic sand work for miniature sculptures and developing skills during off-seasons or in landlocked areas. Check local regulations before sculpting in public spaces.
Late spring through early fall offers ideal conditions with warm weather and stable sand conditions, but you can sculpt year-round depending on your location. Wet sand immediately after rain or near the tide line works best; avoid extremely hot dry days or winter storms. Tide patterns matter on beaches, so plan around high tide when sand is most workable.