BoredomBusted — Find Your Next Favorite Thing To Do
Discover hobbies, activities, places, and ideas that spark joy. Whether you're looking for something creative, active, social, or relaxing, BoredomBusted helps you find your next favorite thing to do.
Browse our hobby guides, things-to-do collections, and place ideas to never be bored again.
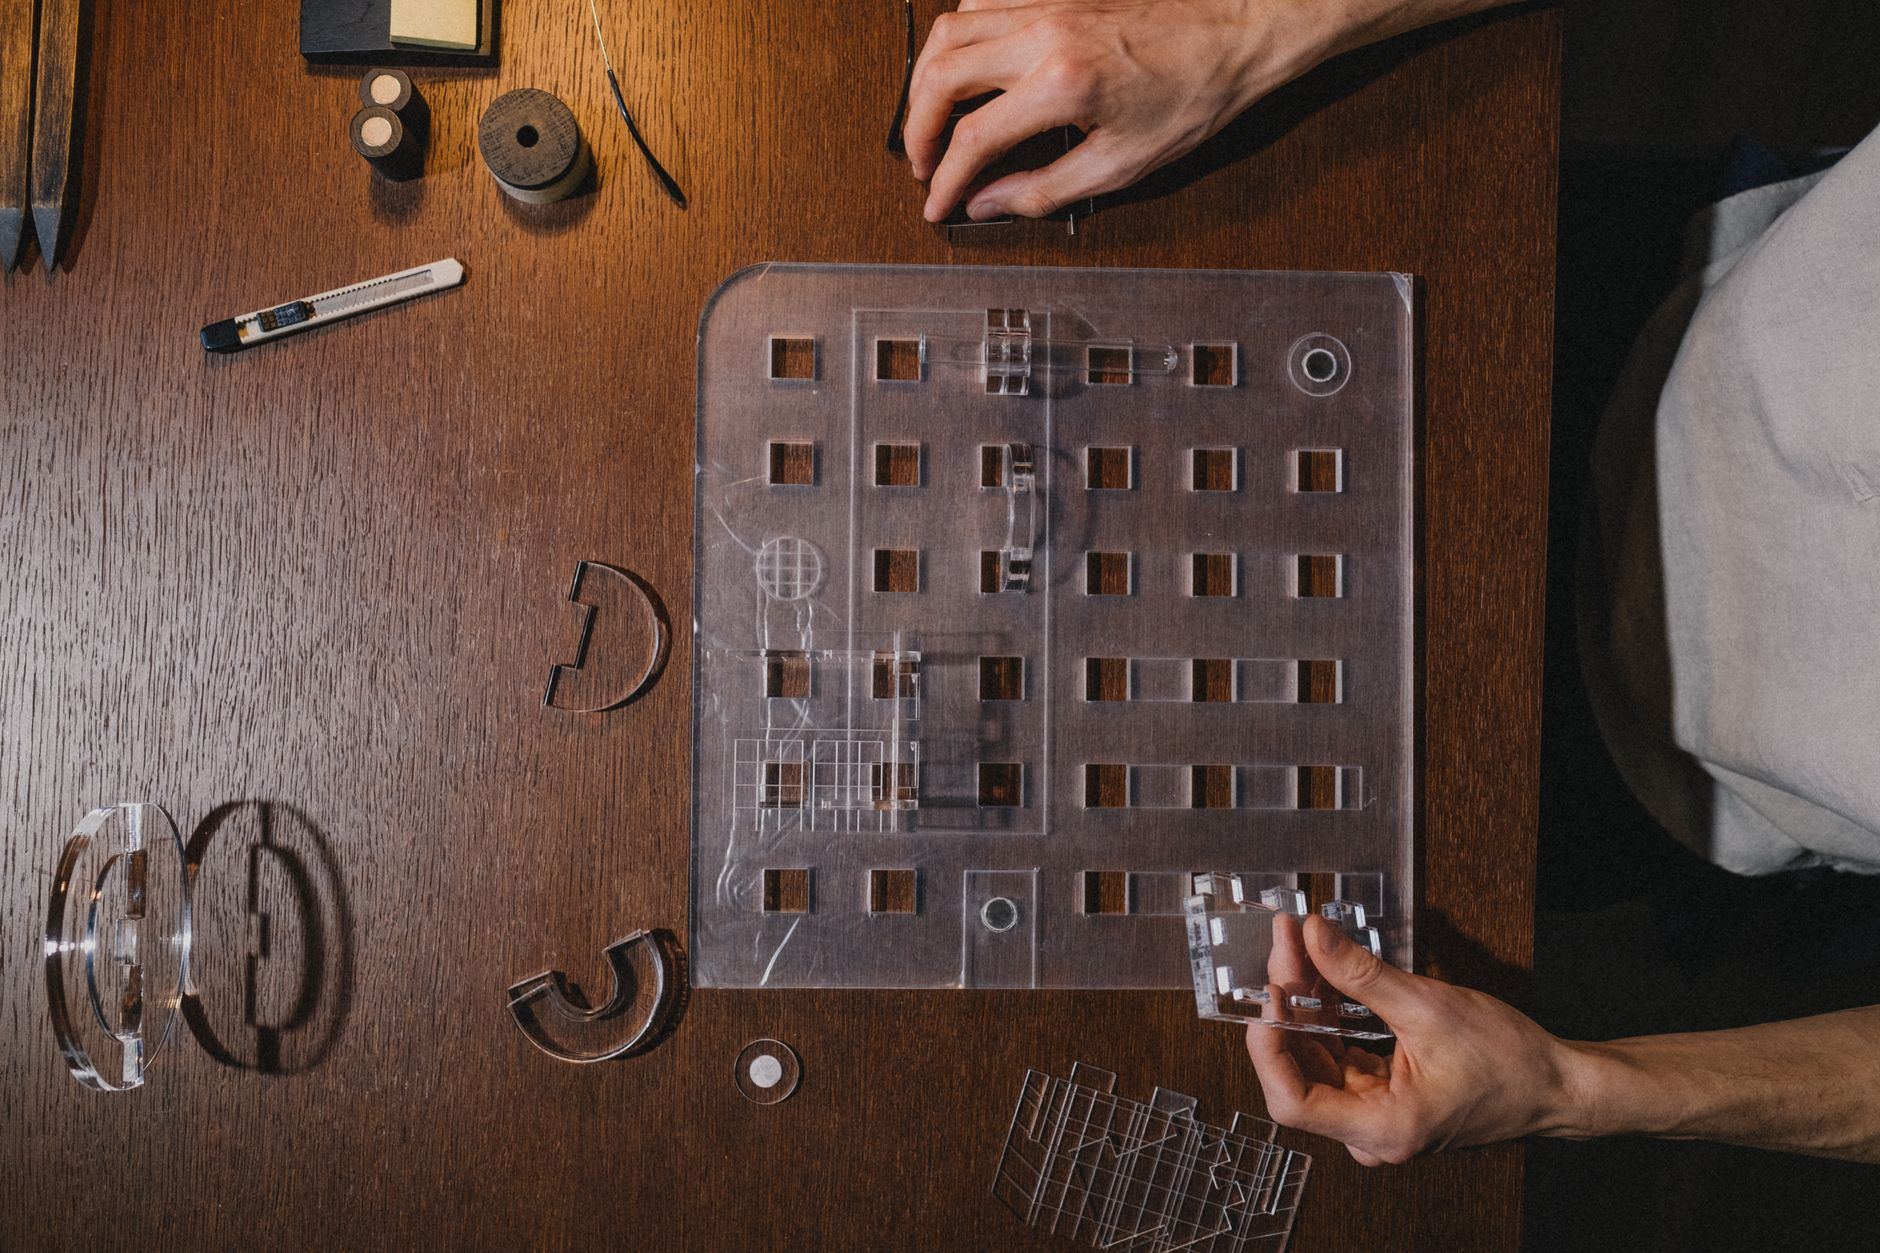
The true thrill in scale model building lies not in finishing the model, but in the intense focus that lets time slip away.
Learning scale model building as a beginner opens the door to a rewarding hobby that involves creating intricate miniature replicas of real objects — aircraft, ships, cars, architecture — usually from plastic kits, at a fixed size ratio like 1:72 or 1:35.
You glue, paint, and detail each part by hand.
Unlike collecting, you build what you display — the craft is the point, not the acquisition.
In scale model building, you systematically assemble miniature models by selecting a kit, gathering specialized tools, preparing components, and carefully following detailed instructions to fit small parts together, applying finishing touches like paint and lighting, and finally displaying your completed work.
This hobby provides a sense of accomplishment through the tangible output of a finished model, allowing for incremental skill development as you progress through varying difficulties while engaging in focused, manual tasks that require both fine motor control and cognitive problem-solving.
You think it's all about patience. Quiet people, steady hands, methodical assembly. Maybe a little sad, maybe a little lonely.
Picture someone building a 1:35 Tiger I tank. Not just gluing parts together.Mixing three shades of Dunkelgelb from scratch, researching specific markings used by Eastern Front units that month, scratch-building a track link because the kit's one looks wrong up close.
Not passive. Obsessive, iterative, technical work.
The first time you nail it, you extquoteright ll get why people do this for decades.
Next up: what your actual first week looks like, and why the kit you buy on day one matters more than you think.
Building a model kit is less serene at the start than it seems in videos. A messy workspace is more likely than a pristine desk. Glued-together parts may not cooperate. Your patience will be tested as you try to follow instructions that assume you know more than you do.
Learning which glue works for each material becomes key. Your first finished kit might feel distant, but even a failed step teaches something important.
In the second week, the basics start to make sense. You'll learn not to touch glue joints too soon. By week three, painting feels like a whole new challenge. But by the end of the month, something on your model will impress you, and you'll understand why it worked.
Plastic cement melts styrene, not just sticks to it. It needs full contact with both surfaces beforehand. This won't fix resin parts, so be mindful of your materials before gluing.
You'll end up with unfinished kits and excess glue, and instructions that seem useless.
That isn't failure — it's experience taking shape. With practice, muscle memory transforms these mishaps into a satisfying process.
When to start: Early morning
Duration: 1.5 hours
Cost to try: $15
Success criteria: If you finished without skipping assembly steps, do session 2.
Glue first, regret immediately. Parts that seem aligned on the sprue rarely sit correctly without a test fit. Do a full dry fit of every major sub-assembly before opening the glue. Mark any gaps with a pencil to know where to sand first.
Once the hull is closed, a brush can't reach where it needs to. Recesses, cockpit interiors, wheel wells become inaccessible. Build in sub-assemblies and paint each one before joining. Your model may sit in three parts on your desk for a week, but every detail will be painted.
Beginners treat liquid cement like wood glue. It crawls onto visible surfaces and frosts the plastic. Apply just a thin bead to one surface, using the brush that comes in the bottle. Let the joint pull it in, avoiding a flood.
A scratch from 220-grit doesn't vanish under primer. It becomes a permanent mark. Work through at least three grits (220 → 400 → 800) before priming. Wipe with a damp cloth between passes to see what still needs attention.
Decals over bare paint trap air and leave a silvery film. That film screams 'kit-built' from afar. Apply a coat of gloss varnish first, then the decals. Seal with another gloss coat, and finish with your chosen varnish.
Scale model building thrives at home—just a desk, good lighting, and some space are all you really need.
Dive deeper by joining group builds or club nights. Hobby shops, makerspaces, and community centers host these serious gatherings.
Admitting you're a beginner gets you far. Just say you've started and need guidance. It's a fast track to kit recommendations, workbench tours, and invites to the next meetup.
Injection-molded plastic kits offer an affordable start in this hobby. They involve gluing, sanding, and painting. Subjects range widely from WWII tanks to anime mechs. Kits are economical, costing $15–$80 depending on complexity and brand.
Resin kits offer sharper detail than plastic, but they require patience. There's more prep work involved, they warp more easily, and sanding without a mask can release toxic dust. These kits are challenging and cost 2–4 times more than their plastic counterparts.
Model railroading goes beyond assembling trains. You're creating entire miniature landscapes. The hobby requires significant space and budget, perfect for those who enjoy crafting detailed worlds.
Garage kits and figure modeling focus on painting. These often unlicensed resin figures, like detailed anime characters, require a high level of painting skill. Ideal for those looking to move from miniature painting to larger, more intricate subjects.
Ship and aircraft models often demand rigging, involving tiny threads or wires in delicate configurations. This facet demands a unique kind of patience, perfect for builders who aren't rushed by time-consuming projects.
Some of the same instincts show up in Cross Stitch — worth a look if this clicked.
For something adjacent, see Sewing.
Applique lives in the same world — different mechanics, similar appeal.
Dry-fitting fluency is the art of assembling subassemblies without glue. You learn to spot gaps, misalignments, and tricky parts before they're permanent. Most imagine only testing two pieces. But it's building the entire model in your head, dry, before any cement touches the plastic.
With this skill, you start painting parts before final assembly. You see which seams will be hard to reach later. Skip this step, and you'll face frustration.
Modelers who plateau aren't less skilled.They just don't take their time.
Next, you'll learn to spot challenges in a completed kit, reverse-engineer it, and integrate dry-fitting into your process.
Six sessions over 30 days. One build session every five days.
Commitment here is key. The rhythm of progress—primers drying, layers setting—matters.
If you're plotting your next kit before finishing the current one—that excitement signals a connection. Step up to a more complex kit and dive into specific techniques.
If these sessions felt flat with no pull—that's honest data, not a failing. More sessions won't change your connection to the hobby's unique quirks.
If you found yourself watching the clock—that resistance isn't about skill—it's about pace. Some people simply aren't wired for this slow, detailed work.
When you're watching late-night YouTube build videos just because you enjoy it—not to learn, just to watch—that's the pull.
Shaky hands or conditions affecting fine motor skills can make this hobby incredibly frustrating. Complexity only increases as you progress.
Poor ventilation or no outdoor space? Primer fumes and solvent smells aren't just annoying—they're a serious health risk.
If you can't handle long-term projects, this hobby will feel punishing—not your impatience, but a real mismatch with modeling's slow pace.
For ideas that take five minutes instead of five weeks, see things to do when you're bored.
Starter kits typically range from $20–$50, while quality tools (hobby knife, cutting mat, glue) add another $30–$80. A complete beginner setup is realistically achievable for $100–$150. As you progress, individual model kits vary widely from $15 for simple plastic models to $200+ for detailed ship or aircraft replicas.
Simple models take 2–4 hours, while intermediate builds range from 8–20 hours across multiple sessions. Complex models with detailed painting and weathering can take 40+ hours. Most builders enjoy spreading projects over weeks or months, working in short sessions rather than completing them in one sitting.
Beginner-friendly options include plastic snap-fit models (cars, planes, ships), architectural models, and diorama pieces that require minimal tools and glue. Many hobby brands offer starter lines specifically designed for new builders with fewer parts and clearer instructions. Military models, train sets, and sci-fi replicas also have accessible entry-level options.
No—scale modeling is more about patience and precision than artistic ability. Basic hand-eye coordination and the ability to follow instructions are sufficient to start. Most skills like painting, detail work, and weathering are learned gradually through practice, and mistakes are normal and fixable.
At minimum, you need a hobby knife or craft knife, cutting mat, plastic cement or glue appropriate for your kit's material, small clamps or clips, and sandpaper for smoothing edges. Tweezers for placing small parts and a small paintbrush are helpful additions. Many kits include basic tools, so you can expand your collection as you advance.
A small desk or table with 2–3 square feet of workspace is sufficient for most projects. You'll need room for your kit, tools, paint, and a drying area for glued parts. A dedicated storage shelf for supplies is ideal but not essential—many builders work in compact spaces and store kits in plastic bins between sessions.