BoredomBusted — Find Your Next Favorite Thing To Do
Discover hobbies, activities, places, and ideas that spark joy. Whether you're looking for something creative, active, social, or relaxing, BoredomBusted helps you find your next favorite thing to do.
Browse our hobby guides, things-to-do collections, and place ideas to never be bored again.
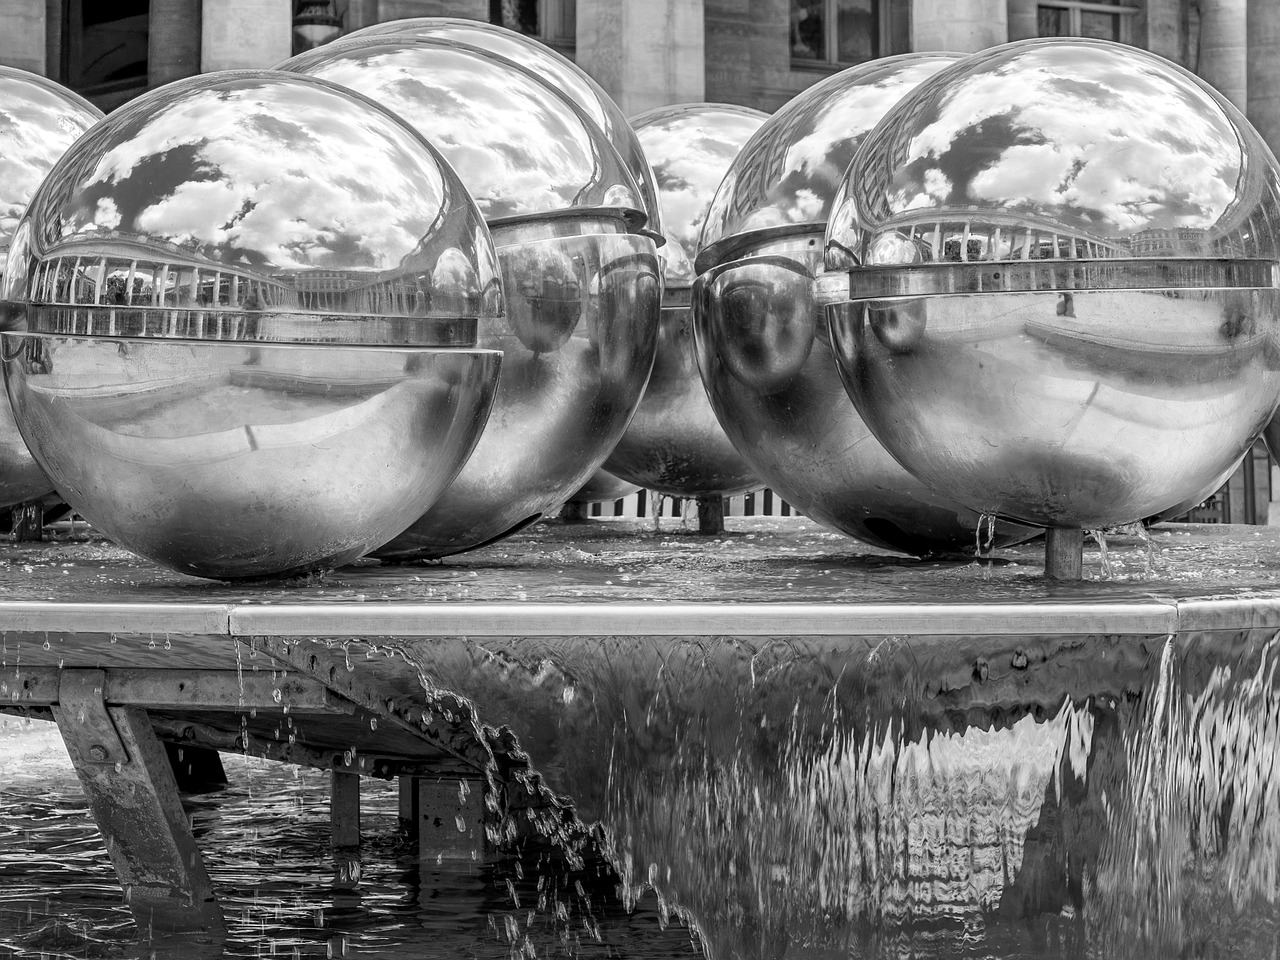
Shadow Art isn’t just about creating shapes; it transforms everyday materials into engaging narratives, sparking a unique creative flow state.
Getting started with shadow art as a beginner involves creatively arranging objects or your hands to produce stunning cast shadows that tell a story.
The shadow, not the object itself, is the finished artwork.
Unlike sculpture or drawing, you never touch the final image – light does the last 10% of the work for you.
In Shadow Art, you position your body or objects outdoors to cast elongated shadows on flat surfaces, then arrange painted rocks, sticks, and natural items onto the shadow's outline to create figurative scenes. This process involves physically experimenting with body angles, time of day, and item combinations, iteratively refining the composition before capturing the result through photography or…
Shadow Art promotes a sense of accomplishment through creative expression and iterative experimentation, allowing you to engage in a flow state as you manipulate light and shadow, transforming mundane materials into visually compelling stories.
You think Shadow Art is child's play with hand shadows.Flashlight, afternoon boredom, maybe a bunny figure – done.
That assumption keeps you from mastering a challenging, absorbing skill.
For example, Kumi Yamashita crafts human portraits using nails and thread.This is done with a single light source, no drawing or projection needed.
The image fades with a two-degree change in light angle.Her work is not just crafts – it's an art form with depth and complexity.
Curious about starting your own journey and what you need?The next section dives into the essentials.
The contrast between what you see on video and reality is startling. On screen, wolves and dragons seem to form effortlessly in skilled hands. In your own hands, shapes morph into unrecognizable blobs, and the shadows are even worse.
This awkwardness is normal. Expect your fingers to rebel, the light angle to confuse you, and the shadows to become indistinct blobs. Figuring it out feels frustrating at first.
Eventually, you'll start recognizing the problem with the light angle. Adjusting your grip mid-shape becomes second nature, and you begin seeing the form before it appears.
Most of your early struggles come from the light source, not your fingers. A single bulb at eye level is your best teacher—diffused or shaded lamps hide your mistakes. Stick with the harsh lighting that highlights errors.
It's annoying when your rabbit looks more like a shoe. This isn't a sign of failure—your eyes are still learning to interpret what your hands are trying to create.
When to start: Early morning
Duration: 1 hour
Cost to try: $10
Success criteria: If you finished without ruining your paper shapes, do session 2.
Beginners think a closer light makes for better shadow detail. But this often creates harsh edges instead.
Move your light back about 3–4 feet. More distance softens the shadows and defines the silhouette better.
It seems simple to trace a shadow directly, but light shifts can ruin your work.Photograph the shadow first and trace from that image. This keeps the shape consistent throughout your session.
Complex objects might look appealing, but their shadows often become unreadable.
Shadows are often ruined by uneven surfaces that introduce unwanted noise.
Use smooth white poster board as your base. This prevents texture from interfering with your shadow.
Beginners often stop at one object and shadow. This creates static, flat compositions.
Experiment by overlapping two objects at different distances. Layered shadows add depth you can't get from just one.
Shadow art needs almost nothing – just a light source, a wall, and a dark room.
While most practitioners work at home, spaces like makerspaces and community art studios can be critical. They often have controllable lighting, making them perfect for practice.
Name your beginner status when joining a session. This simple action can get you a more detailed demo, a good spot near the light source, and guidance on your technique. Just observing won't bring the same experience.
Forget about fancy tools. All you need are your hands and a wall. This is how shadow art began.If you want to dabble without investing in equipment, this is where to start.
Cutting detailed silhouettes from black card stock for backlighting rewards your careful touch.Perfect for those who love intricate paper crafts
A decent craft knife and self-healing mat cost about $20–$30.
Using a projector or strong light, you'll transform 3D objects like wire sculptures into shadow masterpieces.The shadow itself becomes the art, shifting your design perspective.
Transparent sheets painted or drawn on create composite shadow stages under light.This feels like printmaking, with layers doing the heavy lifting.
Transparency film is inexpensive.
Create digital shadows with tools like Procreate or Photoshop, mimicking the effect without traditional restrictions.
Great for screen-loving digital artists, less so for those who prefer hands-on work.
Macrame is a sibling pursuit and often surfaces the same kind of curiosity.
Readers who enjoy this often gravitate toward Mandala Coloring next.
A close neighbor worth considering: Dollhouse Miniatures.
Most beginners obsess over cutting cleaner silhouettes or finding sharper light sources.
The shapes aren't the problem – the distance is.
The essential skill is judging light distance by feel. It's about seeing how far the light source should be to control shadow edges.
No guessing or random adjustments. Read the penumbra – the soft, blurry edge – and move the light intentionally until the edge fits your composition.
Move the light closer and the shadow edge softens, loses definition.
Move it further and edges sharpen, but the shadow changes shape entirely. Without this awareness, you're not in control, just reacting to what happens.
Without this skill, you're just rearranging objects, hoping something clicks.
Set an object against a white wall and move the light from 6 inches to 6 feet away. Photograph each position and learn what changes and why.
Target just the edge: adjust only the light distance to shift the shadow border from soft to crisp in under 30 seconds.
Recreate a specific shadow from a reference photo by changing distance alone, keeping object position fixed. This forces reliance on light, not placement.
Next, explore how different light sources affect your results.
Six sessions over 30 days is the commitment. Space them out to have time for reflection.
If you found yourself tinkering post-session, adjusting the lamp's angle or snapping photos of your work, you're probably hooked. Shadow art thrives on small, obsessive adjustments. Dive deeper by sourcing higher-quality light equipment and planning more intentional compositions.
If the sessions felt flat and nothing drew you back, don't assume shadow art isn't for you—your setup might be the problem. Often, indifference is caused by a weak light source or a non-inspiring subject. Try again with a proper directional lamp and a subject you care about before making a final decision.
If you dreaded the sessions and kept checking the clock, that's a clear signal this isn't your fit. The constraints of shadow art aren't compatible with everyone. Some require more movement or color, which shadow art doesn't offer. Pay attention to this feeling.
You'll know you're onto something if you're noticing shadows in your daily life—like how afternoon light hits a wall or how a plant's shadow dances across the floor. This means shadow art is tuning your mind in a new way, which is the strongest signal you belong.
Looking for something different? The hobbies list is the easiest way to scan what else is on the table.
You'll need black paper or cardstock, a sharp craft knife or cutting mat, a light source (lamp, flashlight, or LED strip), and a white surface to project shadows onto. Many beginners start with just these basics—no special equipment required. Optional additions include tracing stencils, spray adhesive, and professional lighting rigs as you advance.
You can create your first simple shadow piece in 1–2 hours, but developing precision and detail takes 4–6 weeks of regular practice. Most beginners can produce impressive results within a few months of consistent work.
Shadow art is accessible for beginners because it relies on cutting and light placement rather than drawing skills. You can start with traced templates or simple geometric designs, then progress to freehand patterns as you gain confidence and technique.
Basic supplies cost $15–$30 to start—paper, a craft knife, and a flashlight are inexpensive and often found at home. Professional setups with specialty lighting and premium materials can run $100+, but that's optional for hobbyists.
Intricate silhouettes, nature scenes (trees, animals, plants), architecture, and portraits translate beautifully into shadow art. Designs with fine details and layering create the most dramatic effects, though bold, simple shapes also produce striking results.
Yes—you can frame shadow pieces under glass or acrylic, install permanent wall-mounted displays with integrated lighting, or create shadow boxes. Pieces are durable if protected from direct sunlight and moisture.