BoredomBusted — Find Your Next Favorite Thing To Do
Discover hobbies, activities, places, and ideas that spark joy. Whether you're looking for something creative, active, social, or relaxing, BoredomBusted helps you find your next favorite thing to do.
Browse our hobby guides, things-to-do collections, and place ideas to never be bored again.
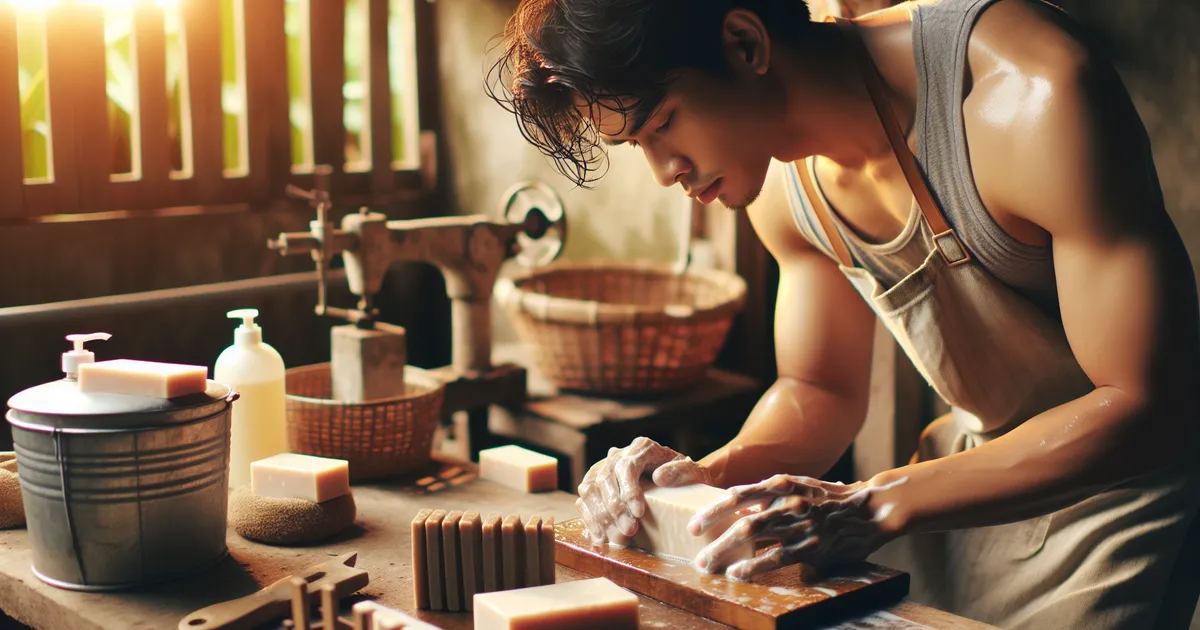
Soap making isn't just a craft — it's applied chemistry where each oil affects lather, conditioning, and even the scent's evolution over time.
Learning soap making as a beginner invites you to explore the fascinating process of combining fats or oils with an alkali (lye) to trigger saponification — a chemical reaction that produces soap and glycerin.
Unlike candle making or bath bomb crafting, the chemistry is non-negotiable: get the ratios wrong and you get a product that burns skin, not cleans it.
In soap making, individuals engage in hands-on crafting by measuring, mixing, and heating specific ingredients like lye and oils, pouring them into molds, and carefully monitoring the curing process, which can take several weeks. The process involves precise actions such as blending mixtures to achieve a pudding-like texture and incorporating fragrances or herbs, allowing for personal customizati…
Soap making induces a flow state through its multi-step rituals that require focused attention and skill engagement, while immediate feedback from the tactile changes in mixtures fosters skill development. The creative freedom to customize recipes adds novelty, and the tangible outcome of usable soap provides a strong sense of accomplishment, reducing feelings of boredom and promoting a connectio…
Soap making seems simple. Melt some wax, pour it in a mold, call it a day. Cute at craft fairs, not exactly rocket science, right?
But you've missed what you're actually learning.
A failed batch isn't failure—it's data for improvement.
Make a cold process soap with a high-olive recipe; wait six weeks. The bar hardens, the pH drops, and the scent evolves.
It's still changing after you set it down. Enthusiasts don't need fancy equipment to rise above the rest.
Instead, it's about learning from every batch, each ingredient, and adapting as you go.
Soap videos make it look like pouring and waiting. That's not wrong — but they skip the lye fumes, the first loaf that seizes into mashed potato, and the silence after where you have no idea what went wrong. That gap between watching and doing is where most beginners lose a week of confidence.
Your first batch might actually go fine. Then you discover it needs four weeks to cure before you can use it. The hardest part of soapmaking isn't the chemistry — it's sitting with a finished loaf for a month not knowing if you got it right. Most people quit inside that wait.
By week two, you'll try a fragrance oil without checking whether it accelerates trace. Your swirl design becomes a lumpy brick. Week three is when lye concentration stops feeling like chemistry homework and starts making sense. Week four, you pop out that first cured bar — it lathers, it works, and something actually shifts. It's not going to feel like a hobby for a while. It's going to feel like homework with a burn risk.
The one thing worth knowing before session one: run your recipe through a lye calculator like SoapCalc before you buy a single ingredient. Every oil has a different saponification value. Eyeballing ratios isn't creative — it's how you end up with a batch that won't cure, or worse, stays caustic. The next section covers the mistakes that keep beginners in the frustrating half of this hobby longer than necessary.
When to start: Morning
Duration: 1 hour
Cost to try: $20
Success criteria: if you finished without spilling soap everywhere, do session 2.
Lye is unforgiving. A few grams off and your soap either fails to saponify or ends up caustic enough to burn skin.
Run every recipe through a lye calculator like SoapCalc before you touch a single ingredient. Do this every single time — not just the first batch.
Candle fragrance oils aren't formulated for high-pH environments. They seize your batter or fade completely within weeks.
Only buy fragrance oils rated specifically for cold process soap, and check the supplier's usage rate before adding anything.
The heat and alkalinity destroy scent compounds before your soap even sets. You end up with nothing.
Add fragrance to cooled oils at trace — never to the lye solution at any stage.
Most beginners fixate on matching oil and lye water temperatures exactly. The real problem is pouring when either is still above 120°F.
Let both cool to between 90–110°F before combining. The batter stays workable longer and you'll have more time to add color or swirl.
Cold process soap looks solid after 24 hours. It's still caustic.
Leave it in the mold for 48–72 hours minimum, then cure on a rack for four full weeks before anyone uses it on their skin.
Soap making happens almost entirely at home — your kitchen or a dedicated workspace with decent ventilation. Some community centers and craft studios host occasional workshops. A workshop is the smartest way to try it before spending anything on supplies.
When you reach out to any of these groups, tell them you've never made soap before and don't know what you don't know yet. That framing gets you lye safety first — handling, protective gear, ventilation — before anyone hands you a recipe. That's the non-negotiable starting point, and any good instructor will treat it that way.
Cold process is the classic method. You mix lye with oils at room temperature and let saponification do the work over weeks.
Best for people who want full creative ownership and don't mind a 4–6 week cure before they can use what they made. Lye handling is required from the start — no way around it.
You buy a pre-made soap base, melt it, add color and fragrance, pour it into molds. No lye. No cure time.
The clearest on-ramp to the hobby — start here if you're still unsure this is your thing. Best for absolute beginners, kids' projects, or anyone who wants results without a chemistry lesson.
Hot process is the same chemistry, but you cook the soap in a slow cooker to accelerate saponification. Cure time drops to days, not weeks.
The tradeoff is a rougher, more rustic texture that's harder to make look polished.
Liquid soap uses potassium hydroxide instead of sodium hydroxide — different enough that it's essentially a separate skill. The result is a pourable soap, but the process is trickier to get right than solid soap.
Best approached after you're comfortable with cold or hot process — not a smart first variant.
Rebatching means grating down existing soap bars, melting them with liquid, and remolding. It's mostly used to salvage cold process batches that failed.
Treat it as a rescue technique, not a creative method — worth knowing about, not worth starting with.
If you want a related angle, Junk Journaling is the natural next stop.
If the texture of this appeals to you, Foley Artistry is built on similar bones.
For something adjacent, see Meal Prep.
Most beginners focus on fragrance blends and mold aesthetics. That's the surface level. The real challenge is understanding the lye-to-oil ratio through feel, temperature, and behavior, not just calculator outputs.
Master the saponification value for each ingredient. Recognize why oils like castor accelerate trace while others like olive elongate it. This knowledge empowers you to predict rather than react.
Knowing each oil's SAP value and its impact on trace speed is vital. This allows you to troubleshoot a seized batch on the spot, turning chaos into a learning opportunity.
The only way to know if soap making works for you is to actually do it – not watch tutorials, not buy supplies speculatively, not read another page like this one.
Here's the commitment: 4 sessions in 30 days.
That's roughly one batch per week. Each session runs 2–3 hours including setup and cleanup. Four sessions gives you enough reps to move past the first-batch anxiety and feel whether the process itself pulls you back – or doesn't.
You're standing in a soap aisle – a pharmacy, a farmers market, a gift shop – and you flip the bar over to read the ingredient list.
Not because someone told you to. Just because you wanted to know.
That reflex is the signal. It means the chemistry already has you, and making your own is the obvious next step.
Working with lye (sodium hydroxide) is non-negotiable in cold-process soap making – if you have respiratory sensitivities or limited hand mobility, this is a real barrier, not a minor inconvenience. Lye fumes require ventilation; precision pouring requires controlled grip.
If your living situation doesn't include a dedicated workspace you can leave messy for a few hours, the friction is going to grind you down fast. Small apartments with shared kitchens make the process actively difficult.
Soap making also rewards patience in a specific way – you pour a batch and don't know if it worked for six weeks. If delayed feedback loops genuinely frustrate you (not mildly, genuinely), the cure-and-wait cycle will kill your momentum before you ever hit your stride.
If you're still in after all that, the next section covers exactly what to buy, what to skip, and where to find reliable recipes that won't waste your first three batches.
Soap Making is a deeper commitment than most boredom cures — for lighter options, check things to do when bored.
A single batch typically takes 20–30 minutes to prepare and mix, but the full process requires curing time—usually 4–6 weeks—before the soap is ready to use. During curing, the soap hardens and the chemical reaction between oils and lye completes, creating a gentler final product.
You can begin with a basic starter kit for $50–$150, which includes essential oils, soap base or lye, molds, and tools. High-quality ingredients and equipment can increase initial costs, but each batch becomes inexpensive to produce once you have supplies, typically costing $5–$15 per batch depending on ingredients.
Beginner-friendly methods like cold process or melt-and-pour soap making have manageable learning curves, though cold process requires careful handling of lye. Most beginners succeed with clear instructions and proper safety precautions like gloves and ventilation.
Essential tools include a heat-resistant container for mixing, a scale, measuring spoons, safety gear (gloves and goggles), soap molds, and a heat source. Many hobbyists repurpose kitchen items or buy affordable starter kits that bundle everything needed.
Yes—melt-and-pour soap making uses pre-made soap bases that already contain lye, eliminating the need to handle it yourself. This method is faster, safer for beginners, and requires minimal equipment, though it offers less creative control over ingredients than cold process soap making.
Homemade soap lets you choose natural ingredients, avoid harsh chemicals, and customize scents and textures to your preferences. Store-bought bars often contain fillers and synthetic additives, while your creations can be tailored for specific skin types and sensitivities.