BoredomBusted — Find Your Next Favorite Thing To Do
Discover hobbies, activities, places, and ideas that spark joy. Whether you're looking for something creative, active, social, or relaxing, BoredomBusted helps you find your next favorite thing to do.
Browse our hobby guides, things-to-do collections, and place ideas to never be bored again.
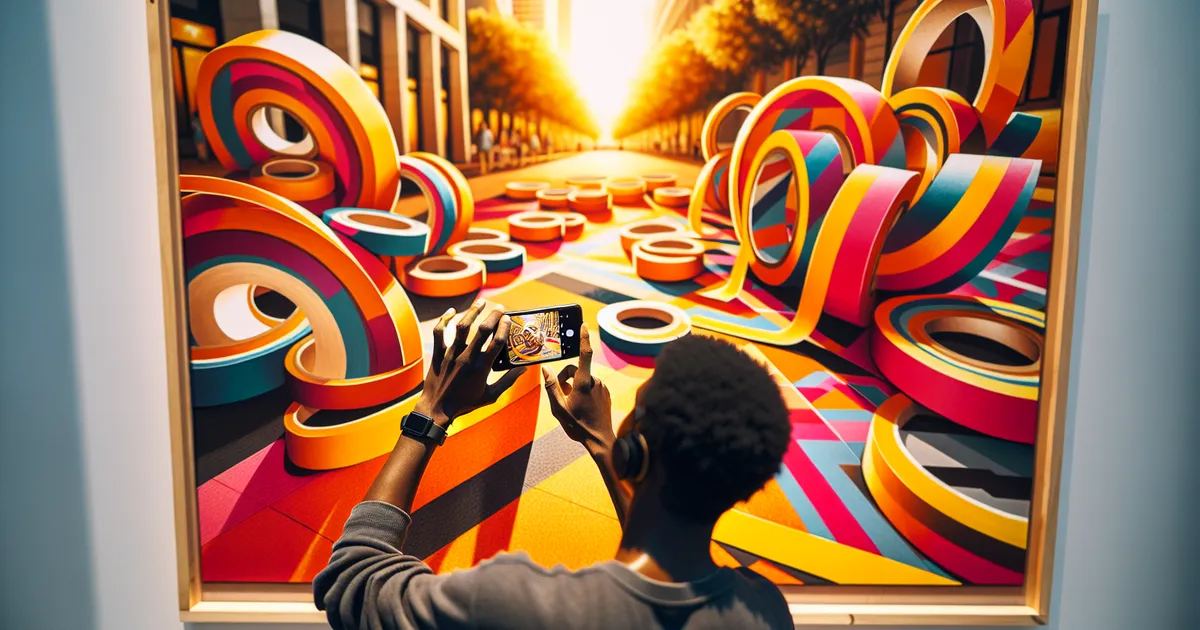
Tape art isn't just peeling back layers for clean lines—it's a strict geometry exercise where the preparation shapes stunning light-based compositions.
Learning tape art as a beginner involves exploring the creative possibilities of using adhesive tape to craft stunning images and designs.
You apply strips – usually masking, washi, or gaffer tape – directly to walls, canvas, or floors to build up shapes and color fields.
Unlike painting or collage, the lines are the art: no brushwork, no cutting skill required, just placement and precision.
In Tape Art, you use various types of adhesive tape to create designs on walls or other surfaces, focusing on geometric patterns, murals, or sculptures. You physically cut and apply the tape, planning your compositions while adjusting colors and shapes, allowing for creative exploration and hands-on engagement. This tactile process requires concentration and decision-making, leading to unique, vi…
Tape Art engages creative expression and encourages a flow state by immersing you in the design process, where your focus is fully on the task. The incremental feedback from seeing your designs evolve provides a sense of accomplishment, while the social aspect of collaborating or sharing your work fosters belonging and community connection.
You think tape art is that thing where someone outlines a canvas, slaps on some paint, and peels back to reveal clean lines. A craft fair hobby. Something to keep your hands busy on a Sunday afternoon.
That assumption means you miss the whole discipline hiding inside it.
Artist Max Zorn works entirely with packing tape on backlit surfaces, layering translucent amber strips to build portraits with light and shadow. The same material you seal moving boxes with has shown in galleries across Europe.
No paint. No brushes. Just geometry, light, and a roll of amber tape. The constraint is the whole point – and Zorn's work is what happens when someone takes that constraint seriously for long enough.
The tools here are cheaper than almost any other visual art form, which makes it easy to dismiss. That's exactly why the next section matters – because what you actually need to start is probably not what you think.
Watching tape art on video looks meditative. Calm hands, clean lines, a satisfying peel at the end. Your first session will not look like that.
The first hour is repositioning. Tape lifts at the corners. Lines drift. You press an edge down firmly and the paint bleeds under it anyway. The frustration isn't random — tape art punishes impatience before it rewards anything else. Most people quit right before their hands learn to slow down.
By week two, edges get cleaner — but you'll realize your surface was fighting you the whole time. Week three, you finish something you don't hate, then immediately spot every flaw. Week four is when you start a piece with a plan instead of a hope — and that gap is the actual turning point.
Before your first session, seal your tape edges with the same base color before adding any fill. One thin pass. That single step makes bleed nearly impossible — and most people only learn it after ruining something they liked. The next section covers the other mistakes that keep beginners stuck longer than they need to be.
When to start: Early morning
Duration: 1 hour
Cost to try: $5
Success criteria: If you finish a taped design with at least 3 straight lines and 2 clean intersections that match your sketch, do session 2.
Speed creates stretch, and stretched tape curves when you don't want it to. Your straight lines become subtle waves that ruin geometric work.
Slow your pull to about the speed you'd peel a bandage off skin, keeping tension even the whole way.
Every layer of tape adds thickness. Beginners stack four or five deep, and by then the edges are lifting and bleeding at the seams.
Cap your layers at three and re-anchor edges with a bone folder or your thumbnail before adding the next pass.
Freehand feels faster. Beginners assume small diagonal cuts don't need a ruler. They do, every single time.
Keep a metal ruler taped flat to your cutting mat and slide your blade along it, even for cuts under two inches.
Laying a full strip in one motion traps air bubbles and misaligns the line before you can correct it.
Anchor one end first, then press down inch by inch with your fingertip, steering the strip as you go. That small adjustment gives you control over the whole line.
Torn ends look intentionally rough in fabric art. In tape art, they just look like a mistake — clean termination is what sells the whole piece.
Use dedicated scissors or a fresh blade for every end cut, and snip perpendicular to the tape width, not at a lazy angle.
Tape art happens wherever you can stick something to a surface — your bedroom wall, a rented studio space, or a community arts center. Some practitioners work large-scale in maker spaces or collaborate on murals in public art venues.
No national governing body exists for tape art. The whole thing is organized around projects, not institutions — which makes it easier to walk into than most art scenes.
Show up to any open studio night or mural workshop and say: "I work with tape — I'm still figuring out tension and clean edges." That specificity signals you're not a tourist. It gets you real feedback instead of a beginner pamphlet.
This is tape art at scale – full rooms, gallery floors, entire building facades turned into geometric murals.
The work is temporary by design, which is half the appeal. Best for people who think big and don't mind the piece disappearing when it's done.
Wider tape (2–3 inch) and bulk rolls matter here – budget jumps noticeably once you're covering square footage.
Instead of geometric patterns, you're building recognizable faces and figures from layered tape strips.
The challenge is shading with texture, not color. Best for artists crossing over from drawing or painting who want a new constraint to fight against.
One color of tape, one surface, strict geometric compositions.
No color theory to hide behind – every line has to earn its place. This is actually the best starting point for beginners.
The limitation forces clarity fast.
Uses fluorescent or UV-reactive tape, built for low-light environments like events, clubs, or darkened gallery spaces.
The aesthetic is completely different from daylight tape work. Best for people already involved in event design or who want their work to perform rather than just hang.
Specialty tape costs more and the selection is narrower – worth knowing before you commit to a project.
Tape becomes one layer among many – combined with paint, stencils, photography, or found materials.
The tape is structural here, not the whole story. Best for artists who already work in another medium and want to add dimension without starting over.
Another variant that pulls from the same roots is Fabric Dyeing.
A close neighbor worth considering: Wire Sculpture.
If the texture of this appeals to you, Cabinetry is built on similar bones.
Most beginners obsess over cleaner edges — better tape, slower pulls, sharper tools.
The real lever isn't edge quality. It's learning to read how tape behaves under tension before it touches the surface. That skill is tension mapping — predicting how a strip will curve, buckle, or lift based on how much stretch you apply before laying it down.
Not instinct. Not talent. Not the brand of tape. The plateau almost always comes from not having a learned read on the material before it commits to the surface.
Without it, you're correcting after the fact. Repositioning. Patching gaps. Losing adhesion every time you second-guess a line.
Every technique in tape art builds on this one read. Shadows, depth, negative space — none of it lands if you can't predict the strip. The next section covers where to practice this deliberately, not just accidentally through repetition.
Commit to 6 sessions over 30 days – roughly one every five days. That's enough to get past the awkward geometry phase, run into your first real problem, and find out whether solving it felt interesting or exhausting.
You want to come back. You're already thinking about the next design mid-session. You've started noticing tape-able surfaces everywhere – walls, floors, windows.
This signals spatial thinking that actually enjoys constraint. Go bigger: scale up your size, try curved tape lines, or start planning a wall-sized piece.
You're indifferent. You finished the sessions, the results looked fine, but nothing pulled you back between them. That's a real signal – tape art rewards the person who thinks about it when they're not doing it.
One extension is fair, especially if you only worked small. Try one large-scale floor or wall piece before you decide.
You actively didn't want to be there. Not boredom. Actual reluctance every single time. The precision felt punishing, not satisfying.
That's a clean answer, not a patience problem you'll grow out of. The hobby is made of that feeling, scaled up.
You're in a parking garage, a tiled hallway, or someone's freshly painted wall – and your brain is already dividing the surface into sections. You're measuring angles you have no reason to measure.
That low-grade visual restlessness around geometric surfaces is the actual prerequisite, not artistic experience. If that's been happening, you already know.
You don't have consistent access to a dedicated surface. Shared rental spaces, roommates who need common walls, or frequent moves make this genuinely hard – tape art is slow work that needs to live somewhere undisturbed for days.
Fine motor work causes you pain. Pressing tape with precision, cutting tight angles, and peeling in controlled increments are repetitive hand and wrist actions. Arthritis or repetitive strain injuries aren't a minor inconvenience here – they're central to every session.
You need fast visible progress to stay motivated. A single tape art piece can take four to eight hours before it looks like anything. If early ambiguity kills your momentum in other creative work, it'll do the same here.
Duct tape, masking tape, painter's tape, and gaffer tape are the most popular choices, each offering different textures and color options. For detailed work and clean removal, painter's tape or masking tape work best; for bolder designs, duct tape provides vibrant colors and durability. Choose based on your desired aesthetic and how easily you want the tape to stick to your surface.
Simple designs can take 1–2 hours, while complex, large-scale installations may require 8+ hours or multiple sessions. The time depends on your design's intricacy, the surface size, and your experience level. Most beginners start with small projects to build confidence before attempting larger installations.
Tape art is designed to be temporary, making it ideal for renters or those wanting reversible installations. Most tape art can be removed without damaging walls when peeled carefully, though adhesive residue may remain depending on the tape type and surface age. For permanent installations, some artists use stronger adhesives or create on permanent surfaces.
Tape art works best on smooth, clean surfaces like walls, floors, glass, and furniture, but it can also adhere to rough or textured surfaces depending on the tape type. Avoid overly glossy or fragile surfaces where tape won't hold securely. Always test tape adhesion on an inconspicuous area before starting your main project.
At minimum, you'll need adhesive tape, a pencil or chalk for sketching designs, a craft knife or utility knife for cutting, and a ruler for straight lines. A measuring tape, cutting mat, and design templates or inspiration images are helpful additions. Most supplies cost under $20–30 to start, making it an affordable hobby.
Tape art is beginner-friendly—the main challenge is planning your design clearly before applying tape rather than any complex technique. Start with geometric patterns, grids, or simple shapes to build confidence, then progress to more detailed images. Sketching your design first and working slowly prevents mistakes and helps ensure clean, professional-looking results.