BoredomBusted — Find Your Next Favorite Thing To Do
Discover hobbies, activities, places, and ideas that spark joy. Whether you're looking for something creative, active, social, or relaxing, BoredomBusted helps you find your next favorite thing to do.
Browse our hobby guides, things-to-do collections, and place ideas to never be bored again.
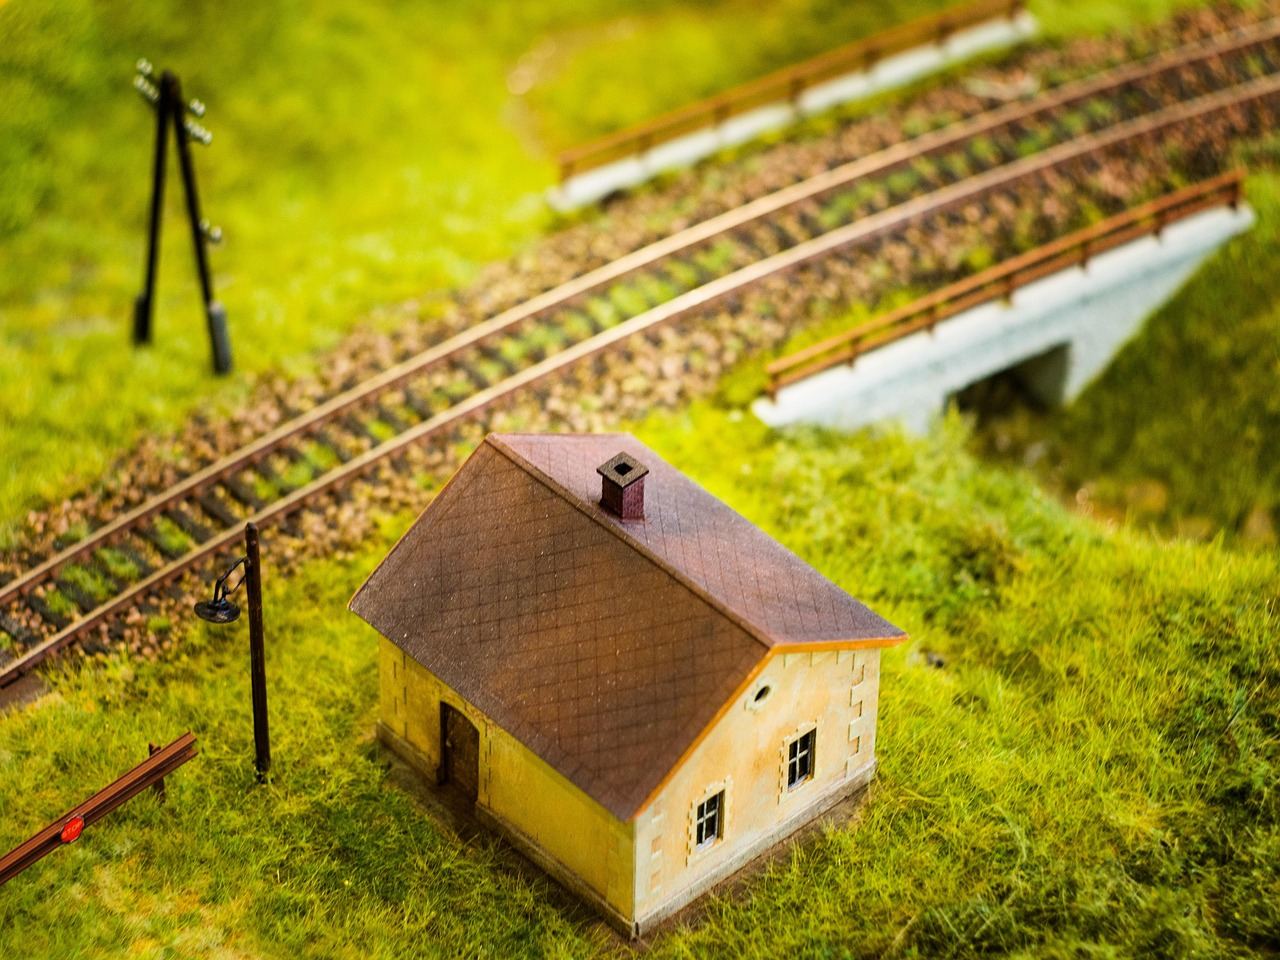
Train set modeling is far from just plastic toys — it's a blend of architecture, wiring, and storytelling that can transform a budget starter set into a complex, immersive world.
Getting started with train set modeling as a beginner involves creating intricate miniature railway scenes that bring your imagination to life. Train set modeling is the hobby of building miniature railway scenes – tracks, trains, and detailed landscapes – that either run automatically or under your control.
Unlike RC vehicles or static model kits, the whole point is the environment around the train, not just the machine itself.
In train set modeling, enthusiasts physically assemble layouts by constructing benchwork, laying tracks, wiring electrical controls, and crafting realistic scenery using various materials. They engage in planning and research to ensure accuracy, sketching track designs, and progressively building complexity from basic loops to intricate multi-level systems. Operationally, they run trains, test me…
Train set modeling fosters a flow state through progressive skill-building, offering immediate feedback when a locomotive runs smoothly or a scenery detail matches researched prototypes. The sense of accomplishment grows from logical planning and operational success, while social belonging emerges in collaborative settings like clubs and meets, enhancing the experience with community support and …
You think this is a hobby for retired guys with too much basement space. A loop of track, a plastic locomotive, maybe a little plastic tree. That's the assumption — and it's wrong in a way that actually matters.
Train set modeling is a systems hobby. On a single afternoon you might be doing architecture, electrical wiring, landscape design, and narrative worldbuilding. The "toy train" framing erases all of that entirely.
Serious modelers learn to solder, scratch-build structures, and weather rolling stock to look like it spent forty years in a Montana rail yard. Scale matters too — but not the way beginners expect. Two people can build identical track plans and end up with completely different worlds, because the story of a layout is what separates the craft from the kit.
Consider someone who picked up a $60 starter set just to keep his hands busy during winter. Three years later he's scratch-building a 1940s Colorado mining town, mixing custom paint to match period photographs, and sourcing brass locomotives from Japanese importers.
The entry point was cheap.
The rabbit hole had no floor.
That depth doesn't appear by accident — it comes from how the hobby is actually structured, which is exactly where most beginners get lost first.
Watching someone else's layout run looks effortless — smooth curves, little towns, trains gliding through on cue. Your first session is quieter than that. A lot of track pieces on a table, and a locomotive that won't stay on the rails.
That first oval takes longer than you expect — sometimes forty minutes for something that looked simple in the box. Most of that time isn't running trains. Most of it is troubleshooting track connections you didn't know could go wrong. That's not a sign you bought the wrong kit. That's just session one.
The thing that catches most beginners off guard is derailments — not just once, but every session for a while. It's rarely the train and rarely bad luck. It's usually a single piece of track with a tiny height gap that takes two weeks to find. Spotting it yourself is the moment the hobby stops feeling like troubleshooting and starts feeling like a skill.
One practical thing before session one: wipe the rails with a dry cloth, or run a track cleaning car before you start. More first-session failures trace back to dirty track and poor electrical contact than anything mechanical. Get the basics right early, and the frustrating half of this hobby gets a lot shorter — which matters, because the next section covers the mistakes that keep people stuck in it longest.
When to start: Early morning
Duration: 1 to 2 hours
Cost to try: $20
Success criteria: If you have a track loop glued down and one painted scenic area with a road, hill, or trees, do session 2.
Track, locomotives, buildings, figures — all of it is scale-dependent. HO, N, and O scale parts are completely incompatible with each other.
Measure your available space before buying anything else. N scale fits under 4×8 feet; HO needs more room. Buying track first and figuring out scale later is how you end up with a box of parts that don't connect to anything.
The train runs fine on bare plywood — it just sounds like a tin can rolling down stairs. That noise destroys the atmosphere you're spending hours trying to build.
Glue a layer of cork roadbed under your track before anything else. It dampens noise and gives the rails a realistic raised profile. This is one of the cheapest fixes with the biggest impact on realism.
It's tempting to wire the whole layout in one session and flip the switch at the end. Then nothing works, and you have no idea where to start troubleshooting.
Wire and test each block individually before moving to the next. Confirm power and continuity at every stage. A fault in block two is a five-minute fix; a fault somewhere in twenty blocks is an afternoon.
White foam bleeds through paint in uneven patches. Your landscape ends up looking like a geology experiment no matter how many coats you add.
Prime foam with dark brown latex craft paint first. It seals the surface and doubles as instant shadow fill in low spots — so you're not fighting the base color through every scenery layer.
Full-strength PVA looks fine when wet. Then it dries into a hard, glossy shell that makes your track look shellacked rather than weathered.
Mix white glue with water at roughly a 1:3 ratio, and add one drop of dish soap to kill surface tension. Apply with a pipette so the mix wicks into the ballast without disturbing it. The dried result is matte, firm, and looks like actual gravel.
Most serious modeling happens at home – a dedicated room, a garage corner, or a fold-down table that becomes your layout space.
For group work, hobby and model club spaces and community makerspace tables are the standard setups.
Show up and say "I'm just starting out – I don't have a layout yet."
That gets you a tour, unsolicited opinions on what scale to start with, and usually someone offering spare track from their parts bin before you leave.
N scale runs at 1:160 — half the size of HO. You can fit a serious layout with long continuous runs into a spare bedroom, not a dedicated room.
Starter sets cost roughly the same as HO. But detail work gets fiddly fast — smaller parts are genuinely harder to handle.
HO (1:87) is the default scale. Most tutorials, clubs, and parts catalogs are built around it. If you're not sure which scale to pick, this is the one.
The widest gear selection of any scale means you're never hunting for obscure parts.
G scale runs outdoors on track laid through actual landscaping. This is the version of the hobby that gets people outside — trains weaving through flower beds, not basement shelving.
Weather-resistant locomotives cost more to start — usually $150–$300+ versus $50–$80 for indoor entry sets. Budget accordingly.
DCC isn't a scale — it's a control system. It lets you run multiple trains independently on the same track, each with its own speed and sound.
Best for modelers ready to move past the basic oval. Budget an extra $100–$200 to convert a starter layout to DCC.
Prototype modelers chase accuracy — specific locomotive classes, real rail lines, historically correct signage. It's less about running trains and more about recreating a place and era that actually existed.
Costs scale up fast. Accuracy requires specific, often expensive rolling stock — and that appetite rarely shrinks.
Sewing lives in the same world — different mechanics, similar appeal.
A close neighbor worth considering: Knitting.
A close neighbor worth considering: Diorama Building.
Most beginners spend months buying better track and fancier locomotives. The layout keeps looking like a toy because they're solving the wrong problem.
The one skill is scene anchoring – the ability to choose a single visual focal point per layout section and build every element around it. Not "make it look realistic."
Pick one thing – a depot, a coal tipple, a grade crossing – and ask whether every rock, tree, and building within 12 inches serves that moment or competes with it.
Without it, your eye bounces around the layout and nothing registers as real – the brain reads clutter, not a world.
With it, even a cheap plastic building feels intentional, because the lighting, ground cover, and surrounding figures are all pointing at the same story.
Modelers who skip this keep adding detail and keep wondering why the layout still doesn't feel finished.
Give it 6 sessions over 30 days – roughly one or two per week. That's enough time to move past the setup novelty and find out if the actual work (wiring, scenery, troubleshooting) holds your attention.
You want to come back.
You're mid-session and already planning the next one. Maybe you're sketching track layouts on napkins or watching YouTube videos about weathering techniques at 11pm.
That's not casual interest – that's the hobby talking. Start budgeting a dedicated space and a proper starter set.
You're indifferent.
You showed up, you didn't hate it, but you didn't think about it between sessions. That usually means the scale or genre isn't right, not the hobby itself.
Try N scale if you've been running HO, or swap a countryside layout for a city switching yard – the texture of the work changes more than you'd expect.
You actively didn't want to be there.
The soldering felt tedious, not satisfying. The slow pace of scenery-building felt like stalling, not craft.
Some people love the idea of a model railroad and don't love the hours it actually takes to build one. Those aren't the same thing.
You're not modeling yet, but you slow down at hobby shop windows. You notice the details on real trains, bridges, and buildings that most people walk past.
That low-level noticing is the actual signal. Train set modeling is, at its core, close observation turned into physical detail – if you're already doing half of it unconsciously, the other half tends to follow.
You don't have a stable dedicated space. Layouts are not pack-up-able. If you're renting a small flat, moving frequently, or sharing every surface with roommates or kids, the hobby fights your living situation every single session.
Fine motor limitations are a real barrier here – soldering, hand-laying track, and applying tiny scenic details all require steady hands and reasonable close-up vision. This isn't about patience; it's about whether the physical work is accessible to you right now.
If you need a social hobby, this one is mostly solitary. The community exists online and at club nights, but the actual build time is you, alone, at a bench – and that's not something to fix, it's just what it is.
For ideas that take five minutes instead of five weeks, see things to do when you're bored.
A beginner-friendly starter set typically costs $100–$300, which includes a basic train, track, and power supply. As you expand with scenery, additional track sections, and detailed miniatures, the hobby can grow into a more substantial investment, but you control the pace and budget based on your interests.
A small, basic layout can be completed in a few weeks of casual work, while more complex landscapes with detailed scenery, buildings, and intricate track work typically take several months to a year. The timeline depends entirely on your design scope, available free time, and attention to detail.
No special skills are required—many hobbyists start with zero experience and learn through hands-on practice. Basic patience, attention to detail, and interest in either trains or miniature scenery are more important than pre-existing technical knowledge.
HO scale (1:87) is the most popular choice for beginners because it offers a good balance between detail, space requirements, and affordability. N scale is more compact and affordable but smaller, while O scale is larger and easier to work with but requires more space and investment.
A beginner layout can fit on a 4x8 foot table, which is a standard size for hobbyists. Smaller layouts work on 2x3 feet of space, while serious modelers often dedicate entire rooms to elaborate multi-track systems.
It can be either—many people enjoy building layouts solo as a meditative, creative activity. However, there's also a vibrant community of train modelers who attend shows, join clubs, and collaborate on large layouts, making it equally social if you want that experience.