BoredomBusted — Find Your Next Favorite Thing To Do
Discover hobbies, activities, places, and ideas that spark joy. Whether you're looking for something creative, active, social, or relaxing, BoredomBusted helps you find your next favorite thing to do.
Browse our hobby guides, things-to-do collections, and place ideas to never be bored again.
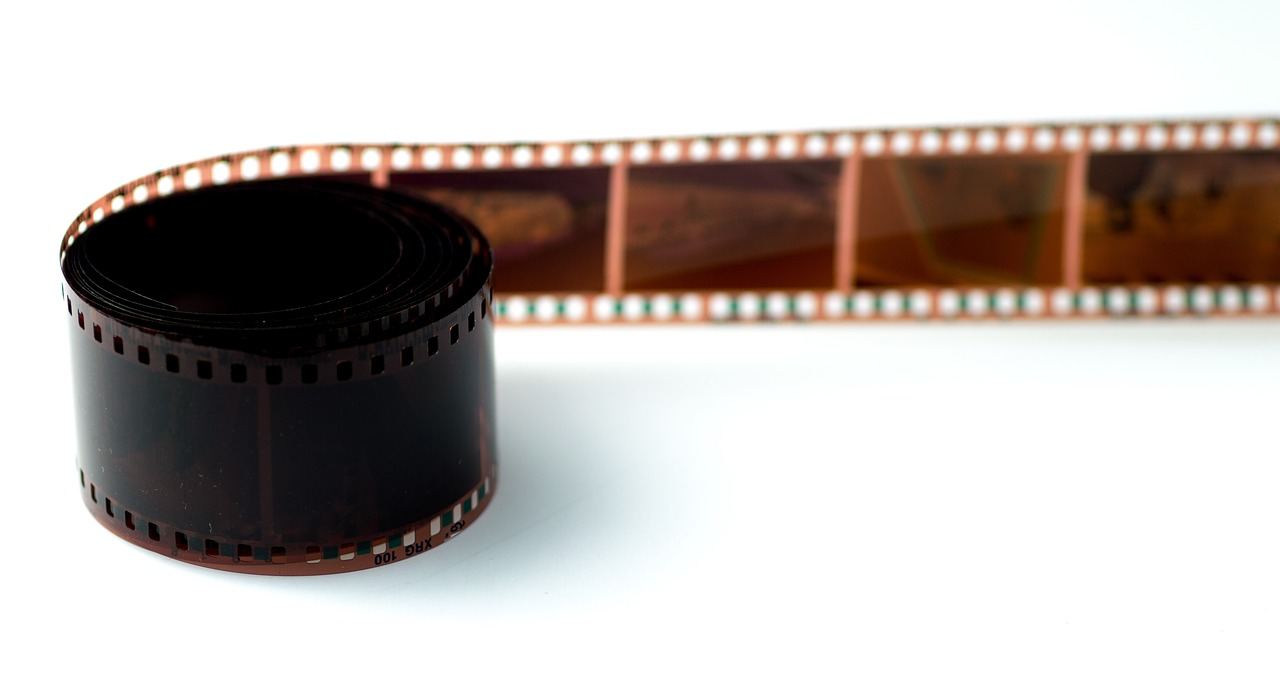
Shooting film photography isn't just nostalgic — it's a sharp lesson in decision-making and light that digital can't replicate, even on a thrift-store camera.
Getting started with film photography as a beginner opens up a unique world of capturing images on light-sensitive chemical film instead of a digital sensor.
You load a roll into a camera, expose each frame by pressing the shutter, then develop the film in chemicals to reveal the image.
Unlike digital photography, every shot costs something – there's no instant preview, no delete button, and no fixing it in post.
In film photography, you load film into a camera, compose shots manually, and adjust settings like aperture and shutter speed based on the lighting and scene. You engage in thoughtful pre-visualization, capture images of everyday subjects, and wait days for development to see the results. The process includes physical actions like manipulating the film and camera in low light, and possibly develo…
Film photography combats boredom through delayed gratification and scarcity, requiring deeper engagement with each shot that leads to a heightened state of mindfulness. The anticipation of developing film fosters a sense of accomplishment and creative expression, while the iterative feedback from unexpected results refines skills and builds resilience. Social interactions during photowalks create…
You think film photography is expensive, slow, and just a trendy alternative to what your phone already does.
That belief holds you back from seeing the true essence of the hobby.
Take someone using their first roll of Portra 400 on a $40 thrift-store Canon AE-1. They might learn more about exposure in one afternoon than six months with a digital camera.
It's not film that's magic. Scarcity makes you pay attention. You notice details because every shot counts, and that transforms your awareness of the world.
But now you're probably wondering about gear — costs, choices, and whether high-end equipment is necessary.
Film photography seems peaceful on screen. Just a roll, some sunshine, prints drying in a row.
The part they miss? Shooting 36 frames, waiting a week, and realizing not a single one turned out as planned.
Week one, you speed through your roll, eager for results. The wait for development is maddeningly slow.
By the second week, your scans reveal blur and underexposure. You spend hours dissecting what went wrong.
Week three, you slow your pace, actually use your light meter, and make each frame count with deliberate decisions.
By the fourth week, a couple of shots come back just as you envisioned—and that's when the bug truly bites.
There's no instant gratification in film—every good shot feels significant.
ISO can't be changed mid-roll. If you load ISO 400 film on a sunny day, you're committing to that choice for all 36 frames.
Choose film based on your shooting environment, not what's trendy online.
When to start: Morning
Duration: 2 hours
Cost to try: $15
Success criteria: if you finished without taking a roll of 36 exposed frames, do session 2.
New shooters often think a bigger camera means better photos. But an SLR introduces more complexity than you need at first.
Start with a simpler model like the Olympus Stylus or Canon Sure Shot. Shoot a roll and see if film photography grabs you before spending money on SLR gear.
Choosing ISO 400 for flexibility sounds smart but leads to blown-out photos in bright conditions.
Match ISO to your lighting: 100–200 for sunny days, 400 for cloudy skies or indoor shots.
Popping the camera open feels like the right move, but it will waste your film.
Trust your frame counter. If unsure, advance to frame 1 and check that the rewind knob moves to confirm loading.
Mailing rolls and waiting weeks for results leads to repeated mistakes.
Use a local lab with quick turnaround so you can see what worked — and what didn't — while the shoot is still fresh.
Going full manual sounds artistic, but without checking the meter, you're just guessing.
Always check the in-viewfinder meter. Set your aperture and shutter speed, then adjust until the needle centers — fewer ruined shots, more learning.
Film photography lives in the darkroom, though it happens wherever you point your camera.
Community art centers and photography schools often provide open lab hours or rental access to darkroom facilities. These spaces are the real heartbeat of film photography.
Meetup.com is often the fastest way to find active groups for "film photography" or "analog photography" in your city. Regular events like photo walks give you a chance to meet other enthusiasts in person.
Flickr's Group directory still hosts local shoots and swaps. Search using your city name and add "film" to see what's happening nearby.
Facebook Groups for "analog photography" plus your state or region might reveal darkroom sharing programs and equipment loans you wouldn't know about otherwise.
The Film Photographers Project (filmphotographyproject.com) is like a loose national network. They run a forum and host events, offering more structured opportunities to connect.
Mention you're new to film shooting and lack darkroom access. You're likely to receive offers for loaner trays, help with chemistry, and a friendly introduction to using an enlarger.
This is a great starting point. Most cameras, labs, and beginners converge on color 35mm film. Kodak Gold and Fuji 200 are reliable, readily available, and perfect for starting out.
Working with black and white film flips your focus to light and contrast, not color. Less expensive to develop, this option also leads to fun with home darkroom projects.
Medium format film delivers sharper, richer images. It comes with larger negatives and requires intentional shooting — gear can be bulky and film costs double. Suitable for those ready to move beyond 35mm.
Prices range widely. A Holga is quite affordable, while a Hasselblad can be much pricier.
Lomography and toy cameras offer unique, unpredictable results. No stress for perfection, these cameras embrace light leaks and quirky effects. Diana and Holga are favorites for their affordability and playful results.
Slide film comes with rich colors and high contrast but demands precise exposure. It's more expensive and rare for processing. Ideal for those chasing a technical test and stunning results.
Some of the same instincts show up in Jewelry Design — worth a look if this clicked.
Some of the same instincts show up in Flash Fiction — worth a look if this clicked.
Another variant that pulls from the same roots is Junk Journaling.
The crucial skill for photographers is reading light before you even lift the camera.
You need to estimate the luminance range of a scene quickly. Decide on the spot which part of the range to preserve. This isn't about snapping randomly in hopes of getting a good shot.
Each shot is an intentional choice. Film captures decisions about light, not just light itself.
Those photographers who consistently nail exposure? It's not luck. They've already calculated what portions of light to sacrifice.
Mastering light reading leads to consistent, printable photos. You understand what the trade-offs are, leading to better results. If each frame feels off, it's likely because the pre-shot decisions weren't there.
Good exposure leads to less wasted film, and more questions answered. The next section focuses on practical exercises to hone this skill.
Shoot four rolls in 30 days. That's all it takes to test the waters.
This gives you just enough to get past the initial thrill, hit a few setbacks, and still find a few rewarding shots. Waiting for development is crucial. It forces you into the rhythm that truly determines if this is for you.
Already planning your next roll before this one is ready? That's a genuine connection forming. Focus on learning to use your meter and pick one film stock to stick with for the next 90 days.
If you felt just 'meh' about the results, film might be more appealing as an idea than a practice. Try developing at home once; the process can captivate those more interested in the chemistry than the photography.
Actively disliked the process? Limited frames feeling restrictive and costs nagging at you? This indicates that film constraints don't match your style. Film photography is all about embracing those limits.
Feel an urge to linger over thrift store cameras, examining the lens and wondering about the history? This subtle fascination with the gear itself tells you a lot about your potential fit for the hobby.
Not ready to pick a hobby yet? The boredom busters page has smaller things to try first.
A basic setup with a used film camera, lens, and initial film rolls can cost $50–$200, while quality used cameras range from $100–$400. Add developing and scanning costs of $5–$15 per roll, which varies by lab. Many beginners start affordable and invest gradually as they develop their skills.
Film photography requires you to commit to your shot before seeing results, using physical chemical processes to capture light, while digital offers instant feedback and endless editing. Film forces intentional composition and creates a tactile, slower creative process that many photographers find more rewarding.
Professional labs typically return developed and scanned film in 3–7 business days, though expedited services take 1–2 days. If you develop at home, the process takes 20–40 minutes per roll, but requires darkroom setup and chemical knowledge.
Film photography has a learning curve but is very achievable for beginners—the core concepts of aperture, shutter speed, and focus are fundamental to all photography. The main challenge is the cost and delay of seeing results, which actually encourages learning by forcing you to think carefully about each shot.
Start with a used 35mm SLR or rangefinder camera like Canon AE-1, Pentax K1000, or Olympus OM series—they're affordable, durable, and have excellent learning resources online. Manual or semi-automatic exposure modes are ideal because they teach you camera fundamentals without overwhelming complexity.
Consistent practice with one to two rolls per week helps you internalize exposure and composition, though even monthly shooting builds skills over time. The key is reviewing your developed film, analyzing what worked, and adjusting your approach—quality of shooting matters more than quantity.